Here are the instructions from the inside of the liner (take note of what you can't use it on):

Project #1 - The New Year's Eve Jars
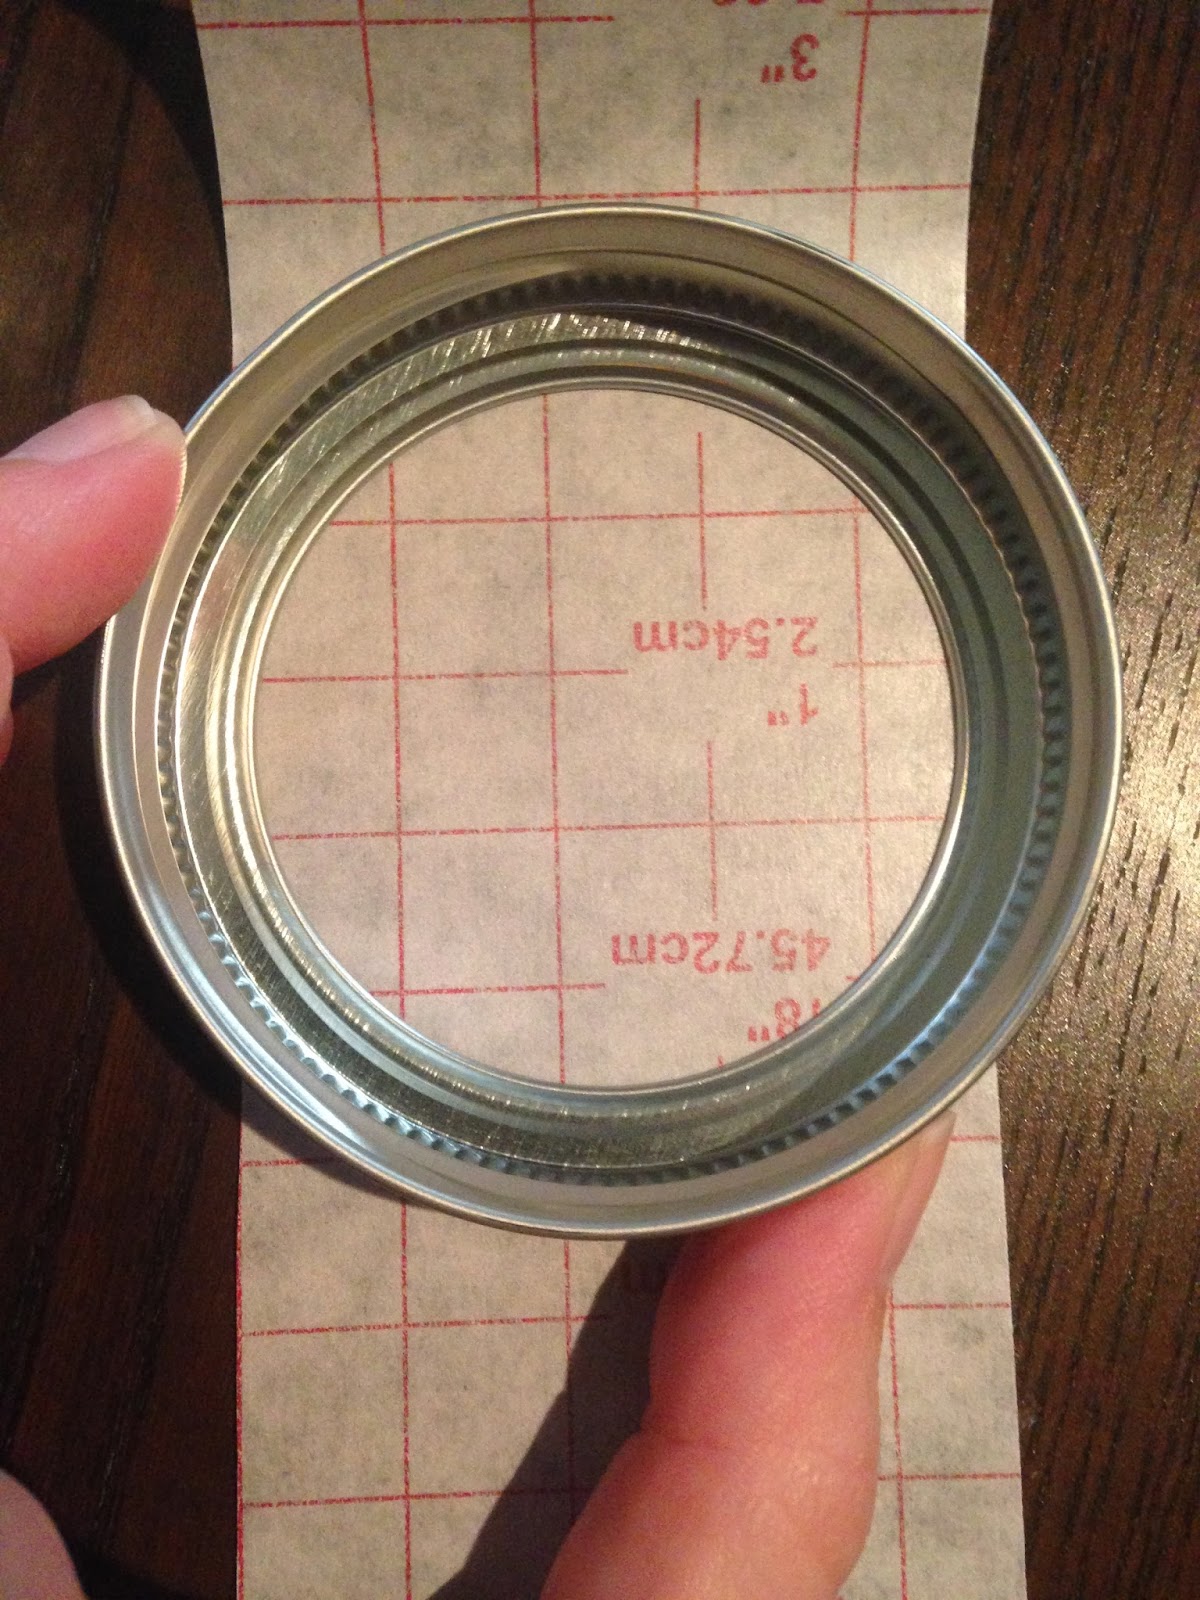
I found a Smuckers jam jar was way too small so I upgraded to a 32oz mason jar. Where does the chalkboard liner come in? You can label the top! Just take off the lid, put it on the back of the chalkboard liner, and trace around the edges. Cut out the circle you just drew, take off the backing, and stick it to the top of the lid!


Note that you may get bubbles on the top. Don't try to rub them out, it doesn't work. Trust me. Simply lift up the liner and place it back down on the lid to get the bubbles out. Once the lid is back on the jar, you're done! Just grab your chalk to label the top and start filling it with memories!
Another option is to label jars and fill them with school supplies - a great option for the teachers out there who try to keep their classrooms organized!
Project #2 - Picture Frame Turned Message Board

 I had a great frame that I wanted to use for something but I broke the glass into a million pieces. Instead of going out and buying a new piece of glass, I decided to cover the back panel of the frame with chalkboard liner and turn it into a message board! It's as simple as it sounds - lay out the back panel on the liner paper, cut out however much you need to cover the back panel AND 1 cm around the edges, remove adhesive backing and cover the panel. Put it back in the frame and voila! You now have a message board you can cover with whatever you like! Grocery lists, calendars, schedules, notes to your loved ones - whatever you want to put, all you need is some chalk and you're good to go! Instructions for how to make a chalkboard coffee mug like the one in the photo can be found here.
TOTAL COSTS: $6
$6 for 6' on Amazon but it looks like it has gone up to $7
Mason jars and picture frame already had
TOTAL AMOUNT OF TIME: Less than 5 minutes
Really, you're just cutting out the liner and sticking it on whatever you like!
EASY-PEASY SCALE (1 super easy - 5 very difficult): 1 out of 5
It's something you could do in your classroom and even get the kids involved for DIY projects at home!
No comments:
Post a Comment