Showing posts with label nail polish. Show all posts

Wednesday, August 27, 2014

DIY Turquoise Nails

I love tearing Pinterest ideas apart and bringing them back to reality. Like the gingerbread TARDIS, or the marshmallow Kahlua shots, or even the spider cookies, they were all massive failures. However, when I see others tear down Pinterest ideas, I see that as a challenge. Is it really as hard as they say? Will I fail as well? When I saw this post from MeAndMySoldierMan, she rips apart these turquoise nails, claiming they're "ridiculous" and you can just buy crackle top coat instead. But I'm going to go out on a limb here and say...

...they're not ridiculous. 

If you have a half hour to spare, they're really not that hard to do yourself. All you need is:

1. White, black, blue, and clear nail polish
2. Q-tips
3. Rubbing alcohol
4. A spray bottle
5. A small container with water
6. Nail polish remover

Start by painting your nails white. Now you'll have to forgive me, I'm not the best at painting nails so bare with me and my sloppy work!


Once the white has dried, apply the blue/turquoise nail polish. Really, it can be any color you want, but I wanted mine to be as close to the original post as possible.


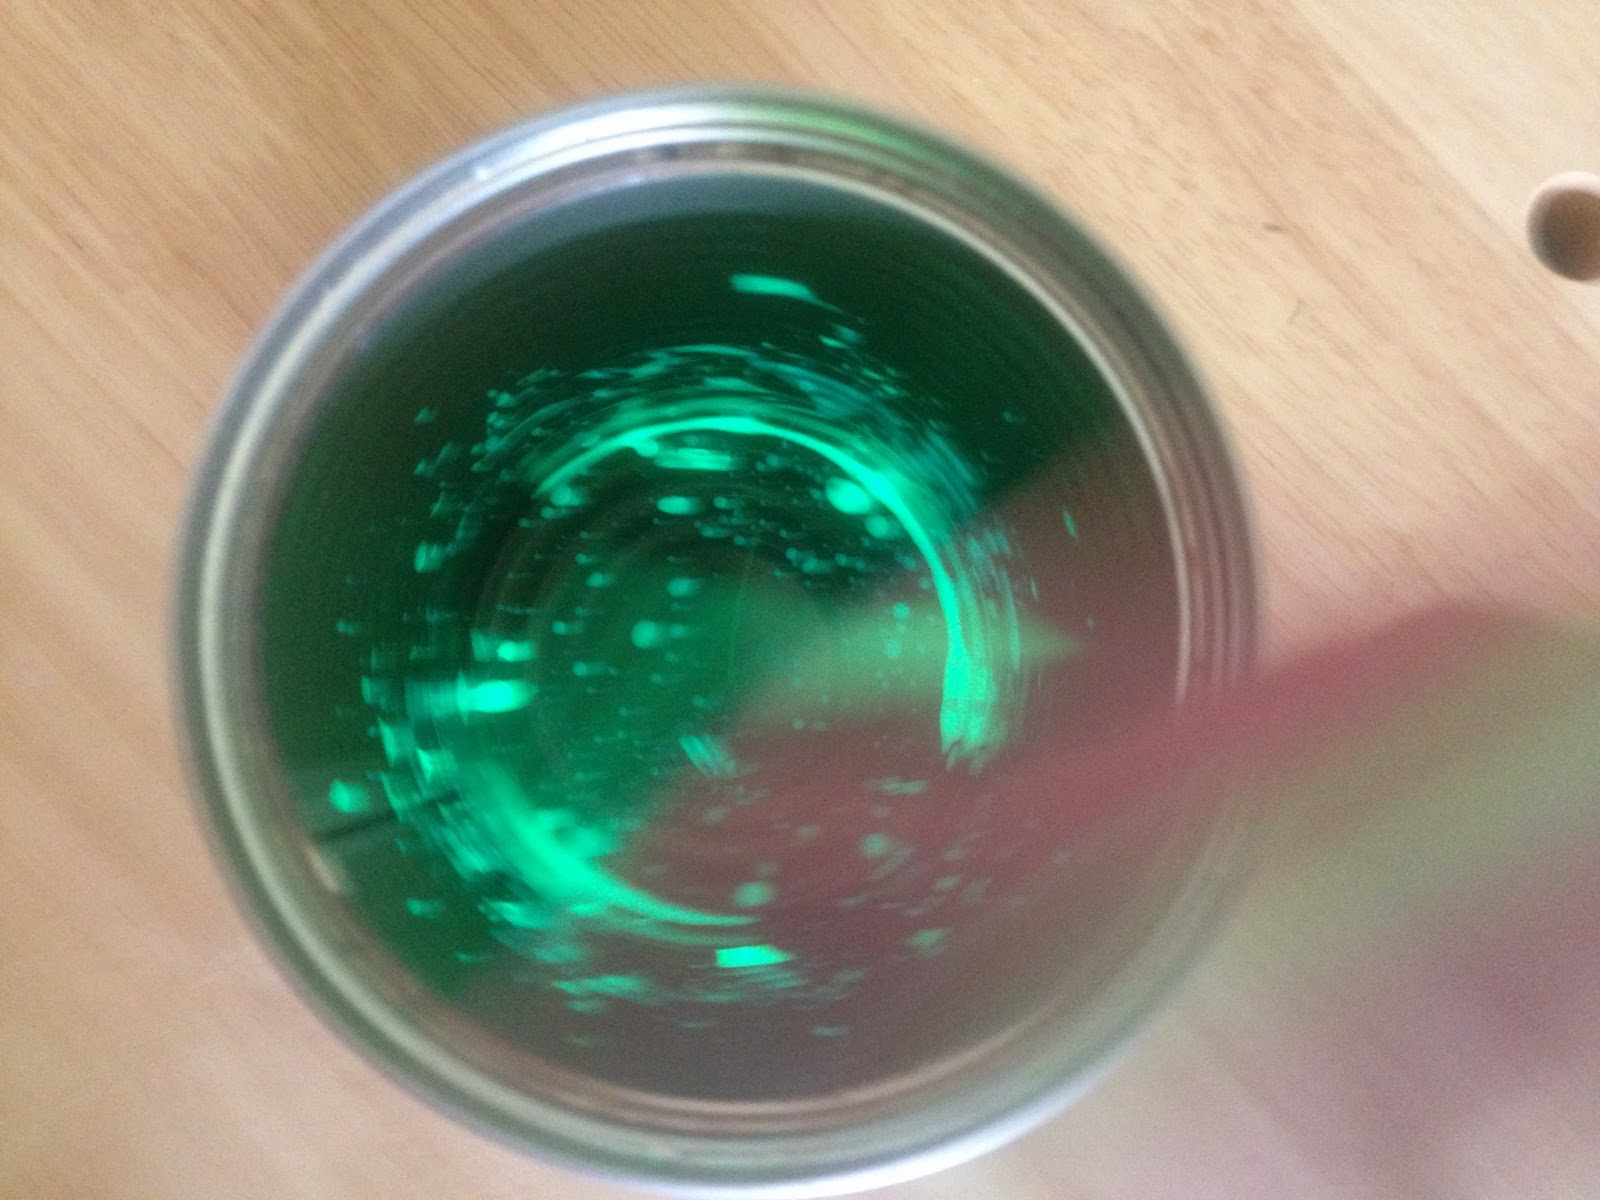
Once the blue has dried, it's time to prepare the black. In your small container of water, add 1 drop of black nail polish.


Spray the drop of nail polish with rubbing alcohol.


Immediately stick your finger in until the nail is completely covered (it's a quick in and out). 


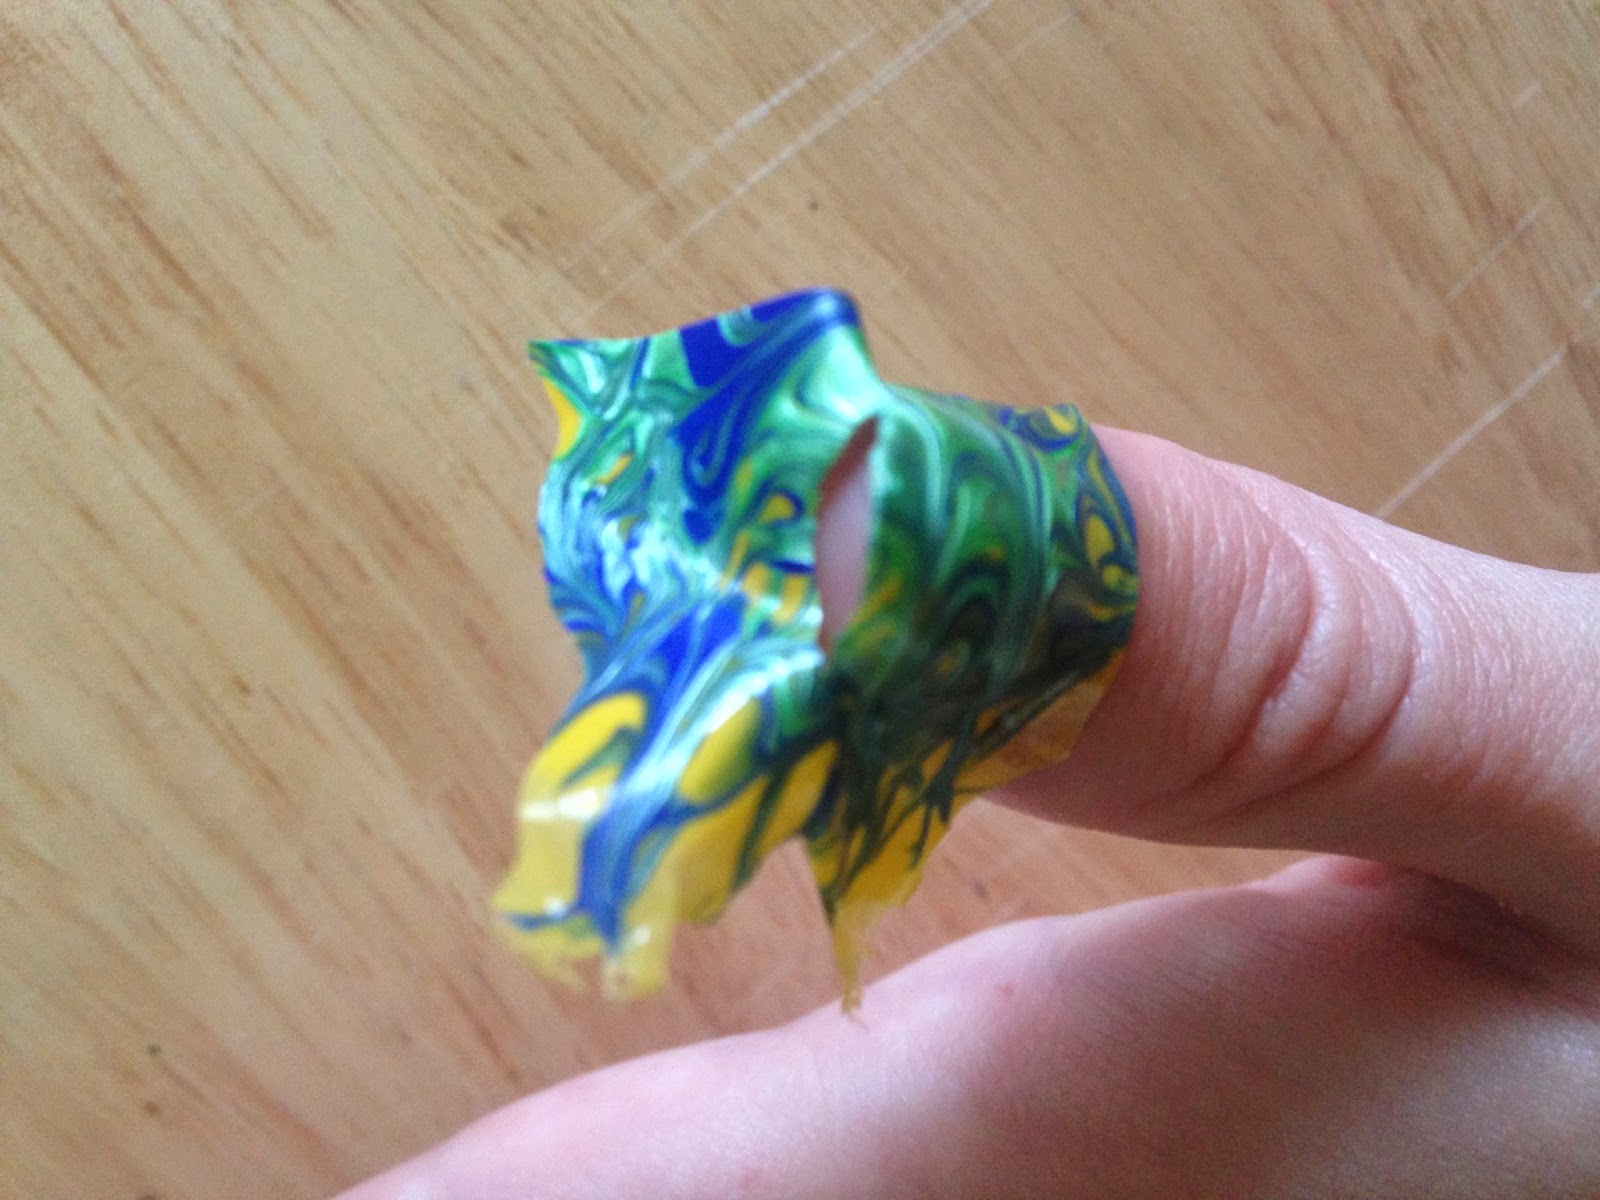
Remove your nail and using your Q-tip and nail polish remover, remove the excess from around the nail. If you leave your finger in for too long, your nail will mostly turn out black (see below).


And if you wait too long before sticking your finger in the water, the rubbing alcohol and nail polish will act like algae and stick to your finger. It's kinda gross. So spray, dip in and out, and wipe off excess without any delays!


Once all the fingers are covered, paint a final clear top coat to seal the deal!


And there you have it folks - your very own turquoise nails! Sure, you could spend money on nail art to have them look like this but you'd only be able to wear it once and then you'd have to buy 'em again. This way, you can make 'em however many times you like!


TOTAL COSTS: Less than $10
$.99 for rubbing alcohol from Vons
$.99 for clear polish and white polish from Rite Aid (2 for 1)
$1.99 for black polish
$2.99 for blue polish
$1.99 for nail polish remover
Q-tips already on hand (though I suppose you could use paper towels)

TOTAL AMOUNT OF TIME: 30 minutes (almost to the second!)

EASY-PEASY SCALE (1 super easy - 5 very difficult): 2 out of 5
They're really not hard to do at all, and this is coming from someone who can't paint inside the lines very well! I like how every nail can have a different design and is completely unique to anything anyone else might have!

Friday, June 20, 2014

How to Dry Your Nails - PAM or Ice Water?

Have you ever stood in line at the grocery store and perused the gossip magazines?  

5 Quick De-Stress Tips!           Turn Him On Without Saying a Word!           Shrink Your Belly!
                                     How to Burn Off Those Last 5 Pounds!
Panic Attacks? You're Not Alone!                   9 Life Shortcuts You Should Learn in your 20s!

I usually laugh and walk away but a friend tipped me off to Real Simple Magazine which had a couple of tips on how to dry your nails quickly, so I decided to put them to the test to see if they really work.

                        PAM vs. ice water - which will be the ultimate nail drying technique??


Magazine Tip #1 - If you spray PAM on your nails while they're wet and wipe them off, they'll be completely dry.

I got to work. To be as scientific as possible, I gave this four tries. I figured that was enough, right?

Take 1 - I applied a medium layer of nail polish


I immediately sprayed on the PAM...


I wiped off the residue with a tissue aaaaaand... not bad, but not great. I did mange to wipe away some of the nail polish.


Take 2 - I applied a thin layer of nail polish, sprayed, wiped, and it ended up looking worse.


Take 3 - I applied a thick, gloppy layer of nail polish - there was hardly any polish left on the nails after I wiped off the PAM!


Take 4 - I applied a medium layer, waited 1 minute to let them dry, and then sprayed with PAM. The result? Not bad, only 2 out of the 5 nails were affected, the rest looked great.


In the end, I wouldn't recommend this technique. Your hands, your table, your doorknobs - everything will be covered in PAM. Not only that, but it doesn't work 100% of the time. So, what about tip #2?

My greasy digits

Magazine Tip #2 - "Allow nails to air-dry for two minutes, then submerge in ice-cold water for three minutes, which is enough time for the polish to harden completely."

Seemed easy enough! After waiting exactly two minutes, I put my fingers in the bowl of ice water.

Note: after two minutes, the polish is practically dry anyway.


Ok, three minutes in ice water... three... whole... gosh this hurts... minutes... ok, there is NO way you can comfortably let your fingertips rest in ice water for over one minute, let alone three!


So while this technically works, don't hurt yourself in the process. And honestly, if you're lazy like me, you're better of just letting your nails air dry instead of pouring water in a bowl, getting some ice out, putting some ice cubes in the bowl, blah blah blah. Just let your nails air dry, screw the magazines!

TOTAL COSTS: $3.49 for PAM

TOTAL AMOUNT OF TIME: Less than 5 minutes

EASY-PEASY SCALE (1 super easy - 5 very difficult): 1 out of 5
Neither one of these "tips" are difficult, however they are messy, painful, greasy, slimy... a lot of adjectives you don't want when it comes to painting and drying your nails!

Monday, May 19, 2014

DIY Glow-In-The-Dark Nail Polish (look, but don't touch!)

So here's something I came across on Pinterest via Twitter:


That seemed easy enough! Boy oh boy was I ever wrong... this took three tries and by the third, I eventually got it to work but it's not as easy as you might think.

Test #1 - I did exactly what the post said. I broke a blue glow stick...


I cut off one of the tips so the liquid could come out...


And I attempted to get it in the clear nail polish.


Ok, so many problems with this, I'm not quite sure where to begin!

   #1 - Unless you break every millimeter of the stick, it's not going to come out easy at all
   #2 - You're going to start to get frustrated and cut it into pieces, thinking it'll get out faster
   #3 - You'll then make a mess but not realize it until you go into a dark room and see it all over your hands
   #4 - It'll all be for nothing because it's not going to change the clear nail polish into glow-in-the-dark polish.


Test #2 - Why not skip the nail polish altogether and just try to apply the goo directly onto the nails? So again, I broke a pink glow stick, I cut off the tip and I tried to put the goo directly on the nails.


More problems! You're going to have small crunchy particles on your nails, you're going to get it all over your hands (see below), and ultimately make a mess. However, it does work (in a sense), so I gave it one final go.


Test #3 - This time I decided to use a technique I posted last New Years Eve re: DIY lanterns.

So I broke a green glow stick...

I cut the tip and, using an empty tin can, I shook the stick against the sides until all the contents came out.

Then using my clean nail polish brush, I applied the goo directly onto my nails without causing a mess.


Here you can see what it looks like in the light and in the dark:


Now here's why I don't recommend you do it:

#1 - The stuff inside of glow sticks is toxic. Should your hand come anywhere near your mouth, you'd need to call poison control immediately.
#2 - The stuff inside of glow sticks doesn't dry. So you can wait 20 minutes and it'll still wipe right off.
#3 - The glow doesn't last that long. After 20 minutes, you're back to where you started.

While it was fun experimenting, you're better off just buying some glow-in-the-dark nail polish that is guaranteed to dry and not potentially put your health at risk.


TOTAL COST: $2
$1 for 6-pack of glow sticks from Target
$1 for clear nail polish from Rite Aid

TOTAL AMOUNT OF TIME: 10 minutes for Test #3

EASY-PEASY SCALE (1 super easy - 5 very difficult): 1 out of 5 for Test #3
It's not hard to crack a glow stick, whip the contents into a container, and use a nail polish brush to apply, but the question is... would you really want to?

Thursday, May 15, 2014

DIY Marble Nails

I've never done nail art before. Heck, I've never put more than one color on my nails. Ever. But when I saw how easy these water marble nails were from TheBeautyTutorial, I knew they were easy enough for an amateur like me to give them a try. If I can knock these out of the ballpark on my first try, then I know you can too!

Start by gathering:

* 3 contrasting nail colors (I went with yellow, blue, and green)
* A plastic bag
* A toothpick
* A pair of tweezers

Start by pouring some of your base color onto the plastic bag. You can use the brush in the bottle if you like, but I found pouring to be a lot faster and easier.


Then add your contrasting colors on top. Again, you can either use the brush...


... or you can pour straight from the bottle.


Using your toothpick, make short lines up and down or swirl around to make the colors mix. Do as much mixing or as little mixing as you like.


Depending on how much nail polish you use, give it a couple hours to completely dry. Mine took 2 hours (even at an hour and a half it still wasn't completely dry and it's 100 degrees in my apartment!)


Once it's dry, very carefully take off the polish from the plastic bag. I found it worked best when I used my nails to pry off a corner and then I used the tweezers to pull off the rest. Go slow or you'll end up ripping off awkward-shaped strips.


But before you completely rip off all the polish from the plastic bag, paint your nails the base coat color and let them be tacky (almost dry) before applying the marble polish.

Now you can either do big pieces or little pieces but I found it worked best to put the marble on the nail and cut off the excess around the nail. Then go to the next nail, press the marble polish to the nail and cut off the excess. Do this for each of your nails.


Once all the nails are covered, now it's time to clean them up. I used my fingers to carefully peel and remove the excess around the nail but you could use scissors or tweezers as well, whatever's easiest for you.

I peeled off the marble polish around the nail

If you want to add a top coat, you can, but when I tried it, it started to screw up the design so I skipped that step. If you're more patient than I am, you can add it, but I did the dishes later and none of it chipped off!

Note that I only made enough for one hand so if you want to cover all fingers, cover a fair amount of the plastic in polish. You'll use more than you think.

Remaining polish

And there you have it, your very own marble nail art! Now go forth and make cool designs!


TOTAL COSTS: About $7 (prices from Rite Aid)
$.99 for NYC Long Wearing Midtown Mimosa (yellow)
$2.99 for Jesse's Girl (blue)
$2.99 for Jesse's Girl (green)
Toothpick on hand, but you could use a stick or utensil
Tweezers on hand, though you could peel it off with your fingers

TOTAL AMOUNT OF TIME: About 2 1/2 hours
5 minutes to mix colors
2 hours to let dry
5 minutes to paint nails and get tacky
15 minutes to apply marble and clean up excess

EASY-PEASY SCALE (1 super easy - 5 very difficult): 2 out of 5
I thought this was going to be a lot harder than it was but it was really quite simple. You might have some difficulty peeling the marble polish off the plastic bag but go slow and it'll eventually come right off!