Showing posts with label glow sticks. Show all posts

Monday, May 19, 2014

DIY Glow-In-The-Dark Nail Polish (look, but don't touch!)

So here's something I came across on Pinterest via Twitter:


That seemed easy enough! Boy oh boy was I ever wrong... this took three tries and by the third, I eventually got it to work but it's not as easy as you might think.

Test #1 - I did exactly what the post said. I broke a blue glow stick...


I cut off one of the tips so the liquid could come out...


And I attempted to get it in the clear nail polish.


Ok, so many problems with this, I'm not quite sure where to begin!

   #1 - Unless you break every millimeter of the stick, it's not going to come out easy at all
   #2 - You're going to start to get frustrated and cut it into pieces, thinking it'll get out faster
   #3 - You'll then make a mess but not realize it until you go into a dark room and see it all over your hands
   #4 - It'll all be for nothing because it's not going to change the clear nail polish into glow-in-the-dark polish.


Test #2 - Why not skip the nail polish altogether and just try to apply the goo directly onto the nails? So again, I broke a pink glow stick, I cut off the tip and I tried to put the goo directly on the nails.


More problems! You're going to have small crunchy particles on your nails, you're going to get it all over your hands (see below), and ultimately make a mess. However, it does work (in a sense), so I gave it one final go.


Test #3 - This time I decided to use a technique I posted last New Years Eve re: DIY lanterns.

So I broke a green glow stick...

I cut the tip and, using an empty tin can, I shook the stick against the sides until all the contents came out.
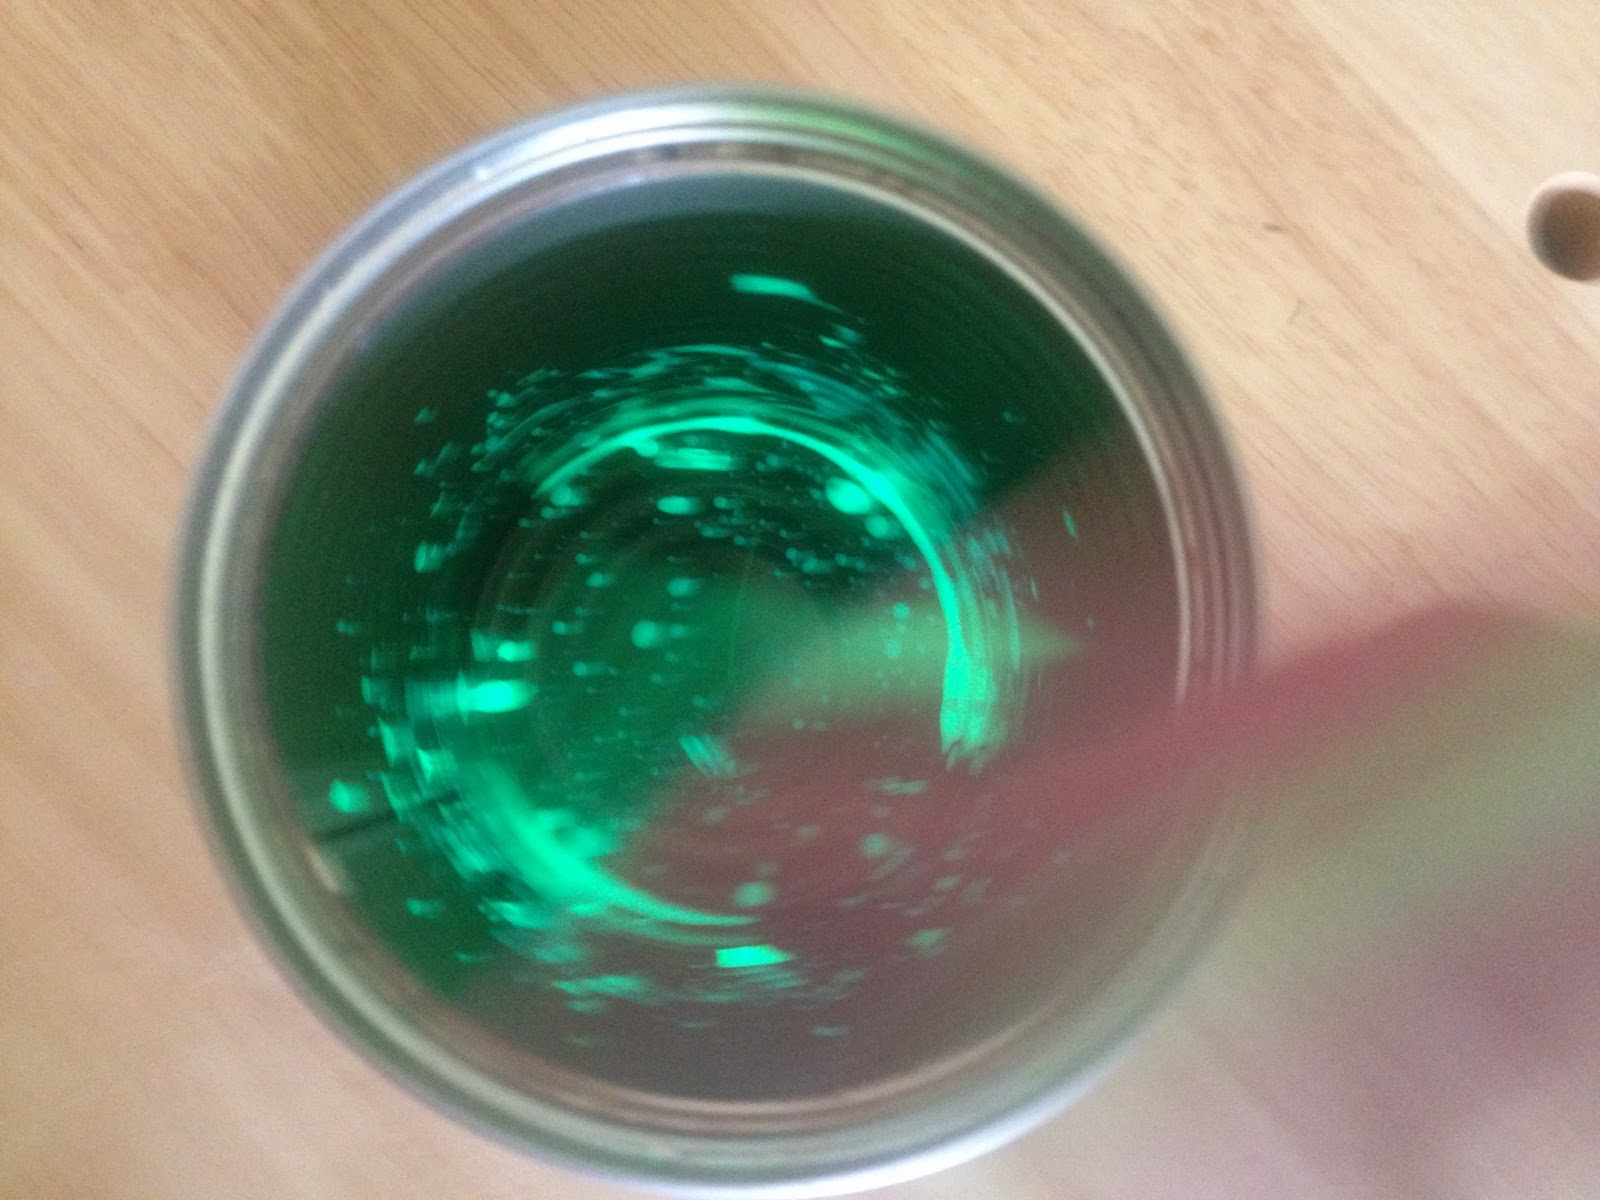
Then using my clean nail polish brush, I applied the goo directly onto my nails without causing a mess.


Here you can see what it looks like in the light and in the dark:


Now here's why I don't recommend you do it:

#1 - The stuff inside of glow sticks is toxic. Should your hand come anywhere near your mouth, you'd need to call poison control immediately.
#2 - The stuff inside of glow sticks doesn't dry. So you can wait 20 minutes and it'll still wipe right off.
#3 - The glow doesn't last that long. After 20 minutes, you're back to where you started.

While it was fun experimenting, you're better off just buying some glow-in-the-dark nail polish that is guaranteed to dry and not potentially put your health at risk.


TOTAL COST: $2
$1 for 6-pack of glow sticks from Target
$1 for clear nail polish from Rite Aid

TOTAL AMOUNT OF TIME: 10 minutes for Test #3

EASY-PEASY SCALE (1 super easy - 5 very difficult): 1 out of 5 for Test #3
It's not hard to crack a glow stick, whip the contents into a container, and use a nail polish brush to apply, but the question is... would you really want to?

Monday, December 30, 2013

Mason Jar (or Salsa Jar, Pickle Jar, etc.) Projects for New Year's Eve!

Two fun and very easy projects came to mind when I thought of mason jars and New Year's Eve. The first post idea comes from MasterPieceWeddings (which tells you just how versatile it can be!) and the second is a throwback to a preview post I did on a 2013/2014 time capsule jar!

Ok, for the first post, it's too easy: glow sticks + jars = night-time lanterns! This is great if you're having a (New Year's) party, to put down your front walk way, and you don't have to worry about candles going out or burning anything! Here's what you'll need:


1. Glow sticks
2. Gloves (you don't want the glow-in-the-dark liquid on your fingers and trust me, it can messy!)
3. Scissors
4. Jars (I know I said mason jars but I actually used two different size salsa jars and I'm glad I did - more on that later...)

Next, make your sticks glow! Crack them as much as you can so the entire stick lights up. Once that's completed, snip off one of the ends, stick it in a jar, and shake it until all the contents come out. Sometimes you'll get small, hard pieces coming out instead of liquid (pictured) - that means you didn't crack it thoroughly. If you find that only half of the liquid is out, make another cut in the stick and shake the contents out again!

Now the reason I said I'm glad I had two different size jars was because I found the smaller, fatter jar made me make more of a mess while the taller, thinner jar was able to keep all the contents inside when I shook the stick. Just something to think about when picking your jars!

And voila! You've got your very own glow-in-the-dark jars!


TOTAL COSTS: About $6 to make as many as you have jars for!
$3.50 for glow sticks from Vons (I used 1 green stick for both jars, one purple and one red)
$2.29 for vinyl disposable gloves (10 pack) from Rite Aid
Jars and scissors already on hand

TOTAL AMOUNT OF TIME: Less than 5 minutes

EASY-PEASY SCALE (1 super easy - 5 very difficult): 1 out of 5
If you trust your kids won't ingest the liquid, this would be a great project for them!


The second project I've blogged about before - a time capsule jar. Starting on January 1st, grab a jar and start putting random things inside. Maybe your family took a trip to the beach so add a seashell or some sand. Maybe a friend visited from out of town so add some movie tickets or concert passes. When December 31st rolls around, open up the jar to see what happened throughout the year! The best part? You get to keep the jars for as long as you like, so hold onto them so you can see what happened 10, 20, even 50 years ago!


TOTAL COSTS: Free!
You can just use paper and a marker to write on the top or sides of the jar (or you can buy chalkboard liner for $6 on Amazon). And you don't have to use mason jars - find ones that will fit your family!

TOTAL AMOUNT OF TIME: 1 year

EASY-PEASY SCALE (1 super easy - 5 very difficult): 1 out of 5
We keep our jar in the same place - visible, but not in the way. That way, we know to stick something in there when we get the chance!

Saturday, October 26, 2013

My First Blog Requests - Keep 'Em Comin'!

If there is ever something you're curious how long it took to do or how much it might be, shoot them on over and I'll break it down for you Mythbuster-style! Today's spoooooky recommendations came from my former neighbor, Mrs. Martin -

#1 - Glow in the dark eyes

Perhaps you've seen the pictures going around Pinterest or Facebook. Glow lights + paper towel/toilet paper rolls = creepy eyes in the bushes. Does it work?


Well, yes and no. A few things to keep in mind:


     a.) You need to cut the eyes fairly large so you can see the light but not so big that you can see the glow stick
   b.) Depending on how long the glow sticks are, you might have to curl them inside the rolls. For these that were 8" long, I had to fold them so they were 4" long so that the stick wouldn't go outside of the roll. If you hide them in bushes, perhaps the bushes can hide the sticks if they go outside of the rolls, but it might be better to get 4" glow sticks.
     c.) Certain colors work better than others. As you see below, the green shows up the best, then pink, then blue
     d.) Remember to draw your design before cutting. Having a template for the eyes will make it so much easier!


TOTAL COSTS: $3.50 (glow sticks from Vons)
TOTAL AMOUNT OF TIME: About 15 minutes (to make 3)
EASY-PEASY SCALE: 1 out of 5. A great activity for kids, super easy, and an excuse to be creative!


#2 - "Spooky Teeth"
Here's another that has been making the rounds on Facebook and Pinterest but was also on Cosmopolitan's website. Pretty straight forward - apples, marshmallows, peanut butter. Are they any good?


Yes. Yes yes yes. I don't know why I've never seen marshmallows and peanut butter together but man is it addicting. A recipe I saw called for "1 medium apple, 1/4 cup creamy peanut butter, 25 mini marshmallows" but I did 2 small apples and chunky peanut butter and they tasted ah-may-zing. If you want to make them more like teeth, you can clean them up a bit but I promise you, they won't be on the plate long enough for anyone to care. Great Halloween snack!

TOTAL COSTS: About $9
$2.00 for mini marshmallows, $3.00 for peanut butter, and $4 for 3 lbs. of apples
TOTAL AMOUNT OF TIME: About 15 minutes
...though some of that time may have been spent eating ingredients...ahem...
EASY-PEASY SCALE: 1 out of 5
If you don't already have an apple slicer/corer like this, I highly recommend you get one. Saves you a lot of time and energy!