We're getting to that point where post offices have 30 minutes waits, all that's left is the tacky wrapping paper, and you're running out of creative ways to wrap a simple box. Need some help? Here are 11 wrapping ideas I've gathered from different sites and have compiled into one post. Hopefully there's an idea here for everyone on your Christmas list!
Idea #1: The Wordsmith

If you have a friend who loves word searches, you can either make one of these on the computer or get some blank paper, wrap the gift, then draw 1/4" lines vertically and horizontally with a pencil. Write in the words you know you want to include in marker (like "TOJOHN" or "FROMJANE") and then circle them in a bright color so they're easily found. Once those are done, write in a bunch of hidden words for fun! Fill in the rest of the boxes with random letters and you're all set. It's a gift that'll keep them guessing but also entertained!

Idea #2: The Music Lover
This is an easy one, all you need is some sheet music! You can either print some out for free online (just Google image search "sheet music") or you can buy Mod Podge "podgeable papers" made to look like sheet music, which is what I had on hand. See bonus instructions below on how to make the bow!
Idea #3: The Artist
Another
idea from At Creative Home that's not terribly complicated. Plain paper + crayons = they gets to decorate their own gift! I recycled the paper that I received from IKEA when purchasing mugs, hence why it's a bit wrinkled.
Idea #4: The World Traveler
Find an old atlas or print out a map and use that as wrapping paper! Be creative with it - you could print out a map of where you're from, where the recipient is from, where the gift is from, and draw stars or hearts over certain locations! I also decided to make a mini bow - see bonus instructions below on how to make it yourself!

Idea #5: The Weaver
Ok, maybe you don't have that many friends who are weavers but
this is still a creative idea I originally saw on MinieCo. Now you can do it all the way around the gift like they did, or you could just do it on top like I did. It's quite simple - take strips of paper and put them under, over, under, over and then over, under, over, under. It's a little time consuming and I used Elmer's glue which took a while to dry, so you might be better off using a hot glue gun to secure it.

Idea #6: The Reader
Using book pages, magazines, or leftover newspaper, use that as your wrapping paper for the person who loves to read! They might not appreciate pages being ripped out of a book so newspaper might be your best bet or find text online and print that out. I used a Mod Podge "podgeable papers" newspaper and it worked great!
Idea #7: The Teacher
This would be creative way to wrap a gift for a teacher (or a student for that matter). No, not with dry erase but with chalkboard liner! That way you can decorate it however you like and if you mess up, that's ok, just erase it and start over! Going Home to Roost's
post used a chalk marker to design the packages but I'm old school, I like the feel of chalk dust between my fingers.

Idea #8: The Recycler
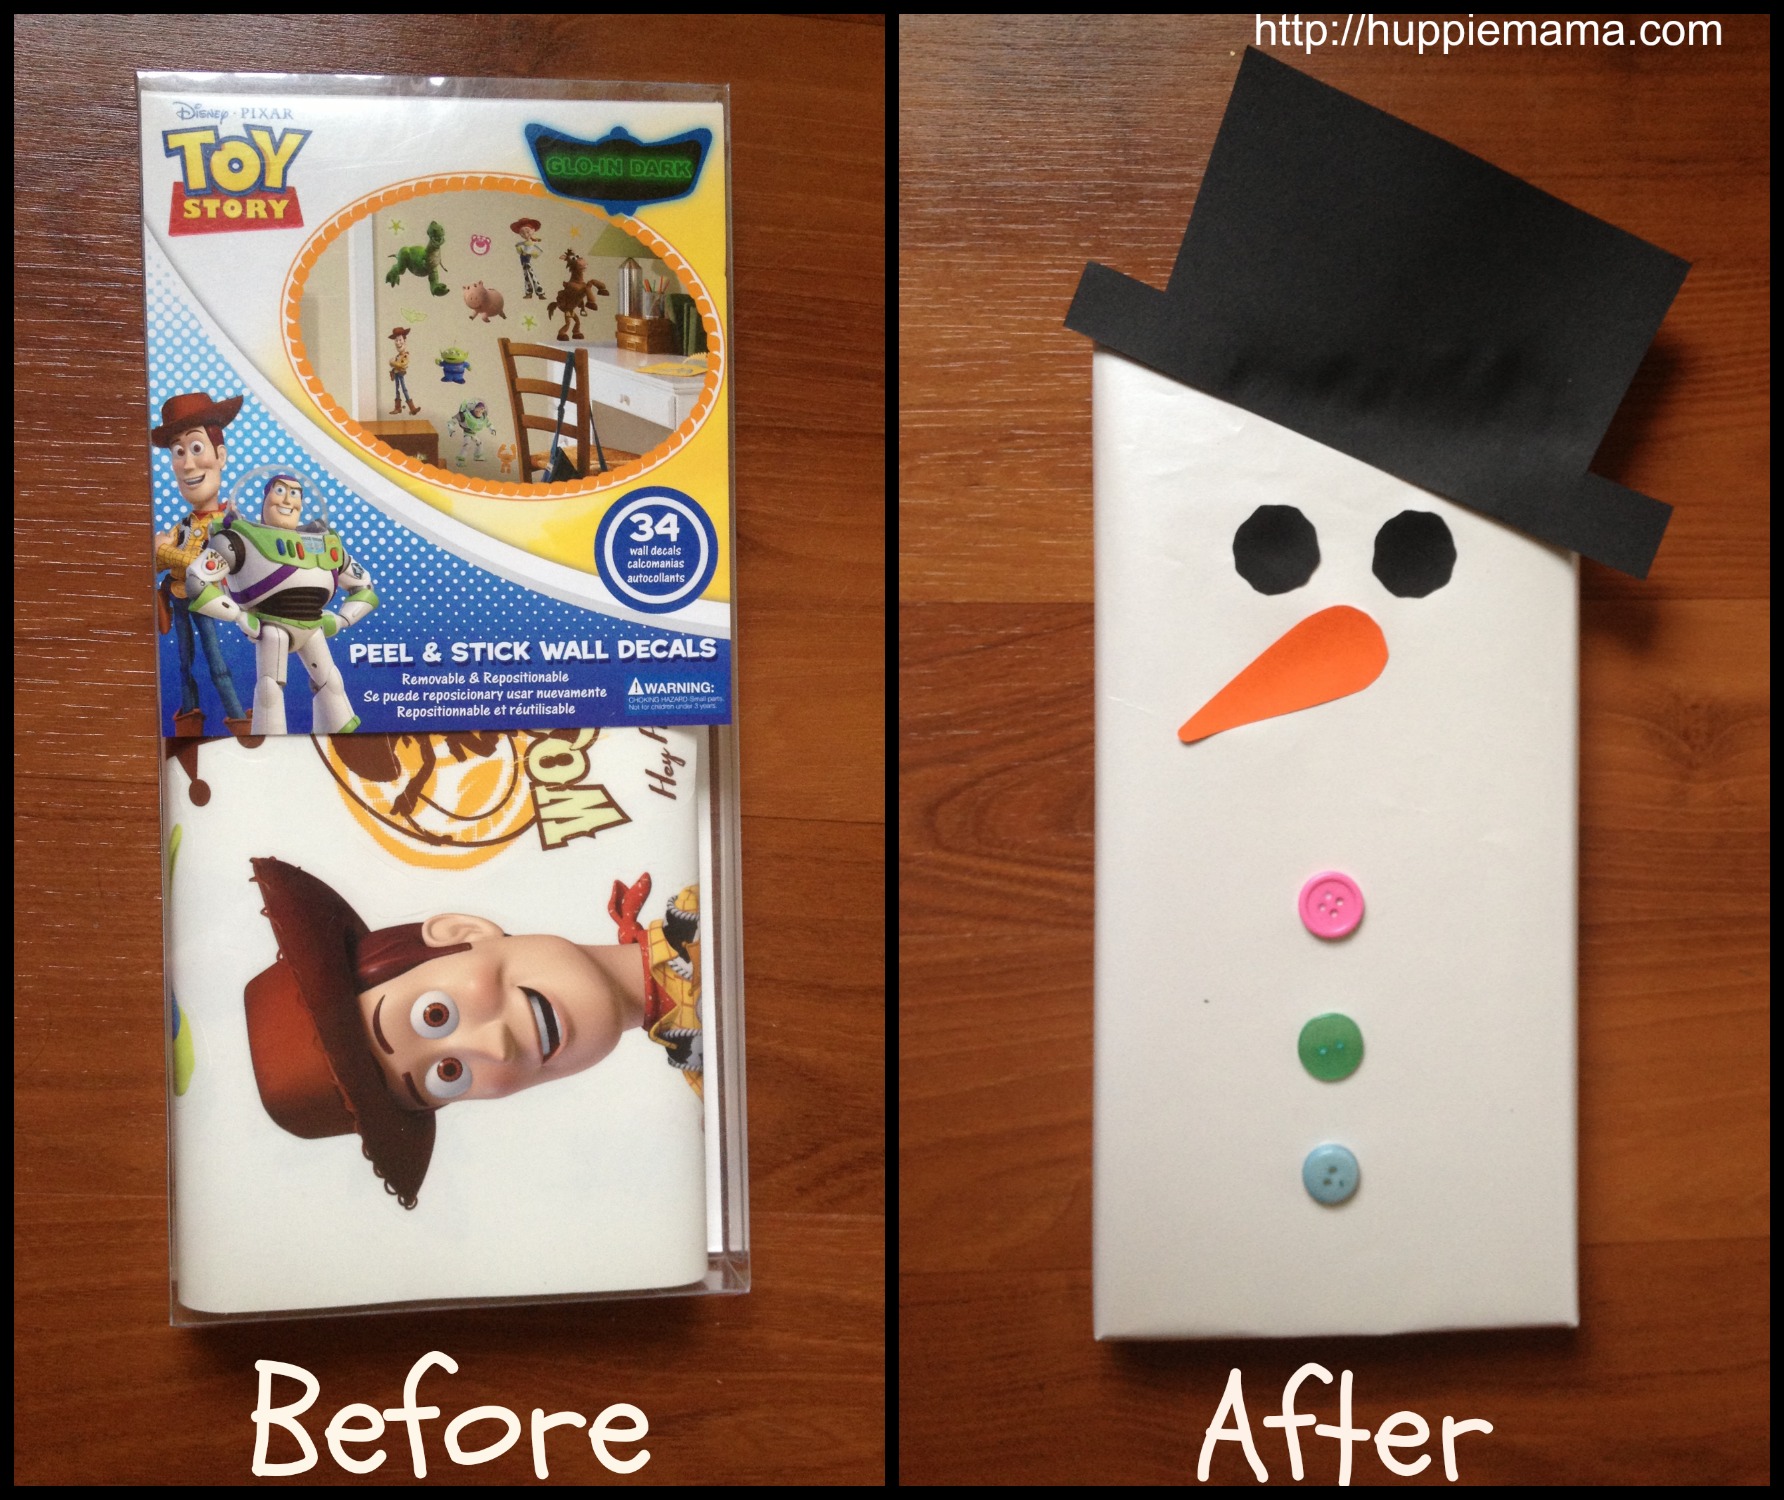
Do you know someone who likes to find multiple purposes for something? Well, here's one way to decorate a gift or wine bag and they can reuse it with a touch of festive flair! I originally saw
this post by Huppie Mama, who decorated a box instead of a bag, so it's versatile!

Idea #9: The Noise Maker
Nothing says the holidays like jingle bells! Attach some bells to a gift to make it more festive, though make sure if the gift is for a child there is an adult nearby to make sure the bells aren't ingested. I don't think the ER would be a great place to be on Christmas morning...

Idea #10: The Nerd
Now I am a self-proclaimed nerd, so that word isn't meant to offend. If you're a fan of comic books, then wouldn't you love getting a gift wrapped in your favorite comic? I chose Batman for this one because that's my cat's name. Yep. Big nerd. So just Google image your favorite comic strip, print it out, and use that as your wrapping paper!

Idea #11: The Photographer
On
Minted.com, you can pay $15 to have wrapping paper with your own photographs on it... OR, you could just print out your own photos and use
that paper to wrap your gifts! Seems like a no-brainer to me! I just opened up a Word doc, inserted a bunch of different photos, and then printed it out.
Bonus tip #1: How to make a traditional bow out of paper
This comes to us from Studio Calico. Cut four long strips of paper (mine were 12" x 1/2" but you experiment with the width).
Cut three of those strips in half and mark an x in the middle of those 6 strips.
Then take one end of a strip and twist and glue it on top of the x.
Take the other end, twist and glue it on top, almost making a figure 8.
Do this for 4 strips. For the final two, cut them 1/2"-3/4" shorter and twist and glue, just like you did the others.
Then start stacking! Glue one on top of the other, until all are on except there that one long strip. Cut it to a 2.5" long strip, glue it into a loop, and glue it in the middle of your bow. Ta da!
Bonus tip #2: How to make a mini bow
I originally saw the photos
here on Fun Substance but since the photos were backwards it was hard for me to follow so hopefully my photos and explanation below will make things a little easier for you!
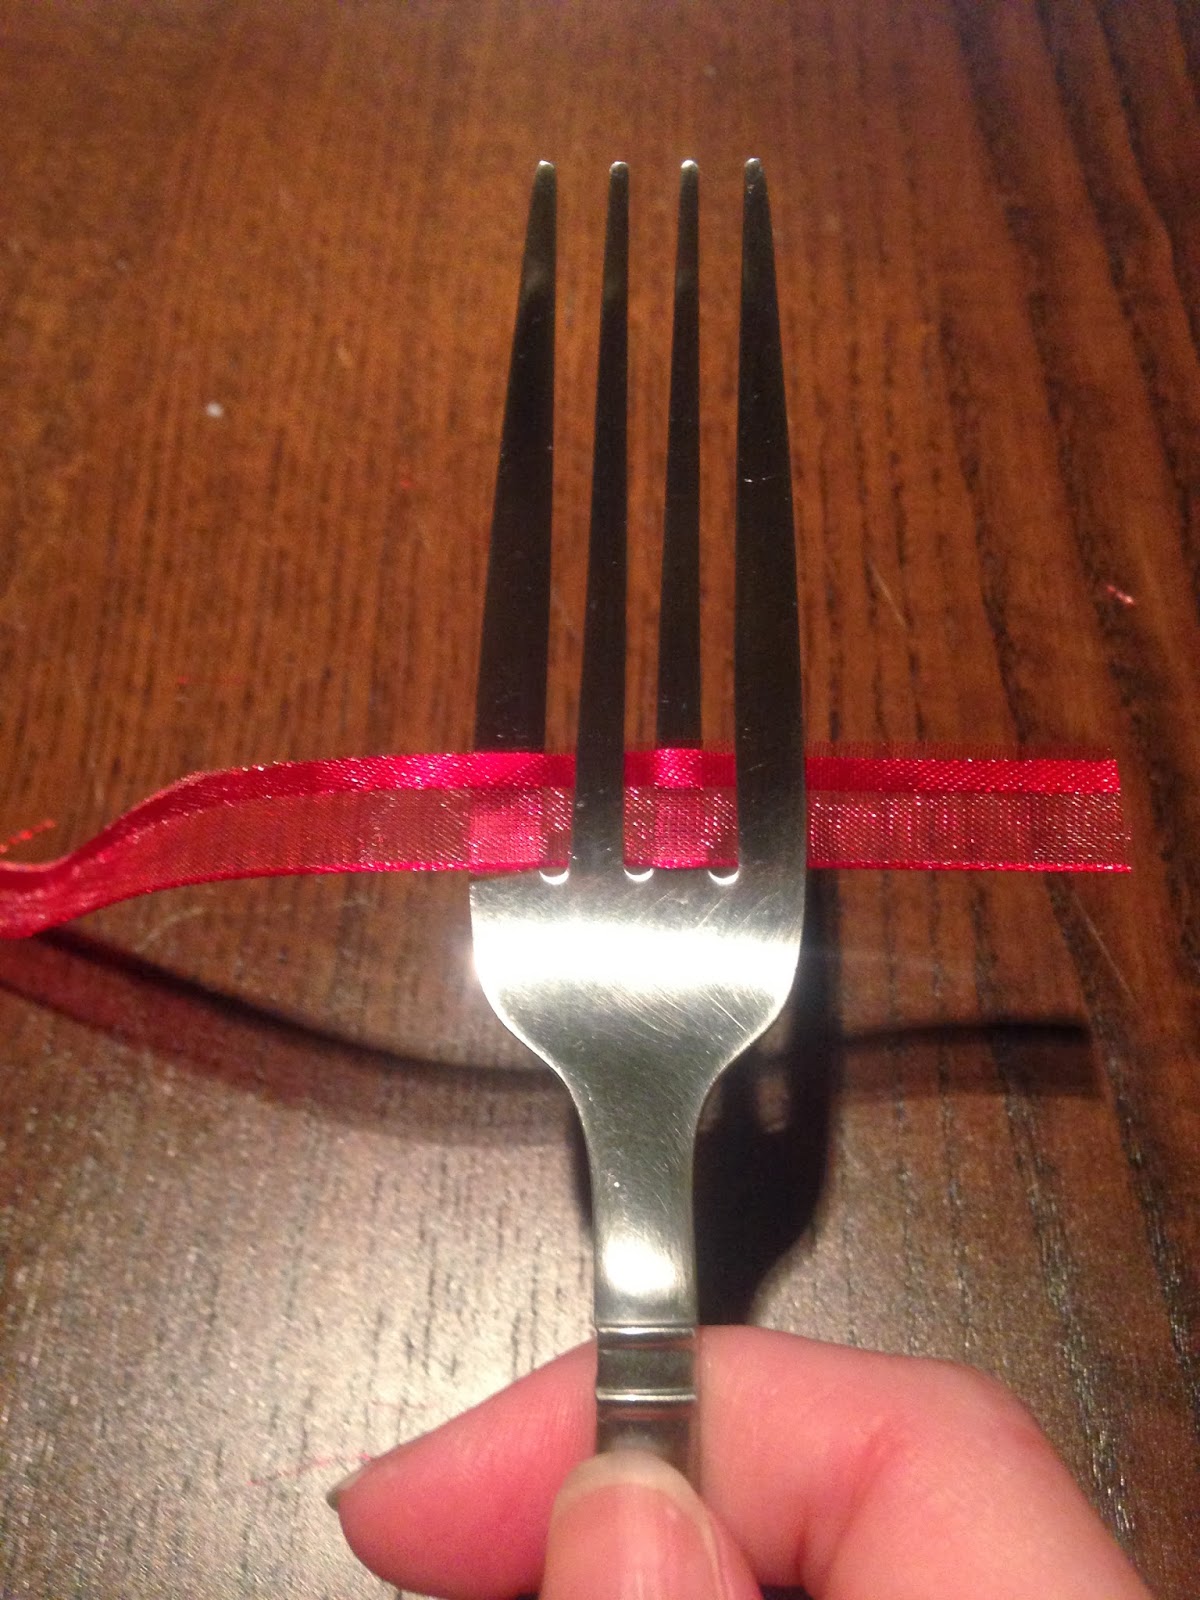
First, have the short end of the ribbon on your right and the long end on your left. Go over the first and third tongs with the ribbon.
Then, wrap the long end around the first tong and go over the second and fourth tongs.
Keep going back and forth until you have five rows of ribbon on the tongs.
Take another separate piece of ribbon and between the second and third tongs, tie the top and bottom rows together.
Make a knot
Slip the ribbon off, cut of the ends and ta da! You've got a little bow!
TOTAL COSTS: Varies with each wrapping project
You could spend nothing because you have a printer, paper, scissors and tape or you could spend up to $6 on chalkboard liner, $4 on jingle bells, etc.
TOTAL AMOUNT OF TIME: Varies with each wrapping project
Again, it's hard to give you a set amount of time. I can tell you the fastest project was "The Reader" because all it required was newspaper!
EASY-PEASY SCALE (1 super easy - 5 very difficult): Varies with each wrapping project
I found the easiest project was again "The Reader" because it was just wrapping a box with newspaper. The most difficult was probably "The Photographer" only because I had a hard time picking out the right photos! Be creative and have fun!
 1. A comic (since I don't have any comic books, I just Google-imaged "Harley Quinn" and used one of her comics)