Friday, November 22, 2013

Thanksgiving Table Runner and Candle Sticks

Want to put together a rustic, yet festive Thanksgiving table? With some scrap wood and string, you easily can. I found this video from Vintage News Junkie and found it a little confusing but eventually figured it out enough to share!

First, you'll a table.
Next, you'll need string. Any kind will do.
Finally, you'll need scrap wood pieces.

Once you have your supplies, take your string and measure out a length longer than the length of the table. I thought "Oh, my table is 55", I'll have the string be 58"." That won't work because you're wrapping the string around the wood so you're going to lose some inches. I could have had a longer table runner had I made my string longer! So to be on the safe side, go for 10" longer than the table, if you can. The more, the better. Once you have your string the length you want, make three other strings that same length. Now you have four strings - tie two together and the other two together.

Next is the annoying part and it probably took me a good 10 minutes to figure it out. Take your wood and one pair of string and stick the wood in the string, so there's a piece of string on top and a piece under.

If you like simple directions: twist the string and place your second piece of wood. Twist the string again and place down another piece of wood. Keep doing this until you run out of string.

If you like complicated directions, watch the video I mentioned.

Once you've done this, do the same for the other side, which felt a lot like weaving (right string goes under, left string goes above, left string goes under, right string goes above, etc.).

Unfortunately because my string wasn't long enough, I was off by about 3" on either side of the table. ::insert sad trombone::

But honestly, no one is going to notice at Thanksgiving when your table is set up.


Now that you have your table runner completed, want some festive candlesticks? Check out how to make apple and twig candlesticks here, otherwise find things around the house! I grabbed some popcorn kernels and candy pumpkins to fit the bill!

TOTAL COSTS: $4.25
$4.25/bundle of 15" scrap wood at Home Depot
String, popcorn kernels, candles, and pumpkins on hand - just find things around the house to decorate your candle holders! Find leaves, find acorns, find pinecones!...unless you live in Hollywood, in which case you won't find any of those things...

TOTAL AMOUNT OF TIME: 35 minutes
20 minutes on the left side
15 minutes on the right side

EASY-PEASY SCALE (1 super easy - 5 very difficult): 3 out of 5
The most difficult part is just getting the string on the wood. It's not impossible, just take a while to get the hang of it. Once you do, it's a piece of cake!

Thursday, November 21, 2013

How to Make Homemade Dish Soap

When I was looking up DIY projects on Pinterest, I saw an all-natural dish soap that can be made with three ingredients. This post from DIY Natural seemed quick, easy, and affordable so I figured I'd give it a shot and let you guys know how it went!

First off, if you don't have these ingredients at home, you can find them online or in the laundry/cleaning aisle of your grocery store. Borax is great for making laundry detergent (which will be a future post!) but I also used it to make slime. Fels-Naptha is a hard soap that's great for making dish soap, laundry detergent, etc.

While the water was boiling, I grated the soap to kill the time. You really don't need that much, just 1 Tablespoon's worth, so it should only take you a couple minutes.

When I first poured the hot water into the Borax/Fels-Naptha mixture and stirred, there were a lot of bubbles but don't be surprised if they go away hours later.

Be sure to stir every hour for the 6-8 hours you decide to let it set. I skipped an hour and because of the Borax, it had almost the same consistency as slime, so try to whisk it once an hour.

I had an empty Ajax bottle on hand and after 6 hours, I poured the mixture into the bottle and shook it up. You'll see it doesn't even full up half the bottle.


After making the soap, of course I had to try it and this is where I became skeptical. When you use the soap, there are no bubbles. At all. I've been trained by the dish soap corporations that bubbles = clean dishes so when I didn't see any, I felt like I was just running the dishes under water. While it's "all natural", and would probably save you a lot of money over time, dish soap isn't that expensive so it's completely up to your lifestyle which option you prefer!

TOTAL COSTS: About $10 
$4.25 for Fels-Naptha Laundry Bar Soap (but you're only going to use 1 Tablespoon's worth)
$5.46 for 20 Mule Team Borax on Amazon (realized it was cheaper in the store after I bought it online! Note this is for about 5 pounds worth and you're only using a 1 Tablespoon)

TOTAL AMOUNT OF TIME: 6 hours, 10 minutes
5 minutes to grate soap and boil water
5 minutes to let the water cool before adding to mixture
6 hours to sit

EASY-PEASY SCALE (1 super easy - 5 very difficult): 1 out of 5
It doesn't get much easier than this! Give it a shot and see if you can be an all-natural soap maker!

Wednesday, November 20, 2013

Behind the Scenes of Star Wars Snowflakes

So this has been going around Facebook and I knew I had to do them: 


1. because we don't get snow in Los Angeles and 
2. my husband is a huge fan of the film series

Designer Anthony Herrera has done 37 designs so far so I picked three that looked the easiest and the most recognizable.


When you print them out, it's up to you to cut around the edges of the square or circle, and fold along the lines. For the circle designs, I folded in half, then in half again, then in thirds to have the design on top.

Before you even start, have a pair of scissors and an x-acto knife ready. The scissors will help for cutting out a lot of grey space, the x-acto knife will be for all the little details inside the design. Now I don't know about you but my x-acto knife can cut through 2, maybe 3 pages at a time. Have patience and for your first ones, try to go for easy designs.


Cut as much grey with scissors as possible
The easiest for me was Darth Vader, however when I got to the final page, you can see the difference in quality between the top layer of paper and the bottom:
Left was last page, right was top page. Major difference in quality!

The second easiest was the X-Wing, mainly because I was able to cut most of it out with scissors. You can see, though, the left inside part is cleaner than the right side because again, the top page was easier to cut than the last piece of paper in the stack.
Left was first piece of paper, right was last piece

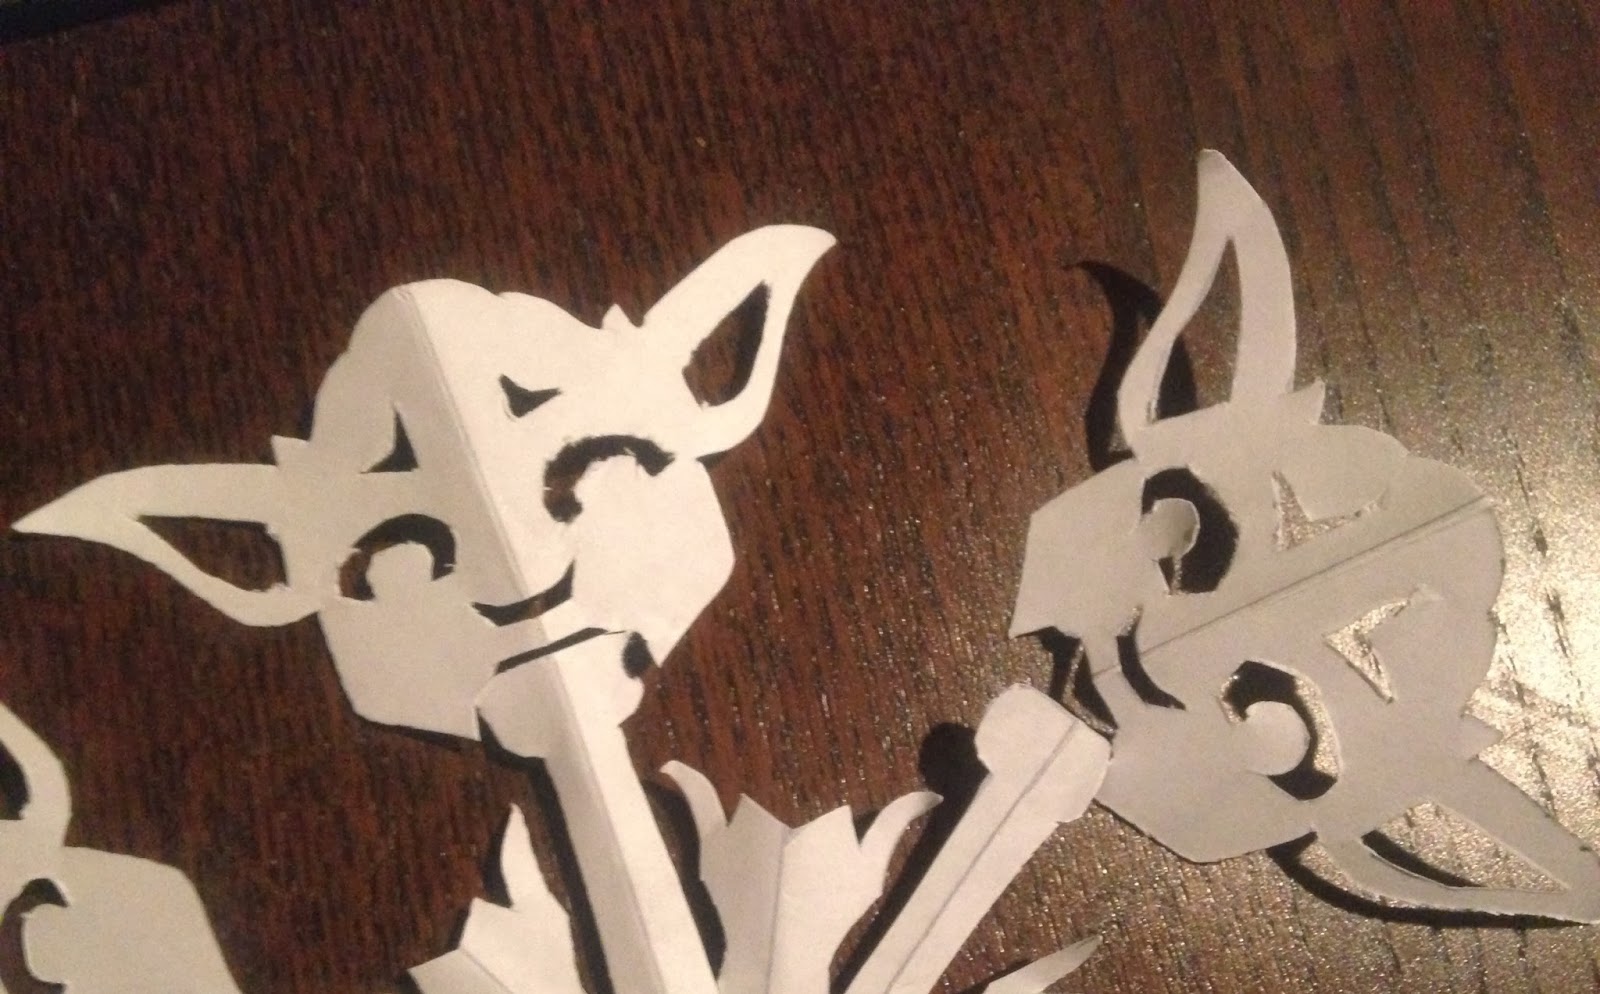
And finally, Yoda cut I did. Be very careful with these really detailed designs, though, as you might almost decapitate your design.
Do not decapitate your designs!


Overall, I would recommend these for any Star Wars fan - try some of his other designs and let me know how they turn out!


TOTAL COSTS: Free!
This is assuming you have a printer, paper, scissors, and an x-acto knife on hand

TOTAL AMOUNT OF TIME: 53 minutes

15 minutes for Darth Vader
15 minutes for X-Wing
23 minutes for Yoda

EASY-PEASY SCALE (1 super easy - 5 very difficult): 2 out of 5

The hardest parts are cutting out the inside details but with patience, you can cut through no problem! Have fun!

Tuesday, November 19, 2013

Tissue Paper Flowers

A friend of mine tipped me off to these beautiful tissue paper flowers and asked if I could try them out. Absolutely, I said! This post comes to us from BohoWeddings.com and are very easy, fast, and creative to make. These would be perfect for any engagement party, wedding, birthday, etc. I followed the instructions and wanted to throw in a couple tips I had along the way.

First off, I don't really follow centimeters as well as I do inches, so get 8 sheets of 24" x 20" tissue paper (those are the standard measurements for tissue paper). I figured instead of using colored tissue paper and forcing you guys to remember which were on top and which were on bottom, I numbered the sheets 1 through 8 - 1 is on top and 8 is on the bottom.


Next, fold about 2" on the shorter side so the bottom sheet (#8) is now showing


Then, start folding accordion-style. Once you've folded everything, grab a piece of string (mine was about 12" long) and tie a knit in the middle. At this point, the bottom sheet (#8) should be on top

Now you can cut your petals! There are multiple ways to do it, I've provided examples below.


But I decided to keep with the original post and cut the same way she did - definitely have a good pair of scissors on hand, though, as you'll be cutting through a lot of sheets at once!


Once you've cut both ends, spread out the petals and start lifting the tissue paper one sheet at a time. I lifted up 4 sheets on one side, flipped it over, and lifted up the other 4 sheets.


And voila! You're done! Now this thing is pretty big... to get a sense as to how large a flower it is, I've put my husband's bike helmet next to it. It's twice the size of a helmet.

But if you flip it upside-down, you'll be able to see the excess string (on the #1 side) and can tie it up, if you so choose!


TOTAL COSTS: $2.95
$2.95 for white tissue paper from Vons
String and scissors were already on hand

TOTAL AMOUNT OF TIME: 15 minutes
You could probably do it in less time since I was trying to take photos, find my scissors, etc.

EASY-PEASY SCALE (1 super easy - 5 very difficult): 1 out of 5
This is a very easy project and one that could turn out beautiful results, depending on the colors you choose, the sizes, and the petal cuts.

Monday, November 18, 2013

Paint on Elmer's Glue - Worth It?

Ever see a photo on the internet with a description of what to do and wonder what the final outcome is supposed to look like? Well, I came across this one on Pinterest with the description, "Elmer's glue on canvas. then paint over it." Seemed simple enough, but what did it look like? Well folks, I tried this one out for you and here's what I found:

After glue dries
Before glue dries
First, I took a small canvas and Elmer's glue and tried to make the same design they did. However, I discovered that the thicker the area, the more the details started to melt away. If you try to do this, be careful not use too much glue or it will start to spread.

After waiting 24 hours, I went to see the results... and as you can see in the photos, it doesn't look at all like the first photo. The glue, while 3-D in some areas (mainly the bottom right corner), it was practically invisible in others. So that's problem #1.

Problem #2? If you can't see the glue, how on earth are you supposed to paint over it?! So here's what it looks like if you paint around the glue and here's what it looks like when you paint over.

If you paint around the glue, be sure you have a tiny paintbrush if your glue design was detailed.

If you paint over the glue, you can come up with some fun designs that will (hopefully) end up being 3-D but it's up to you how you want to paint over it. I ended up just swirling the paintbrush around and after it dried, got some nice see-through effects:


Ultimately, I don't think painting over Elmer's glue was the bees knees. I suppose anything you make that could be monogrammed would be a nice gift for someone, but I think you can skip the glue part, especially because it takes so long to dry.

TOTAL COSTS: About $12
$2.99 for 5oz. of Elmer's glue from Michael's
$1.99 for 2oz. bottle of paint from Blick Art Supplies
$6.60 for a 4x6 canvas

TOTAL AMOUNT OF TIME: About 30 minutes + 24 hours to dry
10 minutes to glue design
24 hours to dry
15 minutes to paint

EASY-PEASY SCALE (1 super easy - 5 very difficult): 1 out of 5
But really, unless you're going to use a LOT of glue, this may be one of those things on the internet best left on the internet.

Sunday, November 17, 2013

How to Screen Print Shirts with Freezer Paper


A friend recommended I try to screen print shirts but I knew that would require a machine and lots of skills I don't have. Besides, I doubt many people have screen print machines just chillin' in their closets. So when I came across this post on Dana Made It, I knew I had to give it a try!

You just need five things:
1. A t-shirt
2. An x-acto knife
3. Freezer paper (found in your grocery store with the aluminum foil and wax paper)
4. Fabric paint
5. Foam brush

My husband has been watching the old 90's TV show, "Hercule Poirot"on Netflix lately and wanted a shirt showing off the main character. After a little Google image searching, I found a great headshot. Now the original post recommends using a program called Picnik but I used Photoshop to crop, make the image black and white, and posterized. Honestly, you don't have to do any of those things if you don't want to. All it does is simplify the image, remove the details, and lets you see a little clearer what should be outlined.

Original trace and copy that has been flipped
Once you have your image, start outlining with a marker. Just like pumpkin carving, concentrate on the white space. Depending on how complicated your design is (this post by Dana Made It just uses goldfish, for example), it could take 2 minutes or 20. After outlining the design, flip it over and go over the lines again on the back. If it helps, color in the image with your marker. Once you've outlined the front and back, take the back image and either scan or take a photo and e-mail it to yourself. This way, you can flip the photo horizontally and then print it out so you have a mirror image.

Next: the cutting. Use an x-acto knife and cut out all the black pieces. Cut out the very small pieces first, then move onto the big pieces so there's less tearing of the paper.


Once your design is cut out, put some blank paper in your t-shirt first, then place your design on the t-shirt and try to iron it on as best you can. However, I found this did nothing. The paper didn't create any sort of seal to the shirt. Still, give it a shot.. maybe you'll have better luck. I didn't have any small pieces because I cut everything in one giant piece but that might not work for your design.

Grab your brush and start painting on top of the design. Because I couldn't get the paper to seal to the t-shirt with the iron, I had a really hard time keeping the paper down when painting. Go slow, be patient, and use as much paint as you need. Just remember do not paint outside of the paper! I accidentally made some drops at the bottom of the shirt and those won't be coming off...

It didn't say how long it would take for the paint to dry but I found it was about 2 hours. The absolute hardest part was removing the paper, especially when it came to the smallest lines. Lets just say, it's not pretty. Maybe with more practice I'll get better, but mine looks sloppy.

Once you get the paper off (as best you can), you need to set the design with an iron. I just took an old dishrag, put it on top, and ironed for a minute or two.

So the moral of this story: choose a simple design to start out with so you understand the process and practice makes perfect!


TOTAL COSTS: About $20
$7.95 for freezer paper at Vons
$5.99 for fabric paint from Michael's
$3.99 for t-shirt from Michael's
X-acto knife and foam brush already on hand

TOTAL AMOUNT OF TIME: Almost 3 hours
20 minutes to trace design
15 minutes to cut it out
15 minutes to iron and paint
2 hours to dry

EASY-PEASY SCALE (1 super easy - 5 very difficult): 3 out of 5
If you have a printer, an idea, and some patience, you can easily do this! Just note it might not look as professional as a screen print.

Saturday, November 16, 2013

Scrabble or Bananagram Coasters

This would be the perfect gift for the poet, writer, or word aficionado in your life! Whether they prefer Scrabble or Bananagrams, this will help add a personal touch to their decor. I found this post on IncredibleThings.com (which looks great for a bar) but they're going for $26. I made these for half that price!

All you need is cork for the coasters, glue (I used E6000 which is great for fabric, metal, wood, glass, ceramic & more), and your word game of choice. Since the coasters I bought were 4" long and 4" wide, I decided to go with Bananagrams, since the pieces are slightly bigger and easier to cover the surface with 5-letter words.

Next, glue them on! I recommend deciding which words you want to make before gluing anything down (that way you're not surprised when you can't that one letter you need!)

Note that this particular glue is quite smelly so make sure you're in a well ventilated area. Also, the directions recommend 24-72 hours to completely dry, so this wouldn't be a good last minute gift. However, this would be a great gift to personalize and have fun with!

TOTAL COSTS: About $10 ($18 if you buy Bananagrams)
$5.59 for coasters from Amazon (currently 10 cents cheaper than what I paid!)
$3.99 for E6000 glue from Michael's
I already had Bananagrams but they're on Amazon for $7.60

TOTAL AMOUNT OF TIME: 5-7 minutes to glue, 24-78 hours to dry

EASY-PEASY SCALE (1 super easy - 5 very difficult): 1 out of 5
This is something anyone could do and would be a great holiday, homecoming, or birthday gift!