Showing posts with label snowflakes. Show all posts

Friday, December 13, 2013

How to Make a Crystal Snowflake

The entire country has been slammed with cold weather (except Florida... they're not participating in December) but here in LA, it's still not cold enough to see snowflakes. What's a girl to do? Well, make snowflakes in the kitchen! This post comes to us from Enchanted Learning.

First, grab 3 pipe cleaners (preferably white but I only had light green on hand) and make a 6-pointed star by twisting:


Next, grab some string and tie/wrap it around each stem, cutting off the excess string:


Then grab a wide-mouth jar (I used a pickle jar) and fill it with boiling water. If you want to add food coloring, you can, but after the fact I noticed it didn't do a thing. Might work better if the pipe cleaners had been white. Anyway, add in 20 Mule Team Borax to the water until it's super saturated - the original post said 3 Tablespoons for every cup of water. In my 2 1/4 cups of water, I added 3/4 cups of Borax.


Keep the snowflake in the Borax/water solution overnight. I kept mine in there from 9pm - 9am and this is how it turned out:

9pm
9am


It worked! Only... there was one teeny tiny problem. You see, when the crystals form on the pipe cleaners, you want to make sure you have ample room to get it out of the jar! My stems were the right length but the crystals added a few centimeters and thus my snowflake stayed in the jar. Oh well.


TOTAL COSTS: About $7 but you could make so many!
$1.79 for pipe cleaners
$5.46 for 20 Mule Team Borax on Amazon (realized it was cheaper in the store after I bought it online! Note this is for about 5 pounds worth and you're only using a small amount in this recipe)

TOTAL AMOUNT OF TIME: 12 hours
Ideally you want to leave it overnight

EASY-PEASY SCALE (1 super easy - 5 very difficult): 1 out of 5
You're just wrapping pipe cleaners around themselves, tying on some string, and sticking it in a water/Borax solution. Doesn't get much easier than that folks!

UPDATE: It has been 4 months since I wrote this post and someone asked me how long they last. Well, half of the snowflake still has crystals on it (though I did keep it in the jar the entire time). Hope this helps!


Wednesday, November 20, 2013

Behind the Scenes of Star Wars Snowflakes

So this has been going around Facebook and I knew I had to do them: 


1. because we don't get snow in Los Angeles and 
2. my husband is a huge fan of the film series

Designer Anthony Herrera has done 37 designs so far so I picked three that looked the easiest and the most recognizable.


When you print them out, it's up to you to cut around the edges of the square or circle, and fold along the lines. For the circle designs, I folded in half, then in half again, then in thirds to have the design on top.

Before you even start, have a pair of scissors and an x-acto knife ready. The scissors will help for cutting out a lot of grey space, the x-acto knife will be for all the little details inside the design. Now I don't know about you but my x-acto knife can cut through 2, maybe 3 pages at a time. Have patience and for your first ones, try to go for easy designs.


Cut as much grey with scissors as possible
The easiest for me was Darth Vader, however when I got to the final page, you can see the difference in quality between the top layer of paper and the bottom:
Left was last page, right was top page. Major difference in quality!

The second easiest was the X-Wing, mainly because I was able to cut most of it out with scissors. You can see, though, the left inside part is cleaner than the right side because again, the top page was easier to cut than the last piece of paper in the stack.
Left was first piece of paper, right was last piece

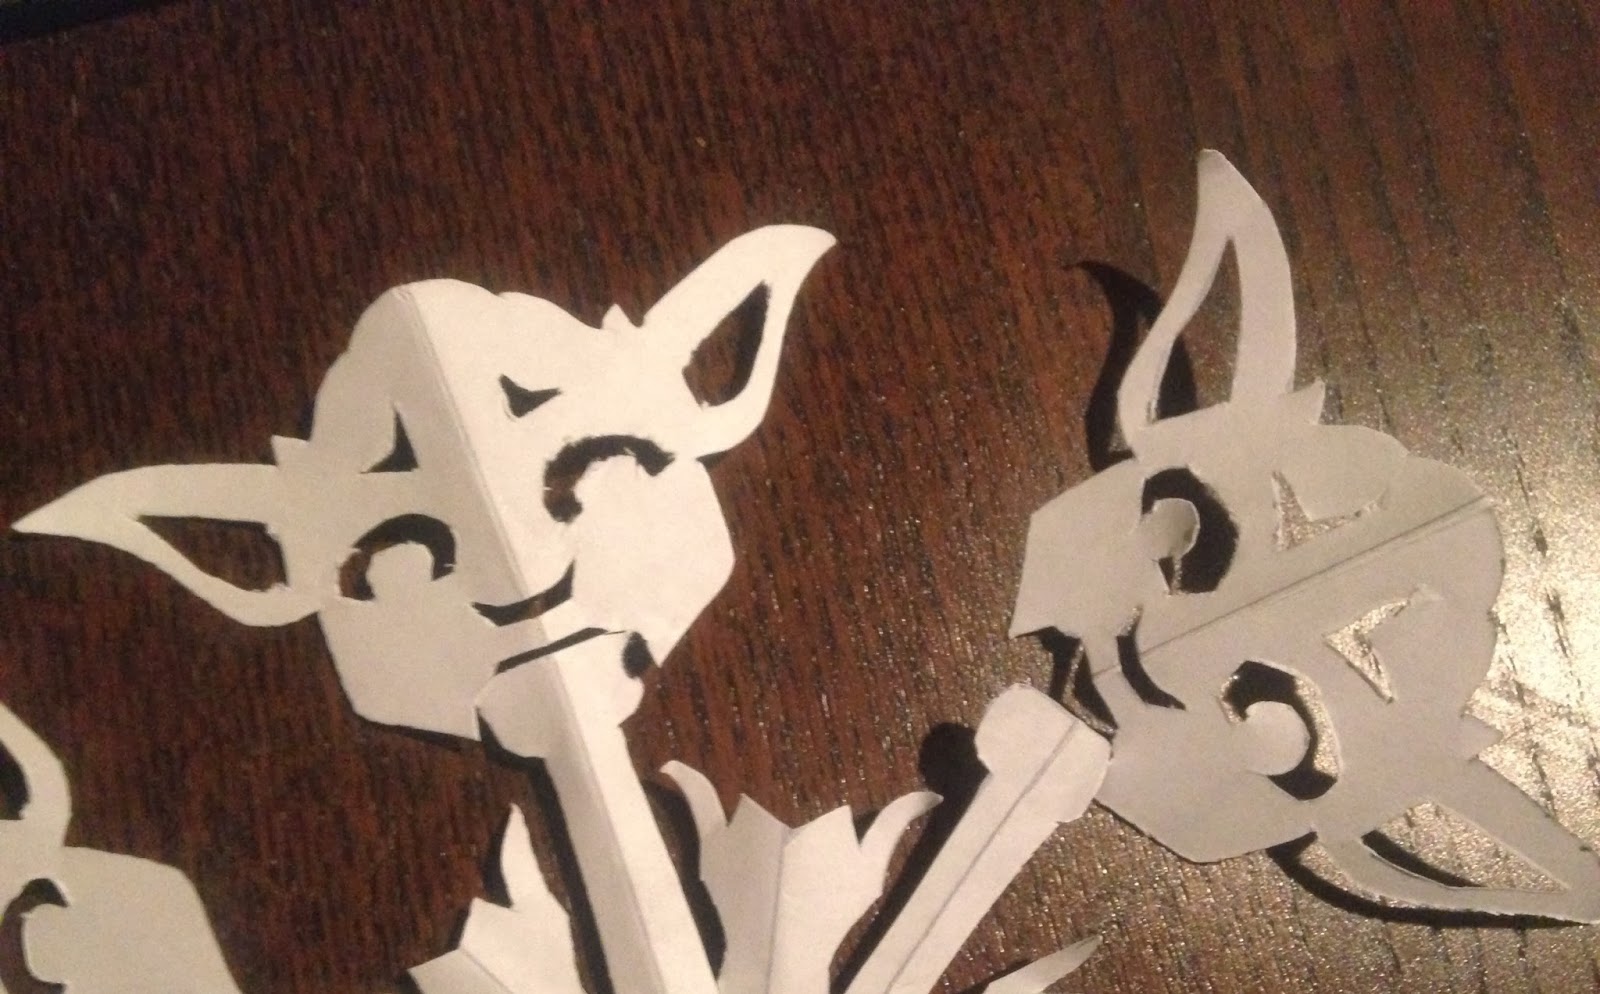
And finally, Yoda cut I did. Be very careful with these really detailed designs, though, as you might almost decapitate your design.
Do not decapitate your designs!


Overall, I would recommend these for any Star Wars fan - try some of his other designs and let me know how they turn out!


TOTAL COSTS: Free!
This is assuming you have a printer, paper, scissors, and an x-acto knife on hand

TOTAL AMOUNT OF TIME: 53 minutes

15 minutes for Darth Vader
15 minutes for X-Wing
23 minutes for Yoda

EASY-PEASY SCALE (1 super easy - 5 very difficult): 2 out of 5

The hardest parts are cutting out the inside details but with patience, you can cut through no problem! Have fun!