Showing posts with label painters tape. Show all posts

Wednesday, July 16, 2014

DIY Bleach T-shirts

A few months back I attempted to make a bleach pen and the results were... disastrous, to say the least. I veered away from any projects that involved bleach and t-shirts because I was sure I was just going to screw them up. Well, I came across this post from PracticallyFunctional and this post from Brit.co and thought, "You know what? One Pinterest fail isn't going to stop me!" so I tried these two and you know what? They actually turned out ok! So if you think you're just going to screw it up... trust me, coming from a master failer, you'll be fine.


Bleach Striped T-shirt:

To get started you'll need the following:

1. A t-shirt
2. Some bleach
3. Some water
4. Masking or painter's tape
5. A spray bottle (I just recycled an old one I had on hand)

To begin, start by laying out your shirt and placing your masking or painters tape across the shirt. If you want to use a ruler to get perfect stripes, you can, but I just eye-balled it. Make sure the strips of tape are long enough to wrap around the other side.

Once the shirt is covered in tape stripes, flip it over and continue the lines on the other side with tape.


Try to overlap the tape perfectly, otherwise your lines won't look at seamless.


Next, pour 1 part water and 1 part bleach into a bottle (I did half and half) and place your shirt in a place where you're not afraid to get bleach on it. I opted for the bathtub... figured bleach could only make things better in there! Spray the front, flip it over, and spray the back.


How long you want the bleach to sit is entirely up to you. I opted for 10 minutes but should have done 5 minutes because I got blurred lines (::insert Robin Thicke reference::).


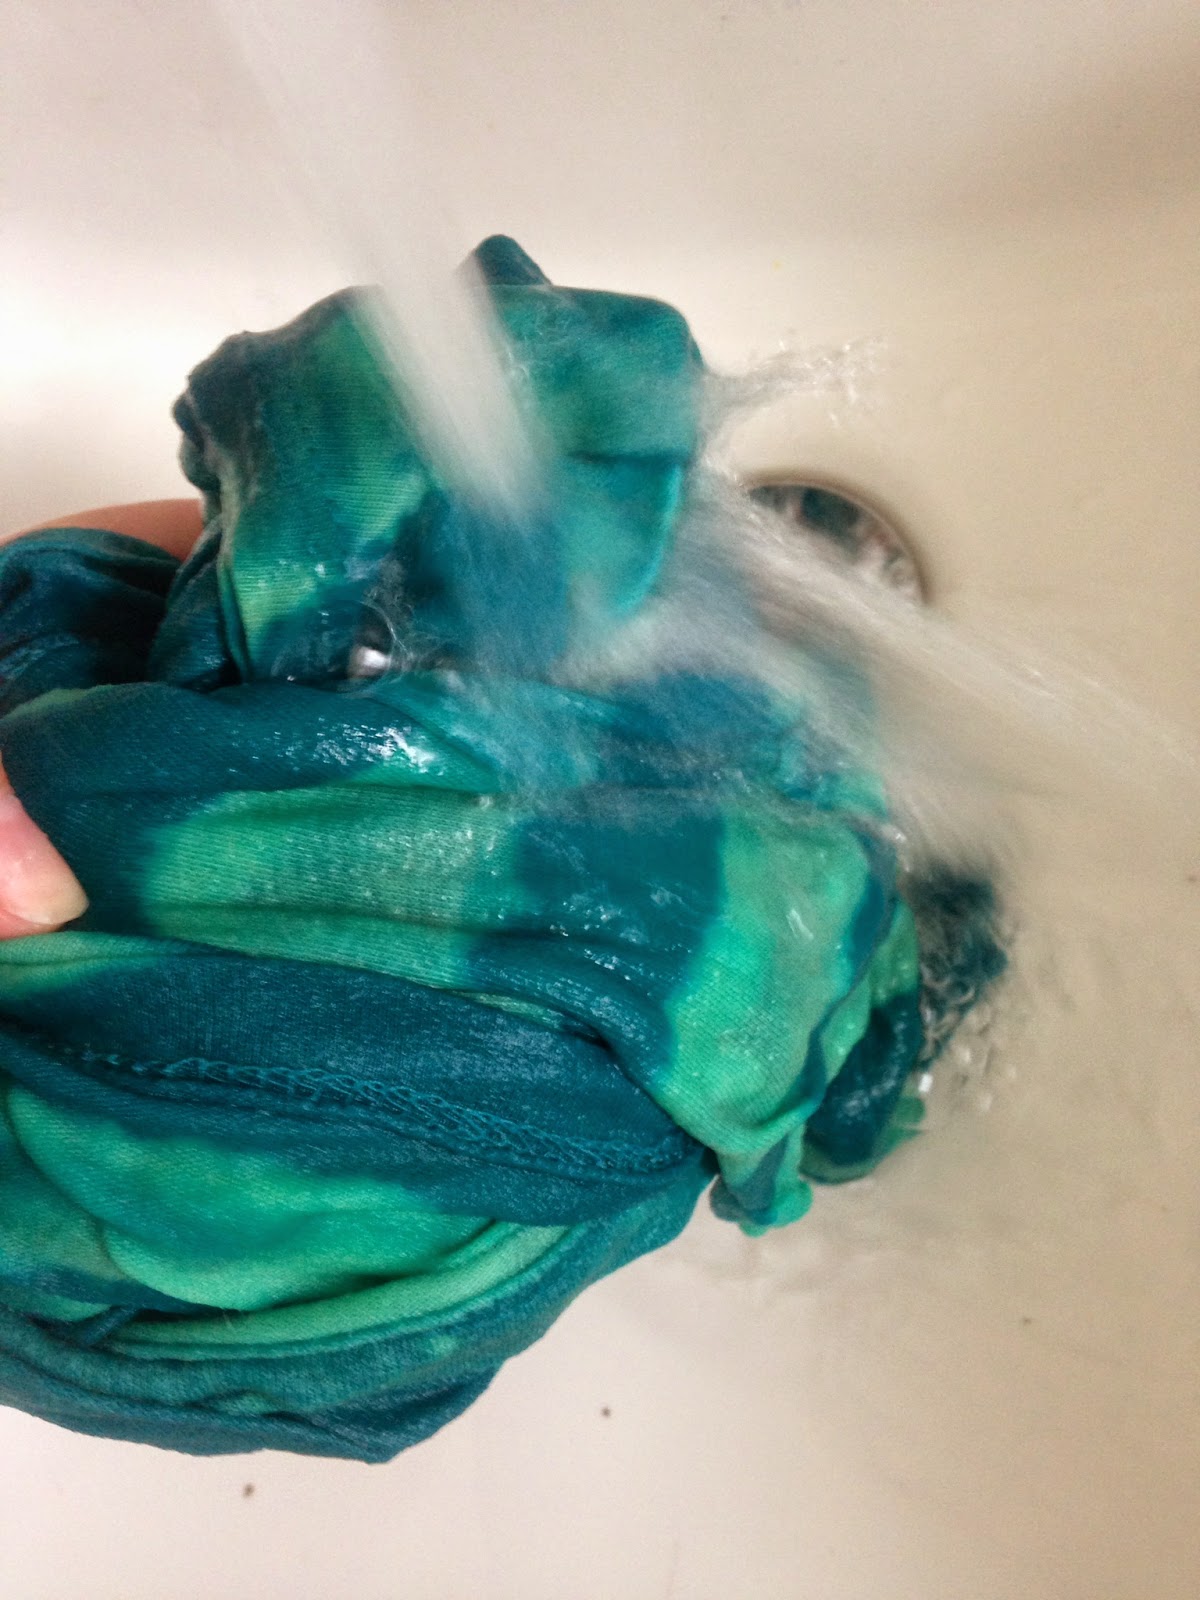
Once your 5-10 minutes are up, remove the tape and rinse the shirt under cold water.


Hang dry for 24 hours before showing off your work! Now aren't you glad you didn't spend $25 on something you could just as easily make yourself? I know it's not perfect but I kinda like it better this way!


Bleach Stencil T-shirt

Now I used this stencil of a cute little owl, cut out all the white parts with an x-acto knife, and taped it to a tank top (if you print out your stencil on transfer paper with spray adhesive, that works too, but I just used card stock and Scotch tape).


Just like before, spray with your 50/50 bleach/water mixture and let it sit for 5-10 minutes.


Rinse it out with cold water and let it air dry for 24 hours before wearing.


Because my owl wasn't completely flush with the shirt, there are some areas around the eyes that didn't turn out as well but overall, I think he's adorable!


A couple things to keep in mind:

#1 - Wherever the bleach water touches, it will stain, even if it's not part of your design (make sure your bottle doesn't leak).

#2 - The longer you wait for the bleach to set, the lighter the color.

#3 - This is a smelly project - wherever you are, you'll smell bleach so please be in a well ventilated room! And yes, the shirts will have a faint smell of bleach when dry so don't be surprised.

Have fun making your shirts your own! Or better yet, make some as gifts for family, for Halloween, for your company softball team... the possibilities are endless!

TOTAL COSTS: About $10
$3 for t-shirt from Goodwill (tank top already on hand)
$5.87 for Frog Tape from Home Depot
$1.79 for bleach from Vons
Bottle already on hand (recycled)

TOTAL AMOUNT OF TIME: 20-30 minutes + overnight
15 minutes to make the stripes/cut out the owl
5-10 minutes to spray bleach and let sit
Overnight to dry

EASY-PEASY SCALE (1 super easy - 5 very difficult): 3 out of 5
To get perfectly straight lines without any bleeding takes practice and you might not get it on the first try (like me) but keep at it and you'll get into a rhythm. If you're using a stencil, make sure it's centered exactly where you want it, otherwise it might look a bit... off.

Sunday, December 1, 2013

Wood String State Art

Not sure what wood string state art is? I wasn't sure either until I saw this post by The Harpster Home and wanted to give it a try. If you have wood, string, nails, a hammer, and a printer, you too can also make this unique piece of art! You don't have to do a state, either. I've seen some people on Pinterest and Etsy do reindeer, snowmen, polar bears... or you could spend $50 on one like this but making one is MUCH cheaper!

The original post called for a 12" x 12" piece of wood but I went with a 9" x 12" and focused on the lower peninsula of Michigan (sorry Yoopers!). Make sure you have a LOT of nails and a LOT of string before you even get started. I didn't have enough string so I ended up using sewing thread, which worked fine but was pretty thin.

So using scotch tape (or painters tape, as the original post called for), tape down whatever it is you're going to outline with nails so it doesn't move around the wood. Then, one nail at a time, nail down around the edges of the design. When you're done, remove the paper design.


Take your string, tie it around one nail, and start going back and forth between the border nails and the heart nails, just zig-zagging back and forth. Be sure to pop in a podcast or music because this will be as boring as the hammering part.

One big mistake I made? The heart around my hometown wasn't fully nailed into the piece of wood, so the nails got pulled in all directions, making the heart look sloppy:


Once your'e done, though, you'll have a unique piece of art that didn't cost much and would make a great holiday gift!


TOTAL COSTS: About $17 (MUCH cheaper than the $50 piece on Etsy!)
$9.99 for the wood from Michael's
$2.19 for thread from Vons
$5.20 for 4 packs of nails from Home Depot (be sure to go with the nails with heads on top - I ended up using 15 nails for the heart and 125 around the state)

TOTAL AMOUNT OF TIME: Almost an hour
35 minutes to go around the state with hammer and nails
20 minutes to go around with string

EASY-PEASY SCALE (1 super easy - 5 very difficult): 2 out of 5
The hardest part is just making sure the nails are far enough into the wood so that they won't move - don't make the same mistake I made!

Tuesday, October 29, 2013

Chalkboard Coffee Mugs

I kept running across creative DIY project on Pinterest involving chalkboard paint and thought it would be a nice, creative, and hopefully easy project to take on. Kids, if you do nothing else, learn from Mama Kat's mistakes... today's post comes from Wit & Whistle's Chalkboard Mug post.

Here's everything you will need: a mug, a paintbrush, chalkboard paint for porcelain, painters tape (not masking tape - more on that later), rubber gloves (optional - I didn't and still have black on my nails) and eventually, chalk.

Rule #1 - Cover your workspace, so you have a safe place to put down the paintbrush and mug.

Rule #2 - Do not use chalkboard spray paint like this one. I know, it's more convenient and often times cheaper, but if you want to work with a coffee mug, bowl, etc., you really should get Pebeo Porcelaine 150 Chalkboard Paint. This is specifically made for going into the oven and those other kinds are not.

Rule #3 - Do not use masking tape. Why? Well, if you want half the mug to be chalkboard and half not, you'll end up going from this:
Top half taped, bottom half painted = good
To this:
No straight line = bad
Chalkboard paint seems to laugh at masking tape, as if to say, "You think you can stop me from where I want to go? Ha!" I made sure the tape was pressed down tight against the mug but that didn't matter. So what do you do if your straight line has gone haywire? Get a damp paper towel and wipe away the mistakes. Now I removed the tape as soon as I was done painting, per the original post, so the paint was still wet enough to wipe away. Even if you decide to wait til the paint has dried, the paint can be chipped off up until you put it in the oven. 

Rule #4: Try to paint as evenly as possibly. Meaning, if you have drips down the sides, they will dry that way. If you have brush strokes on the mug, they'll dry that way. Just something to keep in mind.

Rule #5: Practice, practice, practice. Yes, the original blog's mug looks perfect and maybe yours doesn't. That's ok! Try again, learn from your mistakes, and make another! 

After waiting 24 hours for the mug to dry, I cranked up the oven to 300 degrees and set the mug on the wire racks for 35min, per the instructions on the paint bottle. It didn't say how long to let it cool so after the 35 minutes of baking, I waited an hour before removing it from the oven so it could be completely cool.

Don't forget to chalk the mug completely before putting it to good use! Now that you've baked it, it's microwave and dishwasher safe!

Just a little chemistry joke for you

TOTAL COSTS: About $9
$5.39 for Pebeo Porcelaine 150 Chalkboard Paint from Dick Blick (almost twice that on Amazon!)

$.80 for a box of chalk from Dick Blick

$2.99 mug from IKEA

Paintbrush and tape already on hand - remember, use painters tape!

TOTAL AMOUNT OF TIME: About 26 hours
7 minutes to tape mug (I was spending a lot of time trying to get my line straight)

15 minutes to paint and fix my mistakes

24 hours to dry

35 minutes to bake

1 hour to cool down

EASY-PEASY SCALE: 3 out of 5
Now this is one of those projects that won't be perfect at first but you'll get better the more you do it so don't get discouraged. Besides, the more mistakes you make, the more "homemade" it looks! Have patience and have fun!