Showing posts with label diy. Show all posts

Friday, September 12, 2014

DIY Goal List

Being organized is hard. My office alone requires the organization of papers, supplies, cords, bills, envelopes, more cords, and a bunch of stuff that requires brain power in order to categorize it. And that's just one room in my apartment! So when I came across this picture on PopSugar (sorry, the original link doesn't work), I decided to make my OWN template to share with you, should you choose to do the same!

The original post must have used 2"x2" Post-Its, since they managed to get three across on an 8 1/2"x11" piece of paper, but since I had 3"x3" Post-Its, I made this template with two on the bottom and two on top, making it four goals per... whatever you like. My example below is per week.


And the best part? You don't have to use Post-Its - you could slip it in a plastic page protector, bust out your dry erase markers, and reuse it over and over again! I find keeping it on the fridge is helpful, since I frequent it enough during the day...


So if you consider yourself organizationally-challenged, I recommend you download the template, print it out, and see how it does you for the week. Sometimes that visual reminder goes a long way. And the best part? Ripping off that Post-It or wiping off that chore - it's very satisfying!

TOTAL COSTS: Depends on method
Template I made is free (though you're welcome to make one of your own)
$4.50 for 100 Sheets of Post-Its at Staples
$1.50 for dry erase marker at Staples

TOTAL AMOUNT OF TIME: How long does it take for you to print a piece of paper?

EASY-PEASY SCALE (1 super easy - 5 very difficult): 1 out of 5
The hard work is done - the template has been made. All you have to do is fill in the blanks. Ok, maybe the hardest part is actually getting all of your goals done...

Tuesday, September 9, 2014

DIY Toothpaste

My cousin showed me this post from ThankYour Body on how to make your own all-natural, flouride-free toothpaste from coconut oil and bentonite clay. I liked it, but what the heck is bentonite clay? Where do you get it and what else do you use it for? And why is that toothpaste brown?! Ok, I'll admit it, I've grown to love commercial toothpaste - it's white, it's thick, and for the past 30ish years, it has done me well. But I'm open-minded so I decided to try this recipe from TheChalkboardMag. All of the ingredients were in my kitchen cupboards so I had no excuse not to try it (FYI - if you don't have any of these ingredients, just stop by Whole Foods).

All you need to make about 2oz. worth is:

1. 2 Tablespoons of baking soda
2. 2 Tablespoons of coconut oil
3. 20 drops of peppermint oil (to make it taste minty)
4. 1 teaspoon of sea salt (optional and I don't recommend it - I'll get you why later).

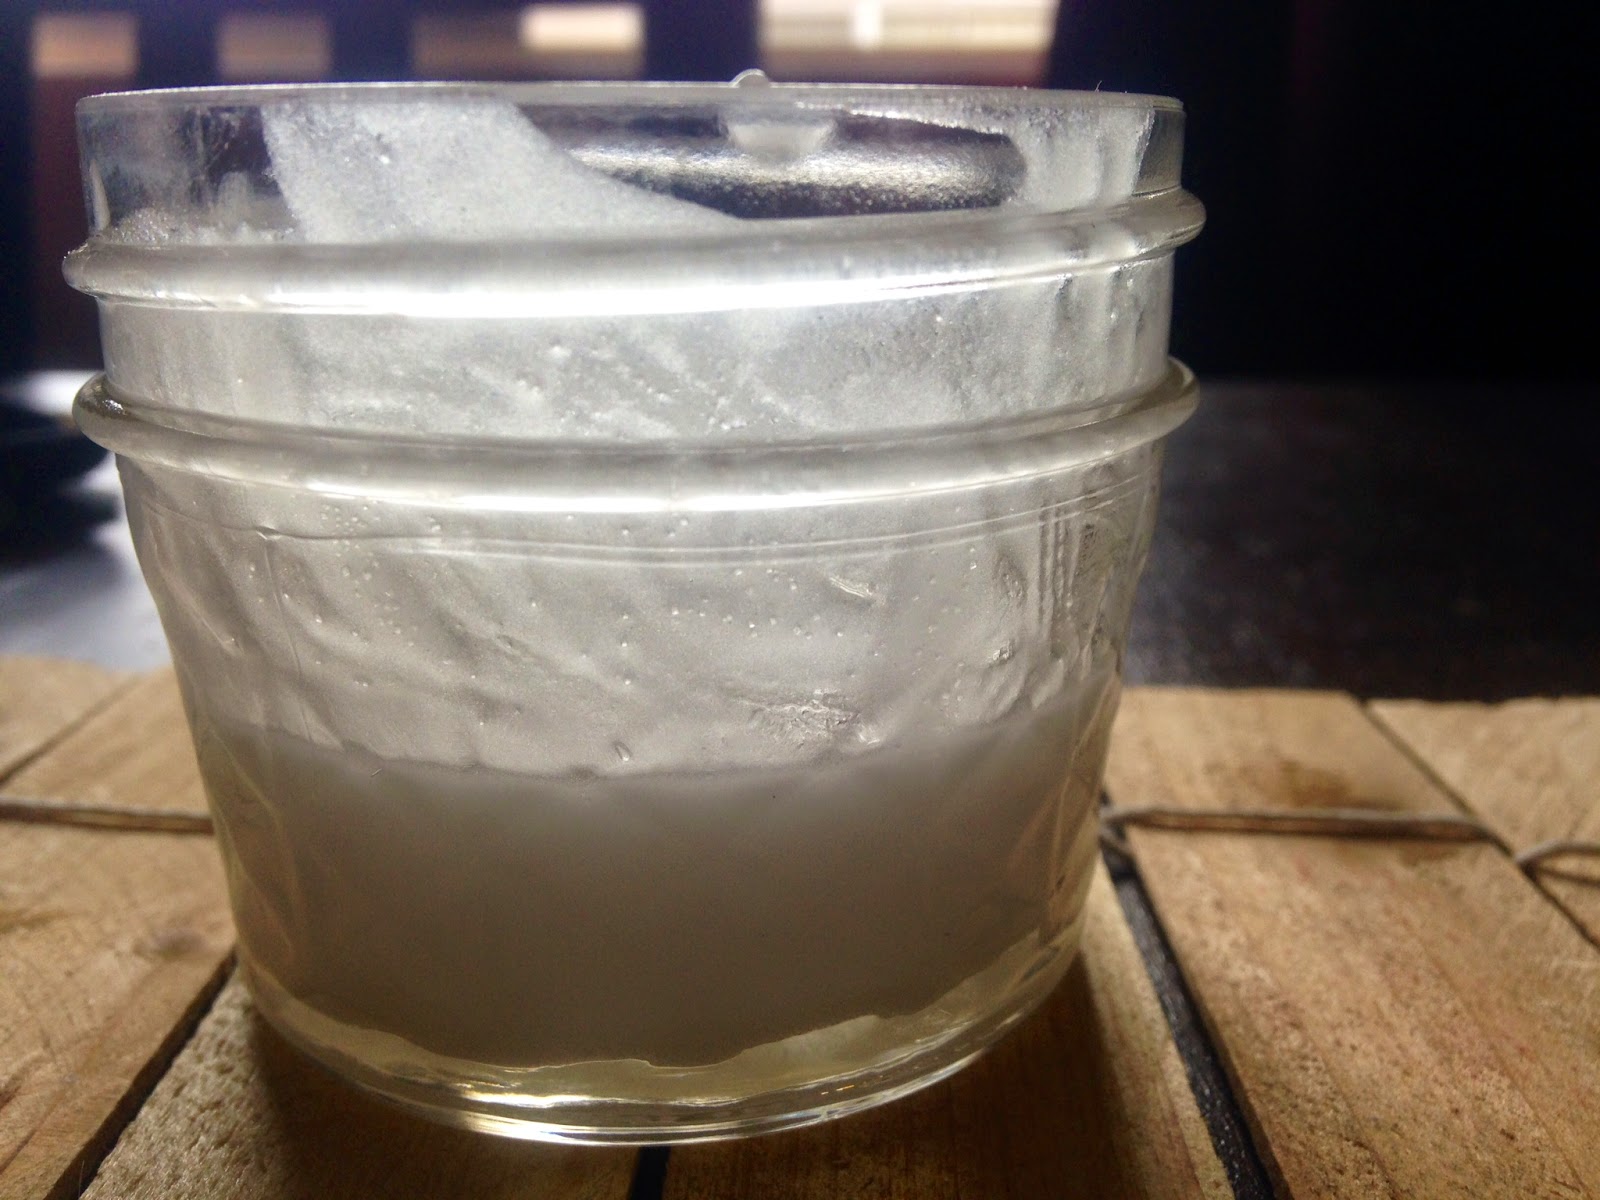
It's quite easy - just add all the contents to your little container (I used a 4 ounce mason jar).


As you can see, it barely filled up half of the jar. So hey, if you don't like it, it's not like you wasted too much!

To put it on the toothbrush, I had to dip my toothbrush into the jar (which probably isn't very sanitary but it was so runny, I had no choice! Makes sense, now, as to why people use bentonite clay).


And the results? Well, I felt like I ran out of toothpaste halfway through the brushing but even worse, it felt like I licked a salt cube. I couldn't get the taste of salt out of my mouth so I had to brush my teeth again, this time with my commercial toothpaste. While salt is a great antibacterial (remember when your doctor told you to gargle with warm salt water when you had a sore throat?), it can also be very abrasive if you have sensitive gums. That, along with the taste, makes me recommend not adding salt.

However, if you don't want to use a toothpaste with fluoride in it, this might be a good alternative for you. Just... don't use salt. Or if you do, use very little. Your taste buds will thank you.

TOTAL COSTS: About $18 to make as much as you want!
$1.59 for baking soda from Vons
$5.99 for coconut oil from Whole Foods
$7.99 for peppermint oil from Whole Foods
$1.99 for sea salt from Vons

TOTAL AMOUNT OF TIME: Less than 5 minutes

EASY-PEASY SCALE (1 super easy - 5 very difficult): 1 out of 5
This is so simple because it's only 4 ingredients (or 3, if you leave out the salt), mixed into a container, and put right onto your toothbrush. It's supposed to last up to six months, if stored properly. I doubt, though, it would last you that long if you brushed twice daily.

Wednesday, July 16, 2014

DIY Bleach T-shirts

A few months back I attempted to make a bleach pen and the results were... disastrous, to say the least. I veered away from any projects that involved bleach and t-shirts because I was sure I was just going to screw them up. Well, I came across this post from PracticallyFunctional and this post from Brit.co and thought, "You know what? One Pinterest fail isn't going to stop me!" so I tried these two and you know what? They actually turned out ok! So if you think you're just going to screw it up... trust me, coming from a master failer, you'll be fine.


Bleach Striped T-shirt:

To get started you'll need the following:

1. A t-shirt
2. Some bleach
3. Some water
4. Masking or painter's tape
5. A spray bottle (I just recycled an old one I had on hand)

To begin, start by laying out your shirt and placing your masking or painters tape across the shirt. If you want to use a ruler to get perfect stripes, you can, but I just eye-balled it. Make sure the strips of tape are long enough to wrap around the other side.

Once the shirt is covered in tape stripes, flip it over and continue the lines on the other side with tape.


Try to overlap the tape perfectly, otherwise your lines won't look at seamless.


Next, pour 1 part water and 1 part bleach into a bottle (I did half and half) and place your shirt in a place where you're not afraid to get bleach on it. I opted for the bathtub... figured bleach could only make things better in there! Spray the front, flip it over, and spray the back.


How long you want the bleach to sit is entirely up to you. I opted for 10 minutes but should have done 5 minutes because I got blurred lines (::insert Robin Thicke reference::).


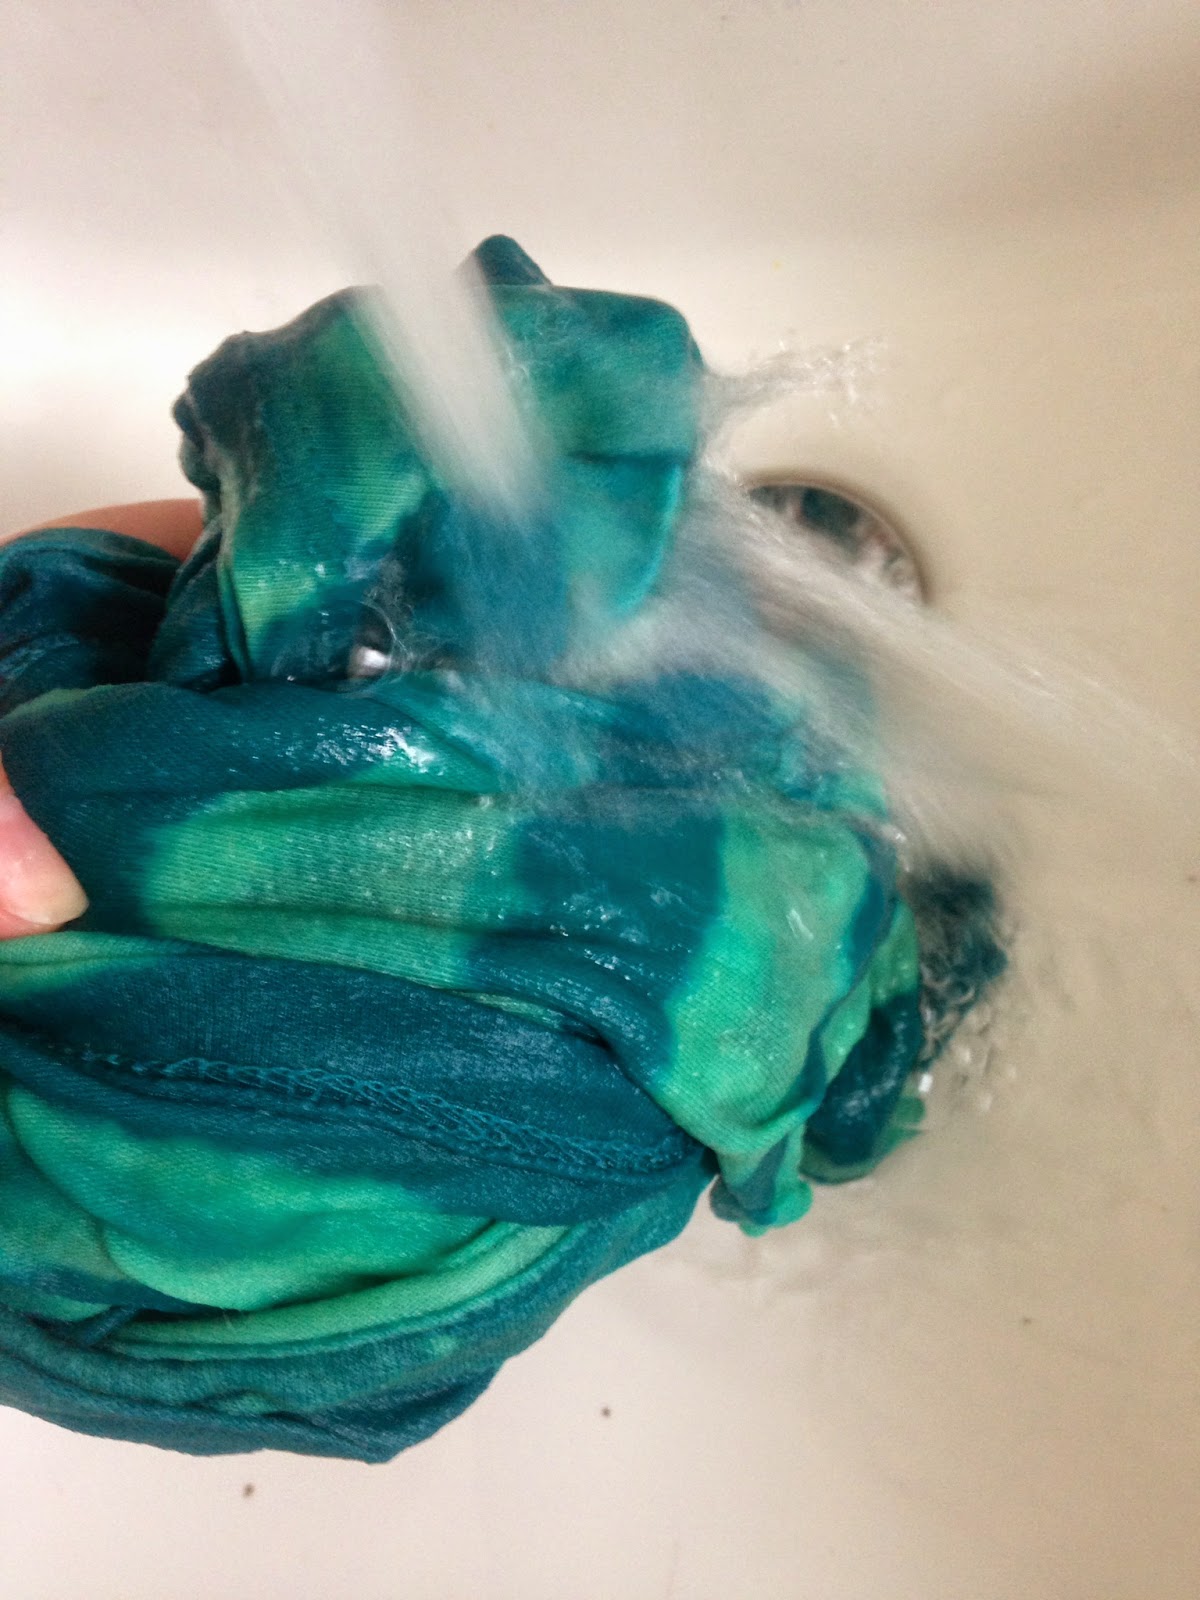
Once your 5-10 minutes are up, remove the tape and rinse the shirt under cold water.


Hang dry for 24 hours before showing off your work! Now aren't you glad you didn't spend $25 on something you could just as easily make yourself? I know it's not perfect but I kinda like it better this way!


Bleach Stencil T-shirt

Now I used this stencil of a cute little owl, cut out all the white parts with an x-acto knife, and taped it to a tank top (if you print out your stencil on transfer paper with spray adhesive, that works too, but I just used card stock and Scotch tape).


Just like before, spray with your 50/50 bleach/water mixture and let it sit for 5-10 minutes.


Rinse it out with cold water and let it air dry for 24 hours before wearing.


Because my owl wasn't completely flush with the shirt, there are some areas around the eyes that didn't turn out as well but overall, I think he's adorable!


A couple things to keep in mind:

#1 - Wherever the bleach water touches, it will stain, even if it's not part of your design (make sure your bottle doesn't leak).

#2 - The longer you wait for the bleach to set, the lighter the color.

#3 - This is a smelly project - wherever you are, you'll smell bleach so please be in a well ventilated room! And yes, the shirts will have a faint smell of bleach when dry so don't be surprised.

Have fun making your shirts your own! Or better yet, make some as gifts for family, for Halloween, for your company softball team... the possibilities are endless!

TOTAL COSTS: About $10
$3 for t-shirt from Goodwill (tank top already on hand)
$5.87 for Frog Tape from Home Depot
$1.79 for bleach from Vons
Bottle already on hand (recycled)

TOTAL AMOUNT OF TIME: 20-30 minutes + overnight
15 minutes to make the stripes/cut out the owl
5-10 minutes to spray bleach and let sit
Overnight to dry

EASY-PEASY SCALE (1 super easy - 5 very difficult): 3 out of 5
To get perfectly straight lines without any bleeding takes practice and you might not get it on the first try (like me) but keep at it and you'll get into a rhythm. If you're using a stencil, make sure it's centered exactly where you want it, otherwise it might look a bit... off.

Saturday, July 12, 2014

DIY Cooling Pack That Won't Freeze!

Whelp, it's officially summer! The season for kids to fall off their bikes, runners to pull a muscle, and me to sweat my tail off. What do these things have in common? Ice packs. Sure, you could put some ice in a bag but it won't last very long because the ice will melt and sometimes the bag won't confirm to the shape you need it to. So I decided to take this tip from Ziploc's website and make my own cooling pack, which is awesome because in this California heat and lack of air conditioning, it'll be used almost daily!


To make one yourself, all you need is:

1. A plastic bag (I went with the quart size)
2. Rubbing alcohol
3. Water
4. Food coloring (optional)
5. Glitter (optional)


Mix three parts water to one part rubbing alcohol - I used 3 cups of water with 1 cup of rubbing alcohol. Next, add your food coloring (completely optional). 5 drops of blue did the trick!


And if you want to get fancy, a little glitter never hurt anyone.


Close up the bag and squeeze until all the ingredients have been thoroughly mixed together. Place it in your freezer until you're ready to use it!


I left mine in the freezer overnight and it was just as malleable as before!


If you're using this to cool yourself down in the summer months, the best places to put it would be your neck, armpits, groin, or behind the knee. Wherever an artery is close to the surface, you'll want to place the pack so you can keep your core temperature down. Keep cool and stay safe everyone!

TOTAL COSTS: About $4
$2.99 for box of Ziploc bags
$.99 for rubbing alcohol
Food coloring and glitter already on hand, both optional

TOTAL AMOUNT OF TIME: Less than 5 minutes to assemble + 1-2 hours in the freezer

EASY-PEASY SCALE (1 super easy - 5 very difficult): 1 out of 5
This is very easy to put together and keep in the freezer. However, I might recommend duct taping the edges, as sometimes the water tends to try and leak out when you aren't looking!

Friday, July 11, 2014

Homemade Glass Cleaner vs. Windex

Nowadays it seems like everyone is much more aware of what chemicals are used in cleaning products than, say, 50 years ago. Many are resorting to making their own cleaning products but does that really make them "better"? Do they do the same job as the store-bought name brand cleaners? I decided to try this recipe from Instructables for homemade glass cleaner to see if it was worth the switch.

To make your own you'll need:

* An empty spray bottle (I used an old Lysol bottle)
* 1/2 cup of white vinegar
* 1/2 cup of rubbing alcohol
* 2 Tablespoons of corn starch
* 3-4 cups of warm water (I used about 3 1/2 cups until the bottle started to overflow!)

And to be fair, I tested against original Windex.


Start by adding all the ingredients to your bottle, leaving the water for last. If you don't have a funnel, you can easily make one out of paper (or Post-It notes!)


Once the water has been added, screw on the nozzle and shake it for a few seconds. Now you're ready to clean those windows! It's really hard to show the results in photos but I did make an attempt.

I covered two pieces of glass with chocolate and sprayed the left with the homemade solution and the right with Windex.


So both solutions worked just fine but I might add some bullet points the original post doesn't mention...


Homemade solution: 
   * Smells bad (if you're cleaning all of your windows, get used to the smell of vinegar!)
   * Leaves streaks

Windex solution:
   * Full of chemicals
   * Paper towel leaves lint (though that might be the fault of the paper towel, not the Windex)

In the end, it's really up to you. I didn't like the streaks, nor did I like the smell of vinegar, but at least I knew what was in the solution. If I had kids and was concerned for their health, perhaps I'd stick with the homemade glass cleaner. For now, though, I think I'll stick with the Windex.

TOTAL COSTS: About $6
$3.29 for white vinegar
$.99 for rubbing alcohol
$1.80 for corn starch
Empty Lysol bottle already on hand
Cost of Windex is $2.79 at Vons

TOTAL AMOUNT OF TIME: Less than 5 minutes

EASY-PEASY SCALE (1 super easy - 5 very difficult): 1 out of 5
There's nothing difficult about pouring all the ingredients into an empty bottle, it's just up to you whether you prefer this method over buying some over the counter!

Tuesday, June 17, 2014

DIY Headphones

I don't think I've ever said, "My headphones look boring", however the thought has crossed my mind that the while Apple earbuds they give you do get grimy quickly. Two ways to fix it: a.) clean them off (boooring) or b.) cover them up! Today's post comes to us from Refinery29 and using embroidery thread, you can decorate your earbuds to show off your school pride, your fraternity or sorority colors, or even for gay pride!


All you need are:

* A pair of scissors
* A pair of headphones
* Some embroidery thread
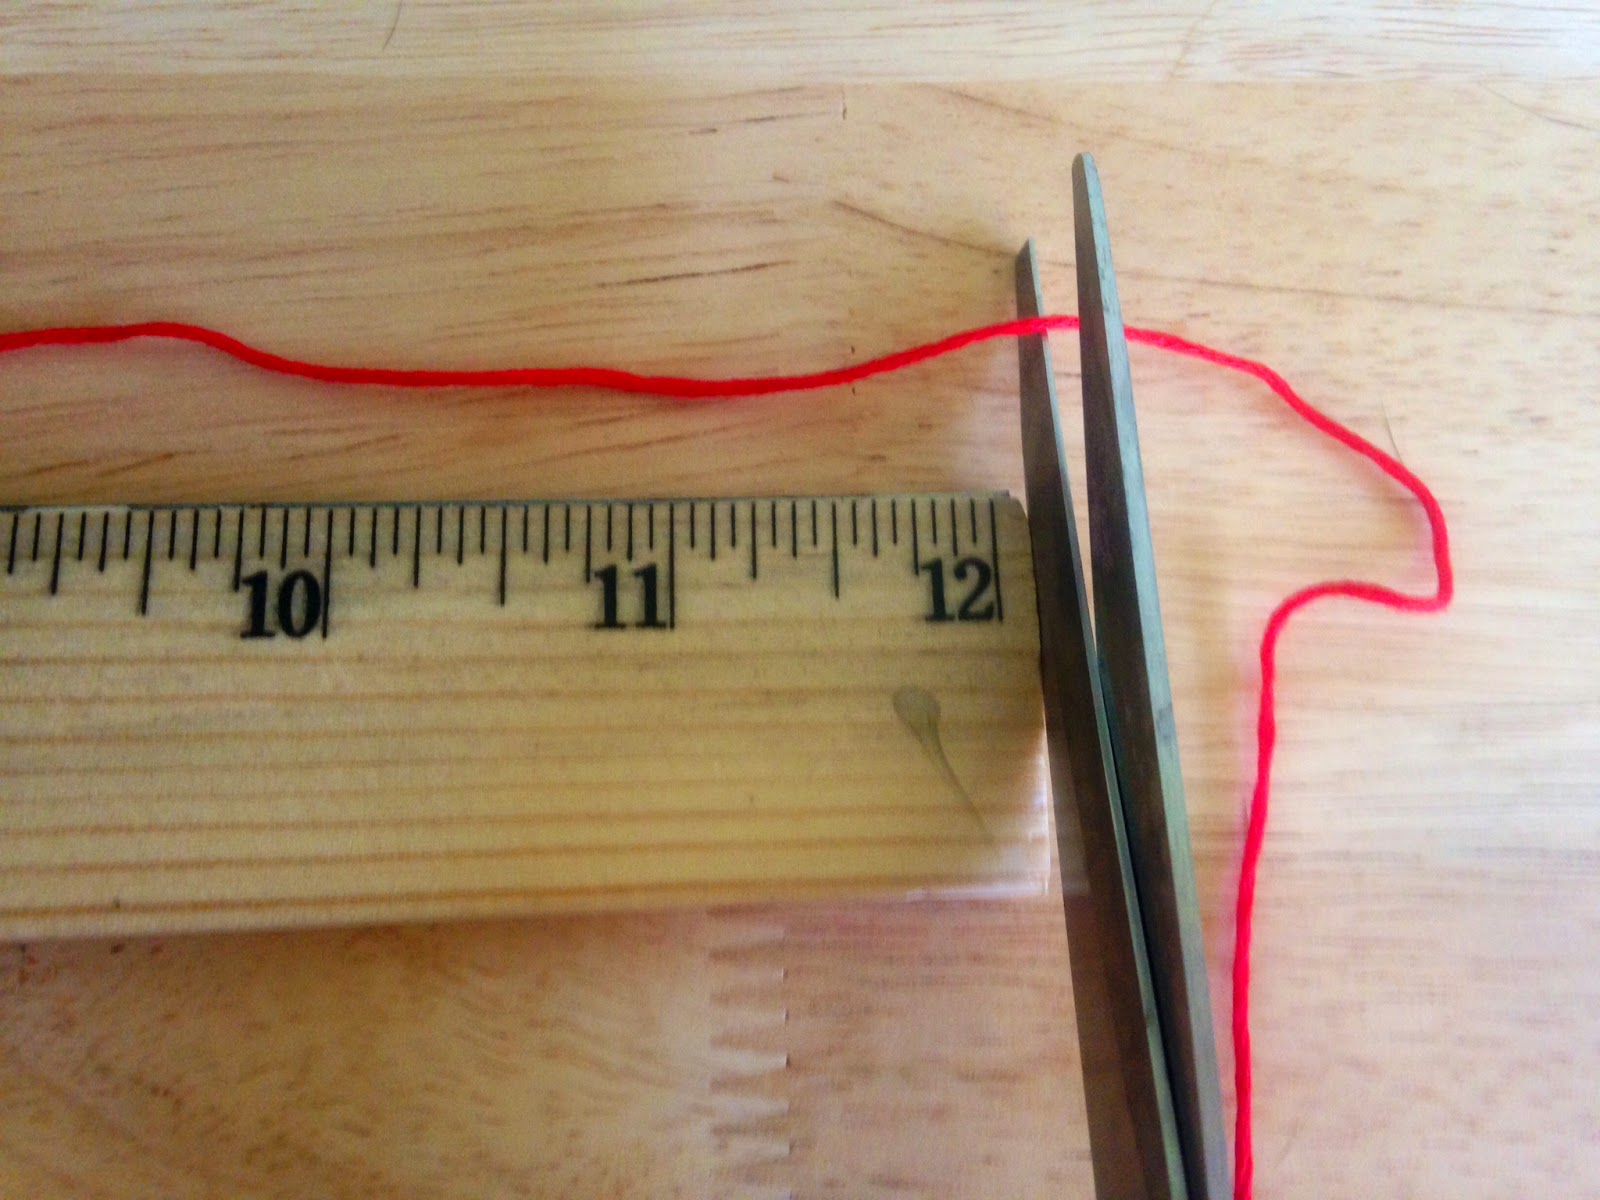
* A ruler (if you want all the pieces the same length)

Tip #1: Cut out all of your pieces first. If you only cut out one of each color, you're stuck trying to cut more pieces while holding onto your work. It ain't easy and it's easily avoidable!

Tip #2: If you cut a string 12", it will end up being 1 1/2-1 3/4" long on the headphones, just to give you a frame of reference. However, the longer the thread, the more likely it will get tangled in the headphones while you're working.


Once your string has been cut out, start by tying the first string at the top of the wire and make a secure knot. After that, it's just a matter of wrapping the string around and around and around the cord.


Tip #3: Wrap around the excess string you have sticking out, so it's flat against the wire. That way you won't have a bunch of different colored string ends sticking out!


Once you're ready to change colors, tie the next string tightly above the end of the first color, and start wrapping around the wire again. Just like before, wrap the excess string ends in so they aren't sticking out.


If you come to a point where you want to stop, simply make a strong knot and cut off the excess.


Tip #4: If you find your string wasn't long enough and you tried to tie two strings together to no avail...


Just tie and wrap a new piece of string on top and wrap over them! Think of it as a colorful Band-Aid for your headphones.


Tip #5: This takes a while so if you can't get through it all in one sitting, I hear ya (see what I did there?). If you want to take a break but you're not at a stopping point, just grab some tape and tape it down to your table. It won't unravel, I promise.


Final tip: I found it went the fastest when I could hold the cord in my left thumb and index finger and and the string in my right and I could twist the cord around and around in my fingers.

And there you have it! Now go show the world your exciting "new" headphones and make the world a more colorful place!


TOTAL COSTS: $2.34 for 6 colors
$.39/color of embroidery floss at Michael's
Headphones, scissors, and ruler already on hand

TOTAL AMOUNT OF TIME: About 3 hours

EASY-PEASY SCALE (1 super easy - 5 very difficult): 2 out of 5
It's not difficult at all, however if you have arthritis or carpal tunnel, this is not the project for you. I don't have either and my hands were definitely starting to cramp up after an hour and a half. So take breaks, have fun, and enjoy your DIY project!

Monday, June 16, 2014

Yarn Dryer Balls - No More Dryer Sheets!

Want a way to save money, be eco-friendly, and also chemical-free when drying your clothes? If you don't have a clothing line handy, this is the next best thing: dryer balls. Now you could buy your own for around $15-$20 (Woolzies or West Elm, for example) but chances are, they're pricey AND they're made of plastic, which isn't good for the environment or for you because plastic releases chemicals when heated. If you make your own from wool yarn versus using dryer sheets, you'll decrease the drying time of your load because unlike dryer sheets, the dryer balls pull the moisture from the clothes while beating the laundry to make it softer. And if you're saying, "But dryer balls won't make my clothes smell fresh!"... well, add a couple drops of essential oil to the balls and voila! Problem solved!

Seriously, do you really need more reasons to make these? If you do, DIY Natural has a lengthy post on the benefits of making dryer balls. If I've persuaded you enough, you just need:

*100% wool yarn (one skein makes two balls, two skeins make four balls)
*One leg of a pantyhose (you know, that pair you've kept in your drawer because there's a run in the thigh but you can't bring yourself to throw it away because if you wear long skirts maybe no one will notice)
*Some string (I used embroidery thread)
*Scissors

Start by taking the yarn and wrapping it around your index and middle finger 10 times (give or take).


By grabbing the middle, slide the yarn off your fingers and wrap the yarn 10 more times around the middle.


Keep turning and wrapping until it starts to form a ball. The size of the ball is completely up to you.


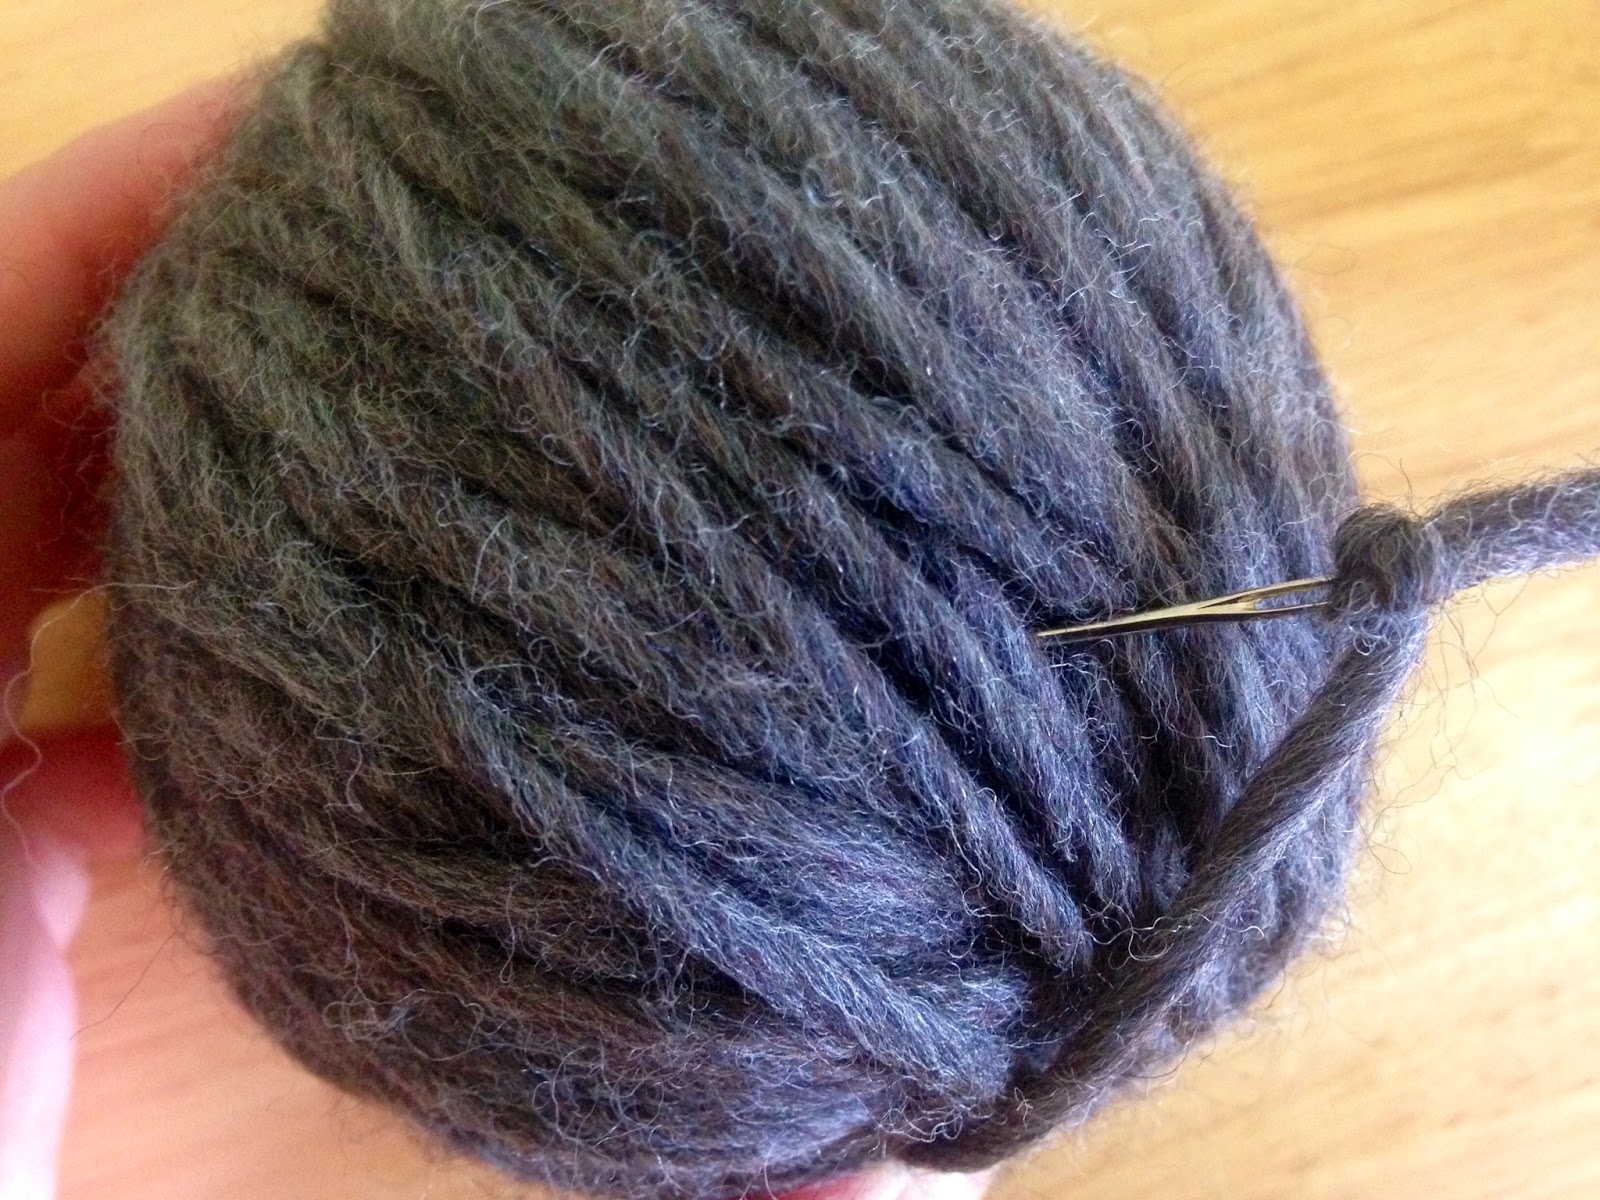
Once it's the size you like, either using a needle or your fingers, tuck in the end inside the ball.


Take your grandmother's pantyhose and slice off one leg. She'll never notice.


Stick a ball of yarn all the way down to the toes and tie a piece of string at the end, to separate it from the next ball of yarn. Do this for each ball, and then play with your yarn caterpillar. I was able to spin mine like a lasso. Freaked the cat out but it was fun.


Now the original post says to put these in with a hot wash and a cold rise cycle. That's way too fancy for my 1985 washing machine so I just put my caterpillar in on the "whites" load. When it comes to drying, put it on the hottest setting (again, depending on your dryer, it might just say "whites"). The original post says you might have to go through the washing/drying process 3-5 times but for me, the first time did it. I put it in another wash/dry, just to be safe, but the yarn strands weren't separating one bit.

Here what it looked like after the first wash/dry:


And here's the second wash/dry it went through. Not much of a difference, as you can see, just made it smaller:


Now they do shrink a bit. Before I put them in the washer/dryer, my balls of yarn ranged from baseball to softball size. Here are some before and after shot of the yarn balls next to a baseball and tennis ball to give you some frame of reference.

Before
After

So grab your mom's yarn (sorry Mom), grab your laundry, and go on with your eco-friendly self!


TOTAL COSTS: $14.37
$6.99/skein of yarn from Michael's (I used two skeins)
$.39 for embroidery thread from Michael's (but you could use string)
Old pantyhose and scissors already on hand

TOTAL AMOUNT OF TIME: About 2 hours
20 minutes to make four balls
5 minutes to make the pantyhose caterpillar
1 hour, 30 minutes to wash and dry the balls

EASY-PEASY SCALE (1 super easy - 5 very difficult): 1 out of 5
It's super easy, you could even have your kids help by holding onto the skein while you roll it into a ball!