Showing posts with label embroidery thread. Show all posts

Tuesday, June 17, 2014

DIY Headphones

I don't think I've ever said, "My headphones look boring", however the thought has crossed my mind that the while Apple earbuds they give you do get grimy quickly. Two ways to fix it: a.) clean them off (boooring) or b.) cover them up! Today's post comes to us from Refinery29 and using embroidery thread, you can decorate your earbuds to show off your school pride, your fraternity or sorority colors, or even for gay pride!


All you need are:

* A pair of scissors
* A pair of headphones
* Some embroidery thread
* A ruler (if you want all the pieces the same length)

Tip #1: Cut out all of your pieces first. If you only cut out one of each color, you're stuck trying to cut more pieces while holding onto your work. It ain't easy and it's easily avoidable!

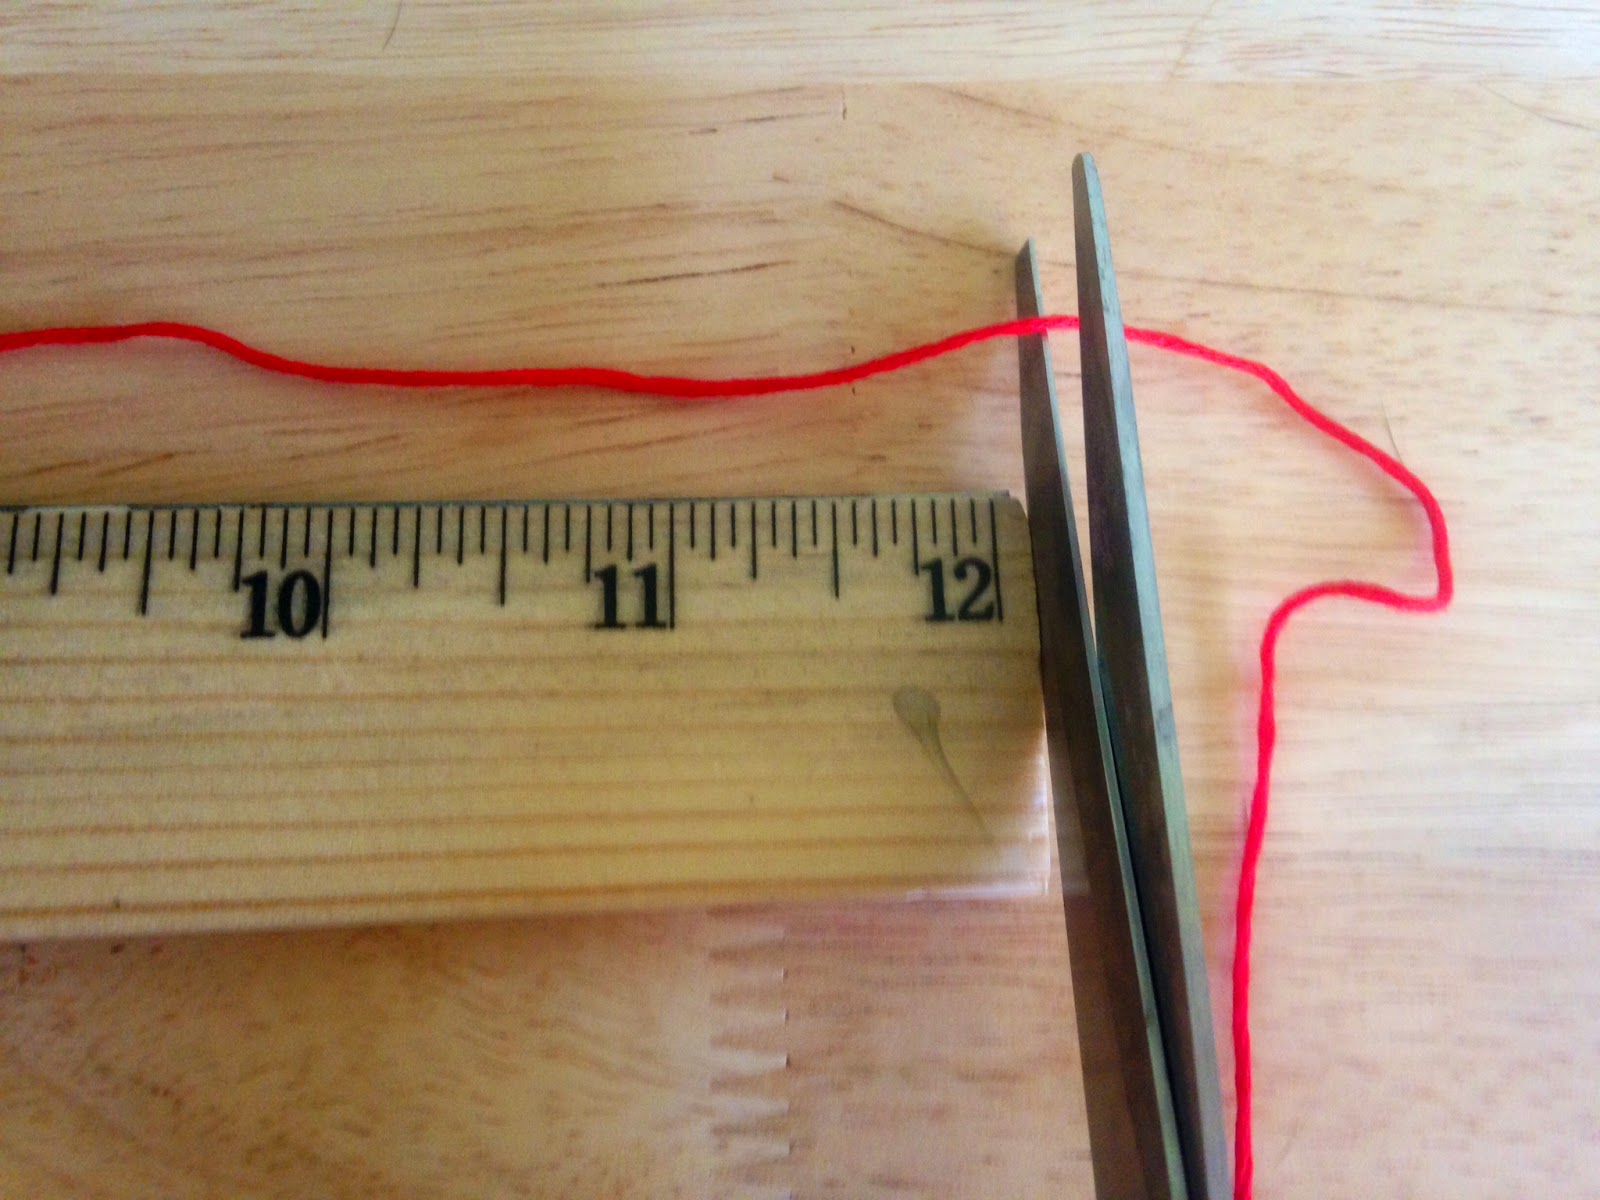
Tip #2: If you cut a string 12", it will end up being 1 1/2-1 3/4" long on the headphones, just to give you a frame of reference. However, the longer the thread, the more likely it will get tangled in the headphones while you're working.

Once your string has been cut out, start by tying the first string at the top of the wire and make a secure knot. After that, it's just a matter of wrapping the string around and around and around the cord.


Tip #3: Wrap around the excess string you have sticking out, so it's flat against the wire. That way you won't have a bunch of different colored string ends sticking out!


Once you're ready to change colors, tie the next string tightly above the end of the first color, and start wrapping around the wire again. Just like before, wrap the excess string ends in so they aren't sticking out.


If you come to a point where you want to stop, simply make a strong knot and cut off the excess.


Tip #4: If you find your string wasn't long enough and you tried to tie two strings together to no avail...


Just tie and wrap a new piece of string on top and wrap over them! Think of it as a colorful Band-Aid for your headphones.


Tip #5: This takes a while so if you can't get through it all in one sitting, I hear ya (see what I did there?). If you want to take a break but you're not at a stopping point, just grab some tape and tape it down to your table. It won't unravel, I promise.


Final tip: I found it went the fastest when I could hold the cord in my left thumb and index finger and and the string in my right and I could twist the cord around and around in my fingers.

And there you have it! Now go show the world your exciting "new" headphones and make the world a more colorful place!


TOTAL COSTS: $2.34 for 6 colors
$.39/color of embroidery floss at Michael's
Headphones, scissors, and ruler already on hand

TOTAL AMOUNT OF TIME: About 3 hours

EASY-PEASY SCALE (1 super easy - 5 very difficult): 2 out of 5
It's not difficult at all, however if you have arthritis or carpal tunnel, this is not the project for you. I don't have either and my hands were definitely starting to cramp up after an hour and a half. So take breaks, have fun, and enjoy your DIY project!

Monday, June 16, 2014

Yarn Dryer Balls - No More Dryer Sheets!

Want a way to save money, be eco-friendly, and also chemical-free when drying your clothes? If you don't have a clothing line handy, this is the next best thing: dryer balls. Now you could buy your own for around $15-$20 (Woolzies or West Elm, for example) but chances are, they're pricey AND they're made of plastic, which isn't good for the environment or for you because plastic releases chemicals when heated. If you make your own from wool yarn versus using dryer sheets, you'll decrease the drying time of your load because unlike dryer sheets, the dryer balls pull the moisture from the clothes while beating the laundry to make it softer. And if you're saying, "But dryer balls won't make my clothes smell fresh!"... well, add a couple drops of essential oil to the balls and voila! Problem solved!

Seriously, do you really need more reasons to make these? If you do, DIY Natural has a lengthy post on the benefits of making dryer balls. If I've persuaded you enough, you just need:

*100% wool yarn (one skein makes two balls, two skeins make four balls)
*One leg of a pantyhose (you know, that pair you've kept in your drawer because there's a run in the thigh but you can't bring yourself to throw it away because if you wear long skirts maybe no one will notice)
*Some string (I used embroidery thread)
*Scissors

Start by taking the yarn and wrapping it around your index and middle finger 10 times (give or take).


By grabbing the middle, slide the yarn off your fingers and wrap the yarn 10 more times around the middle.


Keep turning and wrapping until it starts to form a ball. The size of the ball is completely up to you.


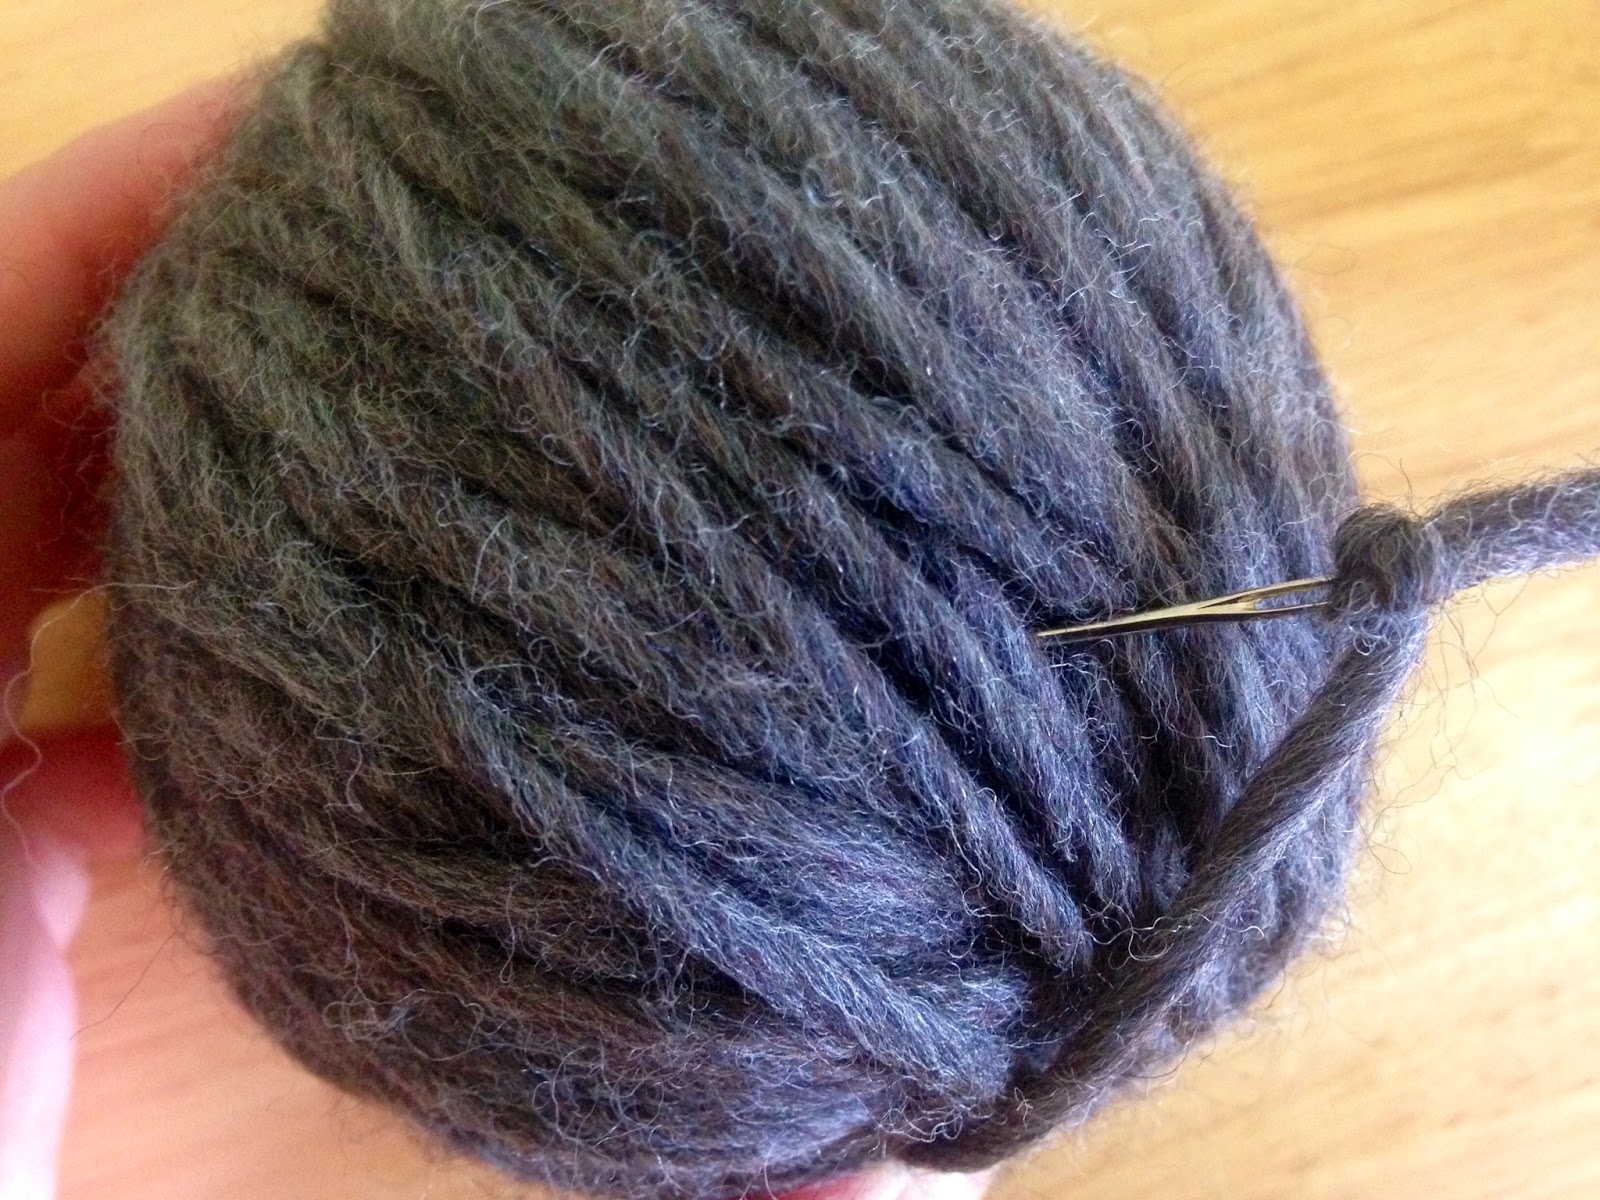
Once it's the size you like, either using a needle or your fingers, tuck in the end inside the ball.


Take your grandmother's pantyhose and slice off one leg. She'll never notice.


Stick a ball of yarn all the way down to the toes and tie a piece of string at the end, to separate it from the next ball of yarn. Do this for each ball, and then play with your yarn caterpillar. I was able to spin mine like a lasso. Freaked the cat out but it was fun.


Now the original post says to put these in with a hot wash and a cold rise cycle. That's way too fancy for my 1985 washing machine so I just put my caterpillar in on the "whites" load. When it comes to drying, put it on the hottest setting (again, depending on your dryer, it might just say "whites"). The original post says you might have to go through the washing/drying process 3-5 times but for me, the first time did it. I put it in another wash/dry, just to be safe, but the yarn strands weren't separating one bit.

Here what it looked like after the first wash/dry:


And here's the second wash/dry it went through. Not much of a difference, as you can see, just made it smaller:


Now they do shrink a bit. Before I put them in the washer/dryer, my balls of yarn ranged from baseball to softball size. Here are some before and after shot of the yarn balls next to a baseball and tennis ball to give you some frame of reference.

Before
After

So grab your mom's yarn (sorry Mom), grab your laundry, and go on with your eco-friendly self!


TOTAL COSTS: $14.37
$6.99/skein of yarn from Michael's (I used two skeins)
$.39 for embroidery thread from Michael's (but you could use string)
Old pantyhose and scissors already on hand

TOTAL AMOUNT OF TIME: About 2 hours
20 minutes to make four balls
5 minutes to make the pantyhose caterpillar
1 hour, 30 minutes to wash and dry the balls

EASY-PEASY SCALE (1 super easy - 5 very difficult): 1 out of 5
It's super easy, you could even have your kids help by holding onto the skein while you roll it into a ball!

Wednesday, December 4, 2013

How to Make Felt Booties

Babies to the left of me, babies to the right... they're everywhere! Sometimes I feel like the only woman who doesn't have a bun in the oven but that's ok, I'm happy to make things for other people's kids! For example, this post from Purlbee shows how to make felt booties, perfect for the wee one who'll grow out of them sooner than you think!

All you need is:

1. Some felt
2. Some embroidery thread
3. A needle
4. Some elastic
5. A printer and scissors to cut out the template
6. Some pins (about 20 pins -- 10 per shoe)

Cut out the pattern, trace it onto the felt (I didn't have an erasable marker so I just used a pen), and pin a long piece to a short piece. Pretty self explanatory, you're making a shoe!

By the time you're done pinning both shoes, you'll see they're approximately 4" long, the size of a 3-month old baby's feet. Hopefully.

And then comes the sewing... my big mistake for this project? Reading the instructions as needing "4-6 inches" of thread instead of "46 inches". I actually didn't need that much, I was able to sew with 36 inches. Now I don't know about you, but her instructions for a button hole stitch made no sense to me whatsoever so I turned to this video for help. See, you don't have to already know how to sew to do this project!

If you can't see the video, here's all you have to do: always sew from the back to the front and when the thread is almost taut, stick the needle through the thread and then pull it taut, like the photo below.


The hardest part for me was sewing the elastic, but it really shouldn't take more than 5 minutes per shoe. It's just making sure the elastic is sewn in on both sides that proves to be a bit awkward but not impossible.

And voila! Slippers for the little one!


TOTAL COSTS: About $18 (to make about 24 shoes)
$12 for 2 packs of different colored felt from Fiddlesticks in San Francisco
$.60 for embroidery thread from a knitter at Zoe Zeynep in Los Angeles
$2.59 for elastic from Michael's
$2.99 for pins from Vons
Needle, scissors, and printer/paper already on hand

TOTAL AMOUNT OF TIME: First time 1 hr. 20 minutes; Second time 54 minutes
First time: 35 minutes to cut out felt and pin shoes, 40 minutes to sew both shoes, 5 minutes to sew elastic
Second time: 16 minutes to cut out felt and pin shoes, 33 minutes to sew both shoes, 5 minutes to sew elastic
See? The more you do it, the faster you'll get!

EASY-PEASY SCALE (1 super easy - 5 very difficult): 3 out of 5
For someone who doesn't sew, I found this to be moderately difficult but not impossible! It does get easier the more shoes you make!