Showing posts with label glow in the dark. Show all posts

Monday, May 19, 2014

DIY Glow-In-The-Dark Nail Polish (look, but don't touch!)

So here's something I came across on Pinterest via Twitter:


That seemed easy enough! Boy oh boy was I ever wrong... this took three tries and by the third, I eventually got it to work but it's not as easy as you might think.

Test #1 - I did exactly what the post said. I broke a blue glow stick...


I cut off one of the tips so the liquid could come out...


And I attempted to get it in the clear nail polish.


Ok, so many problems with this, I'm not quite sure where to begin!

   #1 - Unless you break every millimeter of the stick, it's not going to come out easy at all
   #2 - You're going to start to get frustrated and cut it into pieces, thinking it'll get out faster
   #3 - You'll then make a mess but not realize it until you go into a dark room and see it all over your hands
   #4 - It'll all be for nothing because it's not going to change the clear nail polish into glow-in-the-dark polish.


Test #2 - Why not skip the nail polish altogether and just try to apply the goo directly onto the nails? So again, I broke a pink glow stick, I cut off the tip and I tried to put the goo directly on the nails.


More problems! You're going to have small crunchy particles on your nails, you're going to get it all over your hands (see below), and ultimately make a mess. However, it does work (in a sense), so I gave it one final go.


Test #3 - This time I decided to use a technique I posted last New Years Eve re: DIY lanterns.

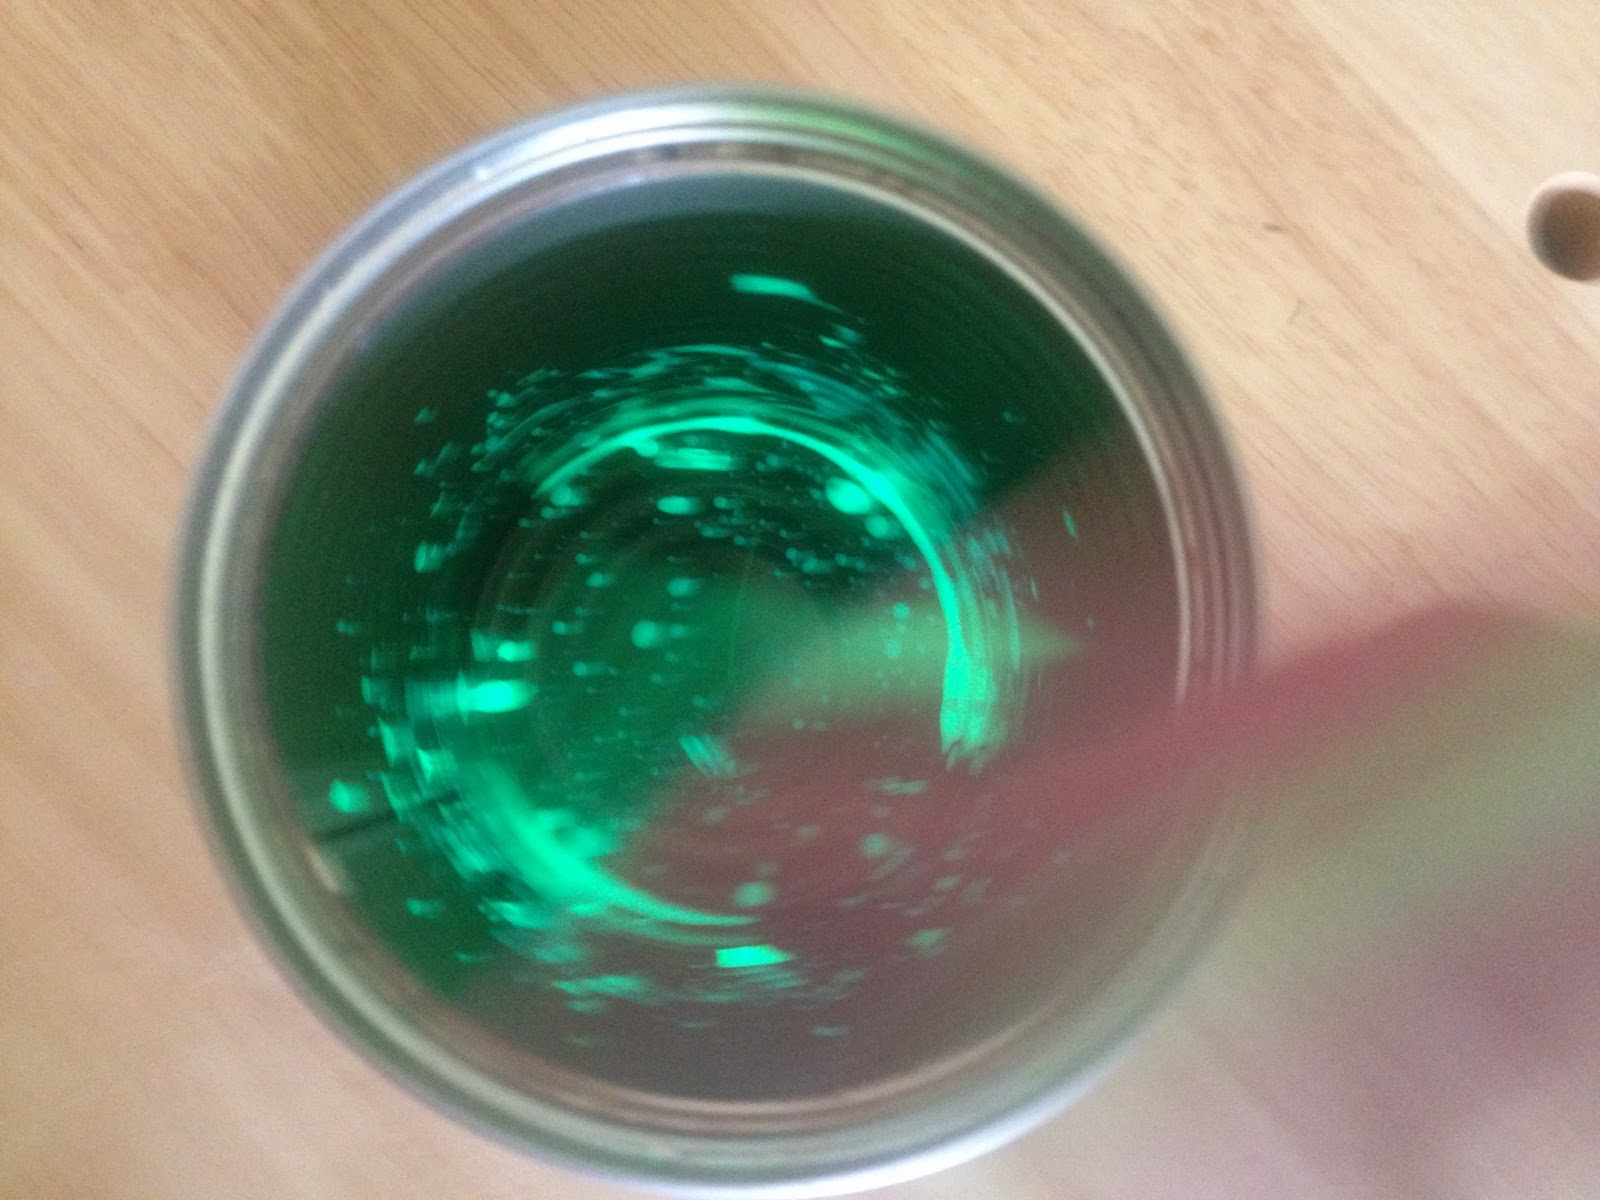
So I broke a green glow stick...

I cut the tip and, using an empty tin can, I shook the stick against the sides until all the contents came out.

Then using my clean nail polish brush, I applied the goo directly onto my nails without causing a mess.


Here you can see what it looks like in the light and in the dark:


Now here's why I don't recommend you do it:

#1 - The stuff inside of glow sticks is toxic. Should your hand come anywhere near your mouth, you'd need to call poison control immediately.
#2 - The stuff inside of glow sticks doesn't dry. So you can wait 20 minutes and it'll still wipe right off.
#3 - The glow doesn't last that long. After 20 minutes, you're back to where you started.

While it was fun experimenting, you're better off just buying some glow-in-the-dark nail polish that is guaranteed to dry and not potentially put your health at risk.


TOTAL COST: $2
$1 for 6-pack of glow sticks from Target
$1 for clear nail polish from Rite Aid

TOTAL AMOUNT OF TIME: 10 minutes for Test #3

EASY-PEASY SCALE (1 super easy - 5 very difficult): 1 out of 5 for Test #3
It's not hard to crack a glow stick, whip the contents into a container, and use a nail polish brush to apply, but the question is... would you really want to?

Sunday, March 30, 2014

Glow in the Dark Mt. Dew - Fact or Fiction?

Freshman year of college, my roommate introduced me to Mountain Dew. I've never been a fan of coffee or tea so this was my wake-up drink of choice. Ever since then, I've been slightly addicted. Well a few weeks ago, I came across this post multiple times on Pinterest and perhaps you've seen it on other social media sites, as it has been making the rounds since 2007:


Look familiar? There was even a video of someone making it and pouring it on the sidewalk to show how well it "glowed." Before going to Snopes, I decided I would give it a shot. I had all the ingredients so, what the heck!

As it says above, you'll need:


1. Mountain Dew (I only had cans so I had to use an empty bottle to pour everything in)
2. Baking soda
3. Hydrogen Peroxide

First, have 1/4 of Mountain Dew in a bottle and add "a tiny bit" of baking soda. First I tried 1/4 teaspoon and later I tried 1 teaspoon, to see if that would make any difference. And yes, those are Mickey Mouse measuring spoons.


Next, add three caps worth of hydrogen peroxide. I tried three caps worth but because I was almost out, I just topped off the bottle, so it might have been closer to four.


Shake well and.......


Voila! Glowing Mountain Dew!.... oh wait...


....yeah, totally doesn't work. If you want to get into the science behind it, here's what Snopes says:

"The familiar chemiluminescenct effect produced by common glow sticks comes mixing hydrogen peroxide and diphenyl oxalate with a fluorophore dye; the chemical reaction between the hydrogen peroxide and diphenyl oxalate releases energy that excites the dye, and the dye subsequently relaxes by releasing a photon, producing a glow effect. But Mountain Dew contains no diphenyl oxalate, and the addition of baking soda (i.e., sodium bicarbonate) to Mountain Dew will neither produce nor substitute for the needed diphenyl oxalate. As well, the food colorings used in Mountain Dew aren't the type of dye that can be "turned on" through this form of chemical reaction."

So the moral of the story of the story? Don't believe everything you see on the internet.

TOTAL COSTS: About $5, if you feel like waisting your money
$1.69 for a 20 oz. Mountain Dew from Vons
$1.99 for 32 fl. oz of hydrogen peroxide
$1.59 for baking soda

TOTAL AMOUNT OF TIME: Less than 5 minutes

EASY-PEASY SCALE (1 super easy - 5 very hard): 1 out of 5
It's very easy to do, perhaps because it doesn't work!

Monday, December 30, 2013

Mason Jar (or Salsa Jar, Pickle Jar, etc.) Projects for New Year's Eve!

Two fun and very easy projects came to mind when I thought of mason jars and New Year's Eve. The first post idea comes from MasterPieceWeddings (which tells you just how versatile it can be!) and the second is a throwback to a preview post I did on a 2013/2014 time capsule jar!

Ok, for the first post, it's too easy: glow sticks + jars = night-time lanterns! This is great if you're having a (New Year's) party, to put down your front walk way, and you don't have to worry about candles going out or burning anything! Here's what you'll need:


1. Glow sticks
2. Gloves (you don't want the glow-in-the-dark liquid on your fingers and trust me, it can messy!)
3. Scissors
4. Jars (I know I said mason jars but I actually used two different size salsa jars and I'm glad I did - more on that later...)

Next, make your sticks glow! Crack them as much as you can so the entire stick lights up. Once that's completed, snip off one of the ends, stick it in a jar, and shake it until all the contents come out. Sometimes you'll get small, hard pieces coming out instead of liquid (pictured) - that means you didn't crack it thoroughly. If you find that only half of the liquid is out, make another cut in the stick and shake the contents out again!

Now the reason I said I'm glad I had two different size jars was because I found the smaller, fatter jar made me make more of a mess while the taller, thinner jar was able to keep all the contents inside when I shook the stick. Just something to think about when picking your jars!

And voila! You've got your very own glow-in-the-dark jars!


TOTAL COSTS: About $6 to make as many as you have jars for!
$3.50 for glow sticks from Vons (I used 1 green stick for both jars, one purple and one red)
$2.29 for vinyl disposable gloves (10 pack) from Rite Aid
Jars and scissors already on hand

TOTAL AMOUNT OF TIME: Less than 5 minutes

EASY-PEASY SCALE (1 super easy - 5 very difficult): 1 out of 5
If you trust your kids won't ingest the liquid, this would be a great project for them!


The second project I've blogged about before - a time capsule jar. Starting on January 1st, grab a jar and start putting random things inside. Maybe your family took a trip to the beach so add a seashell or some sand. Maybe a friend visited from out of town so add some movie tickets or concert passes. When December 31st rolls around, open up the jar to see what happened throughout the year! The best part? You get to keep the jars for as long as you like, so hold onto them so you can see what happened 10, 20, even 50 years ago!


TOTAL COSTS: Free!
You can just use paper and a marker to write on the top or sides of the jar (or you can buy chalkboard liner for $6 on Amazon). And you don't have to use mason jars - find ones that will fit your family!

TOTAL AMOUNT OF TIME: 1 year

EASY-PEASY SCALE (1 super easy - 5 very difficult): 1 out of 5
We keep our jar in the same place - visible, but not in the way. That way, we know to stick something in there when we get the chance!

Monday, October 28, 2013

Slime!

Now here's something the entire family can make AND play with around Halloween - slime! With a few ingredients, you too can make your very own slime whenever you want! I found this post by Domestic Charm who edited the recipe from About.com. I couldn't clearly read her instructions and may have done things a little differently but it still turned out awesome. If you have five minutes and these ingredients, you can make this right now!

4 oz or 1/4C of Clear or Blue Elmer's Glue
2-3 Tablespoons of Glow in the Dark Paint (you can get this at any craft store)
Neon Green Food Coloring (in the baking section of your grocery store)
Borax (in the laundry section of your grocery store)
Warm water
Slime or snot, it's disgustingly awesome!

Ok, here are the steps I took that are a little different than the original instructions:

1. In a large bowl, combine 1C warm water and the Elmer's glue (I only had a 5oz bottle of clear glue so I eyeballed 4oz worth).
2. In the same bowl, I added 2-3 tablespoons of glow-in-the-dark paint (again, I just eyeballed - it will not spread out so you can clearly see how much you're adding and 3 tablespoons did not seem like enough for it to glow). Also, add neon green food coloring - 2 or 3 drops should do the trick.
3. In your measuring cup, measure 1/3 cup of warm water and add to the glass 2 teaspoons of borax and mix
4. Slowly pour the borax solution into your big bowl. You'll notice it immediately starts to solidify. I used the entire water/borax mixture because I thought it would be too watery and it turned out just fine! After a while, you just gotta get your hands in there and play with it!

How much does it make? Well, I filled up an entire 32oz Ball mason jar if that tells you anything!

TOTAL COST: About $14.50
$5.46 for 20 Mule Team Borax on Amazon (realized it was cheaper in the store after I bought it online! Note this is for about 5 pounds worth and you're only using a couple tablespoons in this recipe)

$3.99 for McCormick 4-Pack Neon Food Coloring on Amazon

$1.99 for glow-in-the-dark paint from Michael's

$2.99 for 5oz. of clear Elmer's glue from Michael's

TOTAL AMOUNT OF TIME: 5 minutes

EASY-PEASY SCALE: 1 out of 5
Definitely something the kids can make and perfect for this time of year!