 Everywhere I turn I'm hearing about snow storms, schools closing, arctic blasts... and unfortunately, power outages. But if you and your family want to watch a movie to kill some time and you all don't want to crowd around your smartphone, there's a solution!
All you need is a phone (with a hand charger, I hope, so you don't waste your entire battery!), an empty shoe box, a marker, a magnifying glass, some tape and scissors, and you can make a homemade smartphone projector. I found this post on TheMetaPicture and had to test it out!
First, remove all cats from your shoebox. This will be the hardest step because they can be ridiculously adorable. Resist the urge to give in.

Next, take off the handle of the magnifying glass and trace the outline with your marker on a short side of the shoebox.

Take your scissors (or x-acto knife, if you have one) and cut out the circle.

Then take your magnifying glass and tape it to the box. I used electrical tape and it worked just fine.

Now the original post says to use a paperclip and somehow turn that into a phone stand. I must be an idiot because I tried for a good 10 minutes to figure out how the heck a paperclip could be a stand to no avail. So good luck with that, if that's what you choose to use.

And supposedly, that's all you have to do! But there are actually a few more steps I found to make this work. First and foremost, turn the brightness on your phone as high as it'll go. Otherwise, you won't be able to see a thing.
Now there are two ways you can get the image to project correctly. If you don't follow either of these steps, your images will be upside-down.
#1 - Using a mirror, hold your phone above the mirror, which will then project through the magnifying glass an image that's upright. However, I find this to be way too difficult and cumbersome.

#2 - What I recommend is:
* Lock your phone's orientation so it doesn't change when you turn the phone
* Turn your phone upside-down so the top is on the bottom of the box and the bottom is up in the air
* Project the image while it's in portrait orientation (not landscape)

Note that the further back you are from the wall, the bigger the image but... the dimmer it'll be. The photo below was taken with the lens 38" away from the wall and the phone was 47 1/2" away from the wall. The photo of myself ended up being 8"x15". I could have made it bigger but then I couldn't have taken this photo well.
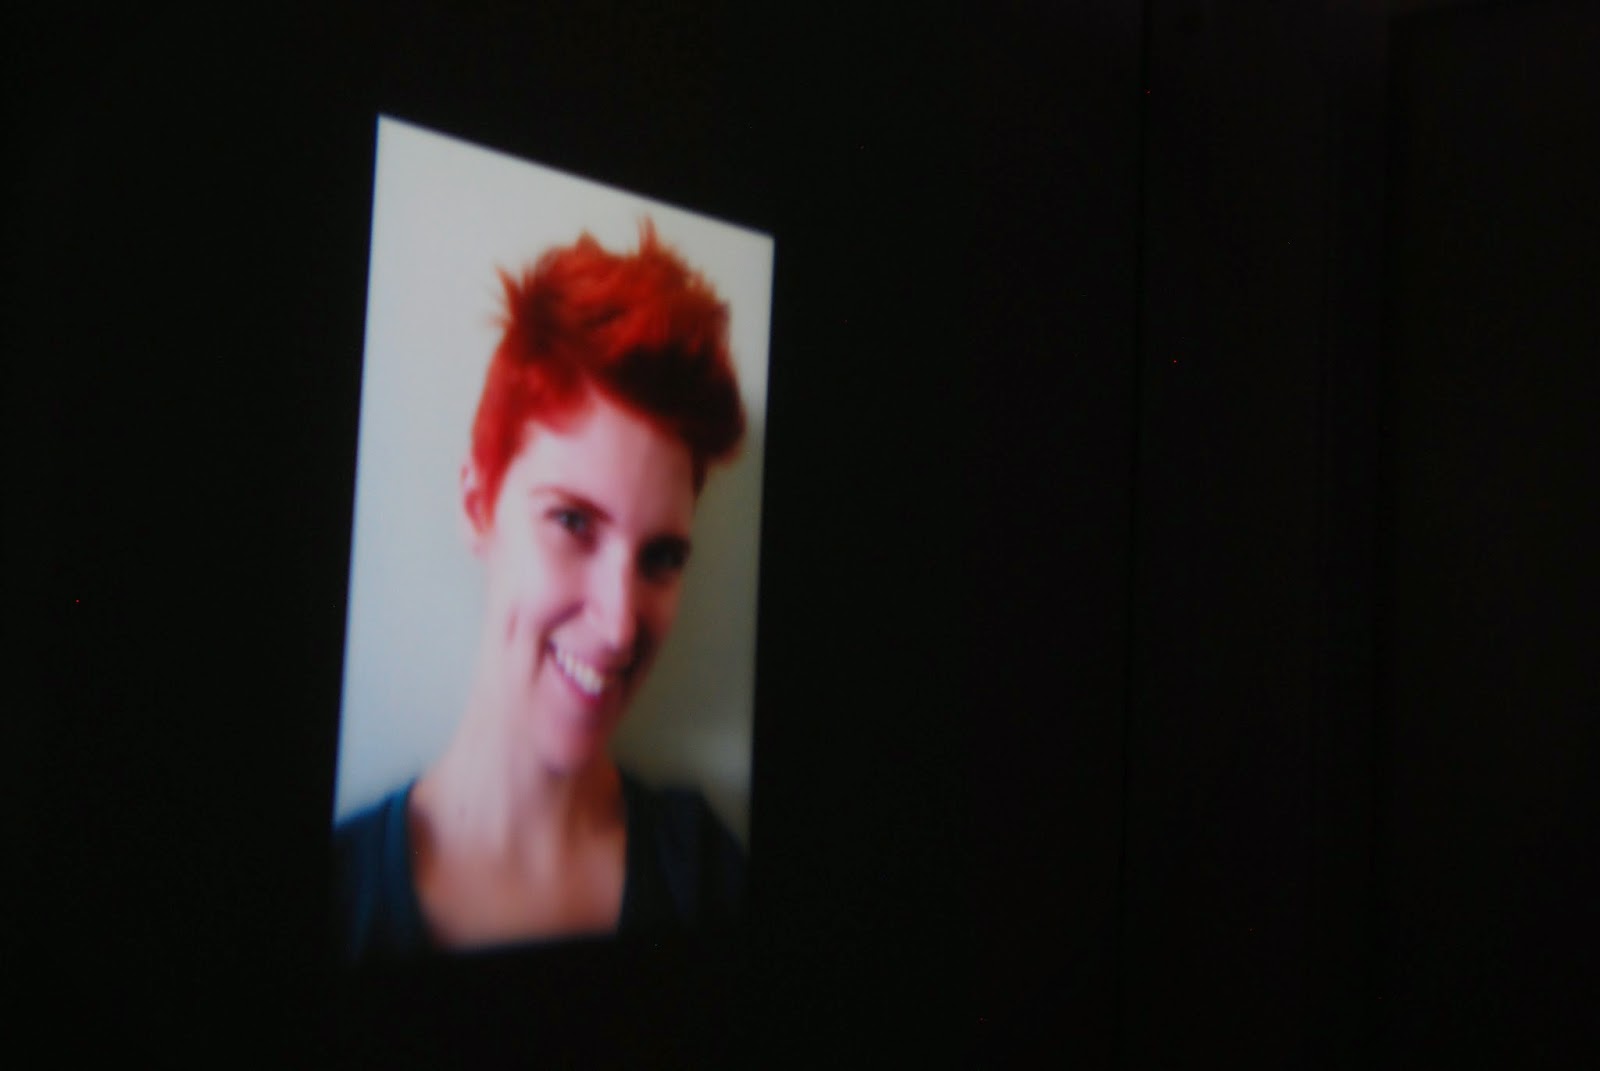
And I'm calling shenanigans on the original post's photo with David Bowie - my husband, a professional photographer, says they probably did a long exposure to get the shot so don't be surprised if you have the lights on and can't see what's on the wall!
However, I can say that it does work! You just need a little patience, figuring out the correct distance from the wall and from the lens but with a little tweaking, you should be able to do it!
TOTAL COSTS: About $4
$1.99 for magnifying glass from Ace Hardware
$1.99 for electrical tape from Staples
Scissors, shoe box, a marker, and phone on hand
TOTAL AMOUNT OF TIME: About 10 minutes
Note that this doesn't include the time to make the paperclip stand... which took way too much time...
EASY-PEASY SCALE (1 super easy - 5 very difficult): 2 out of 5
The only difficult thing will be figuring out how much distance there should be from the box to the wall and how much distance between the phone and the magnifier. Once you get it figured out, though, you'll be set!
