Showing posts with label baseball. Show all posts

Monday, June 16, 2014

Yarn Dryer Balls - No More Dryer Sheets!

Want a way to save money, be eco-friendly, and also chemical-free when drying your clothes? If you don't have a clothing line handy, this is the next best thing: dryer balls. Now you could buy your own for around $15-$20 (Woolzies or West Elm, for example) but chances are, they're pricey AND they're made of plastic, which isn't good for the environment or for you because plastic releases chemicals when heated. If you make your own from wool yarn versus using dryer sheets, you'll decrease the drying time of your load because unlike dryer sheets, the dryer balls pull the moisture from the clothes while beating the laundry to make it softer. And if you're saying, "But dryer balls won't make my clothes smell fresh!"... well, add a couple drops of essential oil to the balls and voila! Problem solved!

Seriously, do you really need more reasons to make these? If you do, DIY Natural has a lengthy post on the benefits of making dryer balls. If I've persuaded you enough, you just need:

*100% wool yarn (one skein makes two balls, two skeins make four balls)
*One leg of a pantyhose (you know, that pair you've kept in your drawer because there's a run in the thigh but you can't bring yourself to throw it away because if you wear long skirts maybe no one will notice)
*Some string (I used embroidery thread)
*Scissors

Start by taking the yarn and wrapping it around your index and middle finger 10 times (give or take).


By grabbing the middle, slide the yarn off your fingers and wrap the yarn 10 more times around the middle.


Keep turning and wrapping until it starts to form a ball. The size of the ball is completely up to you.


Once it's the size you like, either using a needle or your fingers, tuck in the end inside the ball.
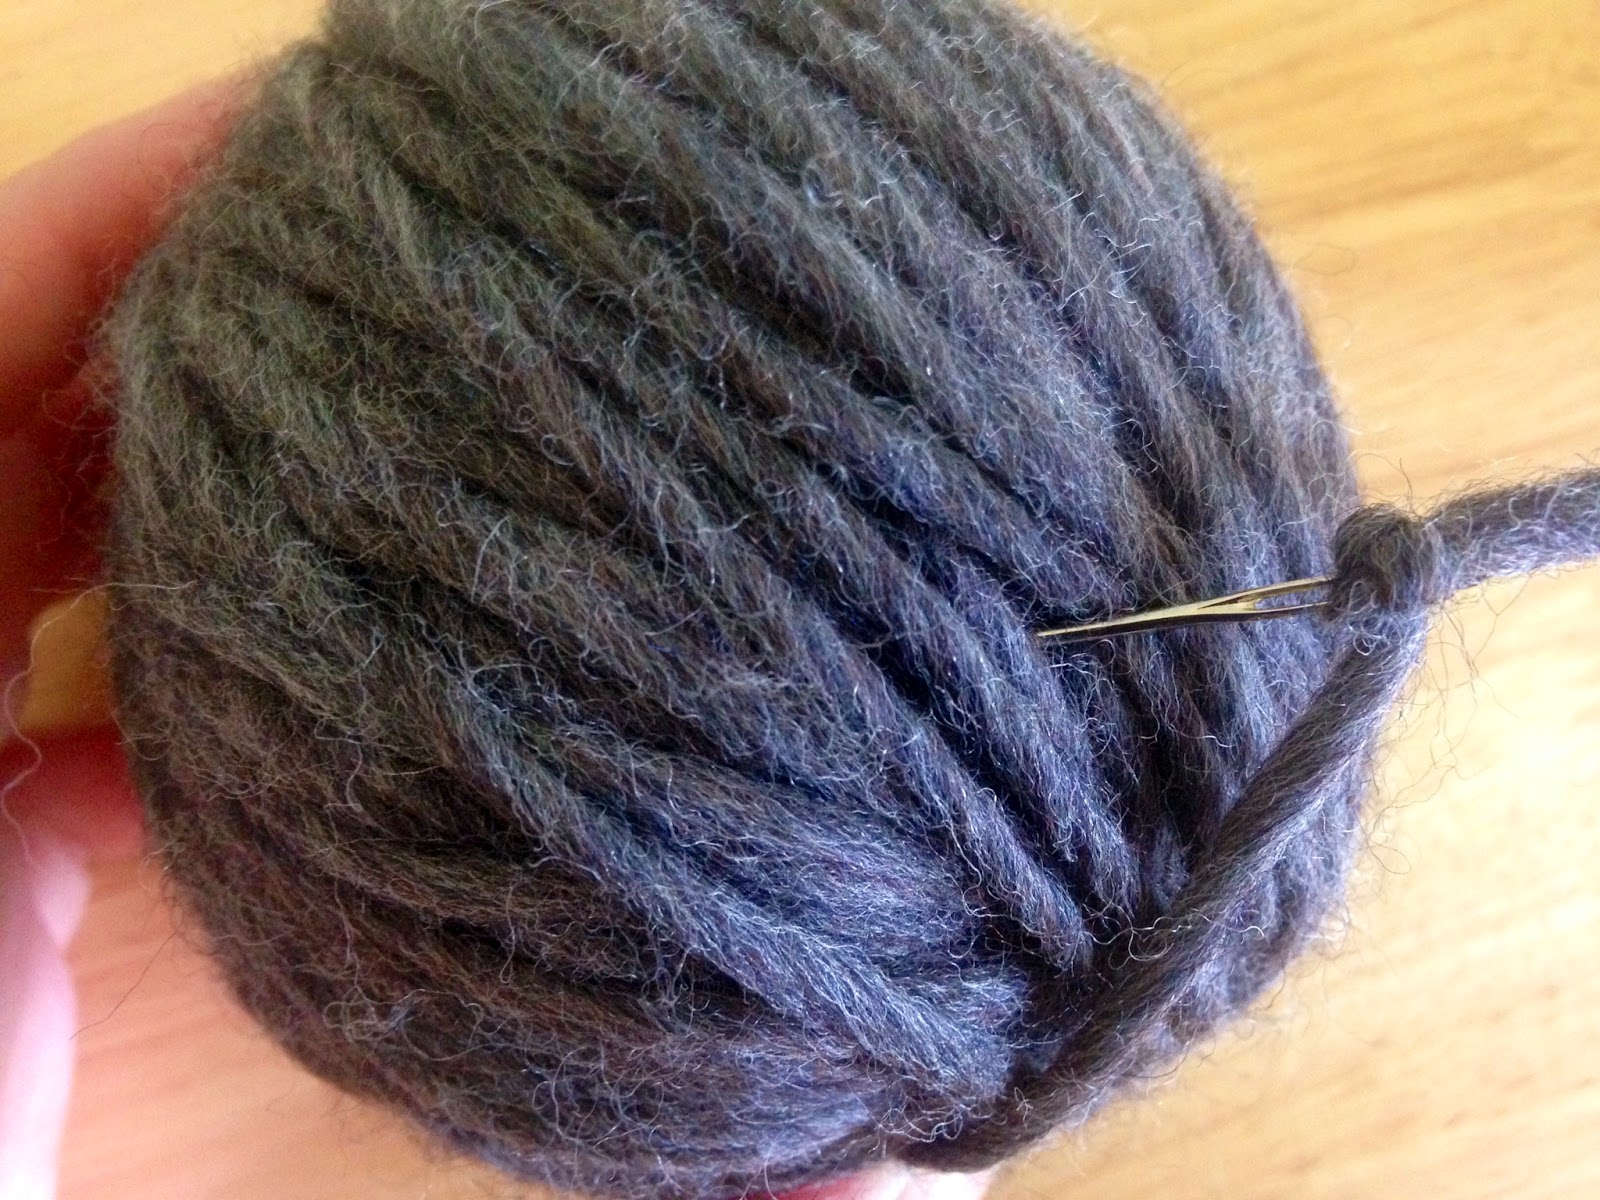

Take your grandmother's pantyhose and slice off one leg. She'll never notice.


Stick a ball of yarn all the way down to the toes and tie a piece of string at the end, to separate it from the next ball of yarn. Do this for each ball, and then play with your yarn caterpillar. I was able to spin mine like a lasso. Freaked the cat out but it was fun.


Now the original post says to put these in with a hot wash and a cold rise cycle. That's way too fancy for my 1985 washing machine so I just put my caterpillar in on the "whites" load. When it comes to drying, put it on the hottest setting (again, depending on your dryer, it might just say "whites"). The original post says you might have to go through the washing/drying process 3-5 times but for me, the first time did it. I put it in another wash/dry, just to be safe, but the yarn strands weren't separating one bit.

Here what it looked like after the first wash/dry:


And here's the second wash/dry it went through. Not much of a difference, as you can see, just made it smaller:


Now they do shrink a bit. Before I put them in the washer/dryer, my balls of yarn ranged from baseball to softball size. Here are some before and after shot of the yarn balls next to a baseball and tennis ball to give you some frame of reference.

Before
After

So grab your mom's yarn (sorry Mom), grab your laundry, and go on with your eco-friendly self!


TOTAL COSTS: $14.37
$6.99/skein of yarn from Michael's (I used two skeins)
$.39 for embroidery thread from Michael's (but you could use string)
Old pantyhose and scissors already on hand

TOTAL AMOUNT OF TIME: About 2 hours
20 minutes to make four balls
5 minutes to make the pantyhose caterpillar
1 hour, 30 minutes to wash and dry the balls

EASY-PEASY SCALE (1 super easy - 5 very difficult): 1 out of 5
It's super easy, you could even have your kids help by holding onto the skein while you roll it into a ball!

Friday, June 13, 2014

Father's Day - Baseball Edition

I think it's fair to say that most fathers like sports, whether it be golf, baseball, football, or hockey. With baseball season upon us, I decided to do give my own father baseball-themed gifts, some bought and some made. If your want to hit a home run this Father's Day, why not try these DIY gifts sure to make your pop feel like the MVD -- most valuable dad!

Ball #1 - The Card!
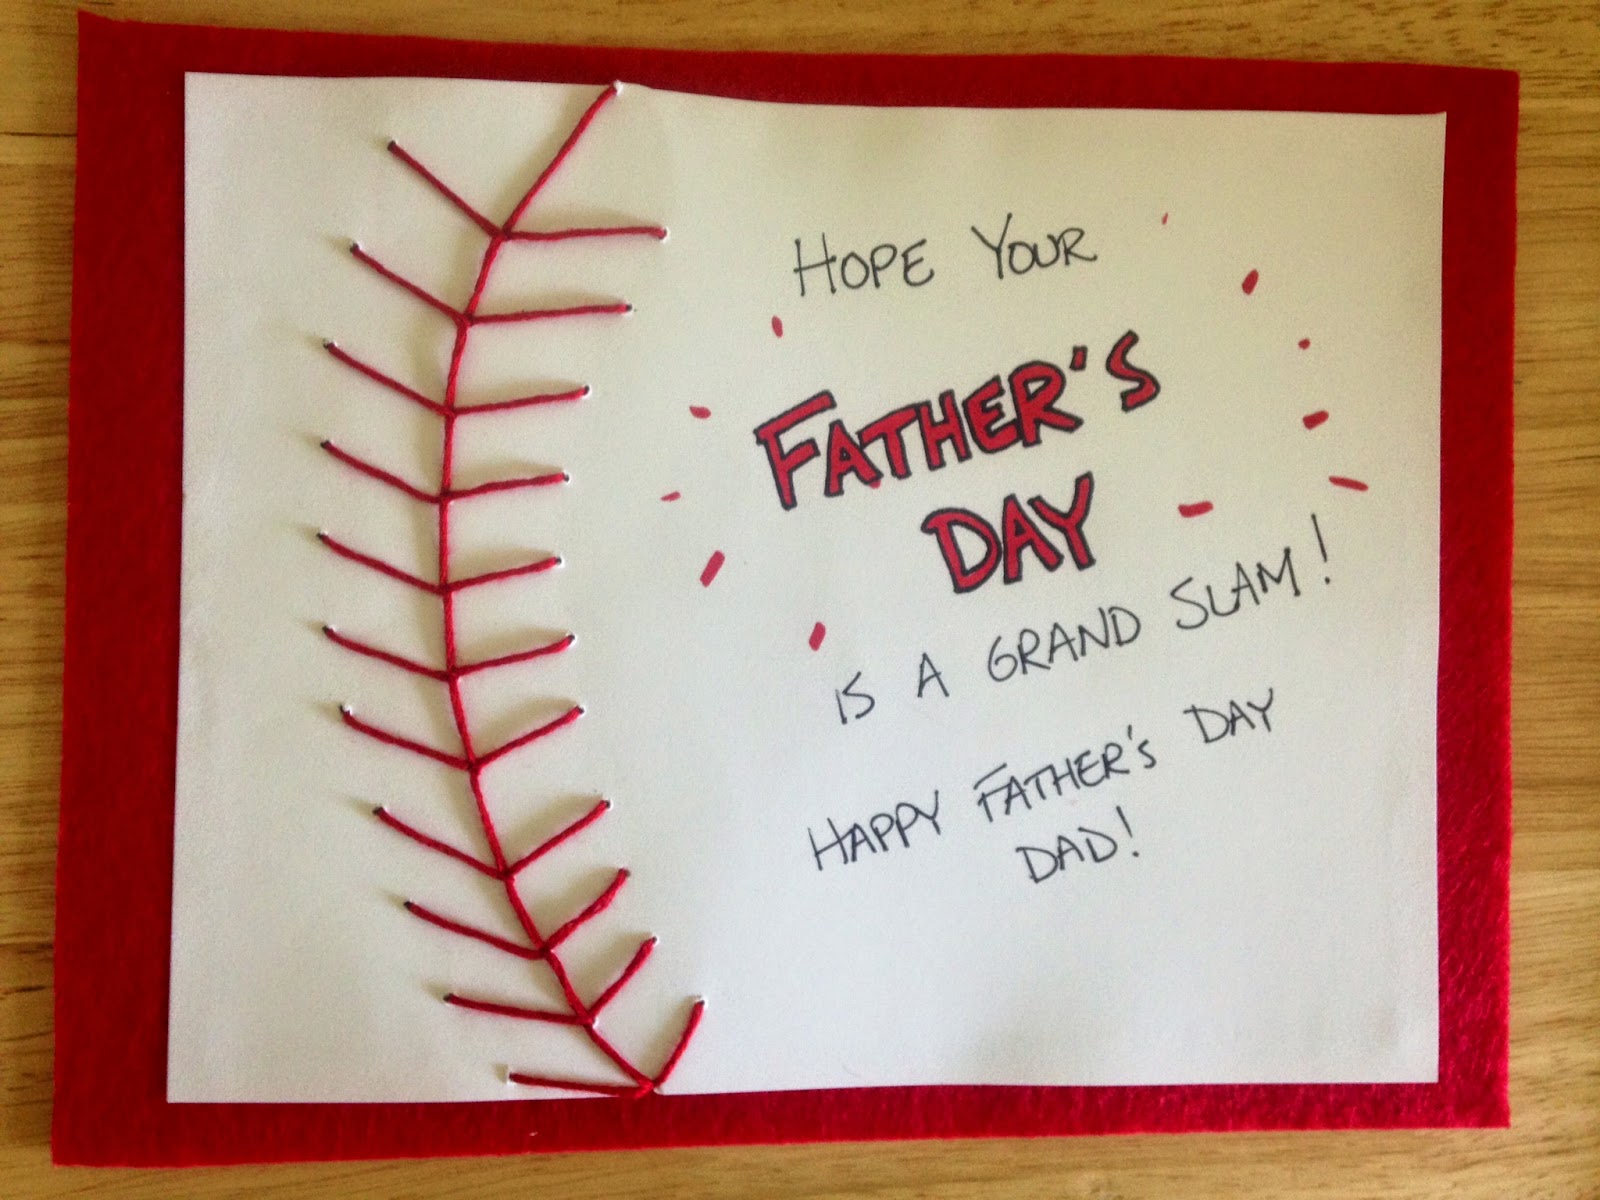
Want to make your dad a card instead of spending $7 for a Hallmark card thousands of other dads are going to have as well? Grab some white card stock, some red embroidery floss, a needle, and a pencil. You can grab a ruler too if you're super ornery like me.

Start by cutting your paper to be 5"x7" and draw a half circle on one side. Draw dots on either side of the line so you know where you want your "laces" to be. Mine were approximately 1/2" apart.


Poke your needle through all the dots, so it'll be easier to thread the embroidery floss through. Starting at the top, thread your floss through all the holes to make them look like laces. I went right to center, top to center, left to center, then onto the next row.


This is what the back look like, which you can cover with red paper or felt, if you like.


Write something witty on the front and your card is complete!


Ball #2 - The Baseball!
If you have a child, this is the easiest project I can think of. Baseball + ink pad + child's hand = lifelong memento. I recommend doing this if the child is a little older, though, as I tried doing this with my month-old nephew and it took three people to get his hand to open up enough to place on both the ink pad and the baseball, hence why it's a bit smudged. Still, it's the thought that counts, right?


Ball #3 - The Cookies!
Does your father have a sweet tooth? Make a batch of sugar cookies and top with royal icing (I made mine from scratch from this recipe on AllRecipes and they turned out ah-may-zing).

Once they're frosted and hardened (I let mine set overnight), take some red frosting (I cheated and used Wilton sparkle gel) and pipe on the laces. It's that easy!


Try not to eat these before giving them to your pops - maybe he'll be nice enough to share!


Ball #4 and a Home Run - The Snacks!
You can't go the ballgame without peanuts and Cracker Jacks! You can find both in your grocery store with the popcorn/peanuts/snacks. They make great filler in a box or a gift basket!

TOTAL COSTS: Depends on project
$.39 for embroidery floss from Michael's
$5.99 for baseball (3-pack from Toys 'R Us)
$1.99 for ink pad from Michael's
$2.99 for sugar cookie mix from Vons
$2.99 for red Wilton piping gel from Vons
$1.55 for 3 boxes of Cracker Jacks from Vons
$1.99 for peanuts from Vons

TOTAL AMOUNT OF TIME: Depends on project
1 hour to make the card (however I was very picky as to the placement of the laces)
Less than 5 minutes to make the baseball handprint
Overnight + 10 minutes to bake + 30 minutes to decorate cookies

EASY-PEASY SCALE (1 super easy - 5 very difficult): Depends on project
If I had to rate these, I'd say the baseball is the easiest to make, followed by the cookies and then the card. Overall, though, I'd say the hardest is a 3 out of 5. You just have to be patient and have a steady hand with all of these, but know that your dad will be amazed by your creativity and thoughtfulness!