My cousin showed me this post from ThankYour Body on how to make your own all-natural, flouride-free toothpaste from coconut oil and bentonite clay. I liked it, but what the heck is bentonite clay? Where do you get it and what else do you use it for? And why is that toothpaste brown?! Ok, I'll admit it, I've grown to love commercial toothpaste - it's white, it's thick, and for the past 30ish years, it has done me well. But I'm open-minded so I decided to try this recipe from TheChalkboardMag. All of the ingredients were in my kitchen cupboards so I had no excuse not to try it (FYI - if you don't have any of these ingredients, just stop by Whole Foods).
All you need to make about 2oz. worth is:
1. 2 Tablespoons of baking soda
2. 2 Tablespoons of coconut oil
3. 20 drops of peppermint oil (to make it taste minty)
4. 1 teaspoon of sea salt (optional and I don't recommend it - I'll get you why later).
It's quite easy - just add all the contents to your little container (I used a 4 ounce mason jar).
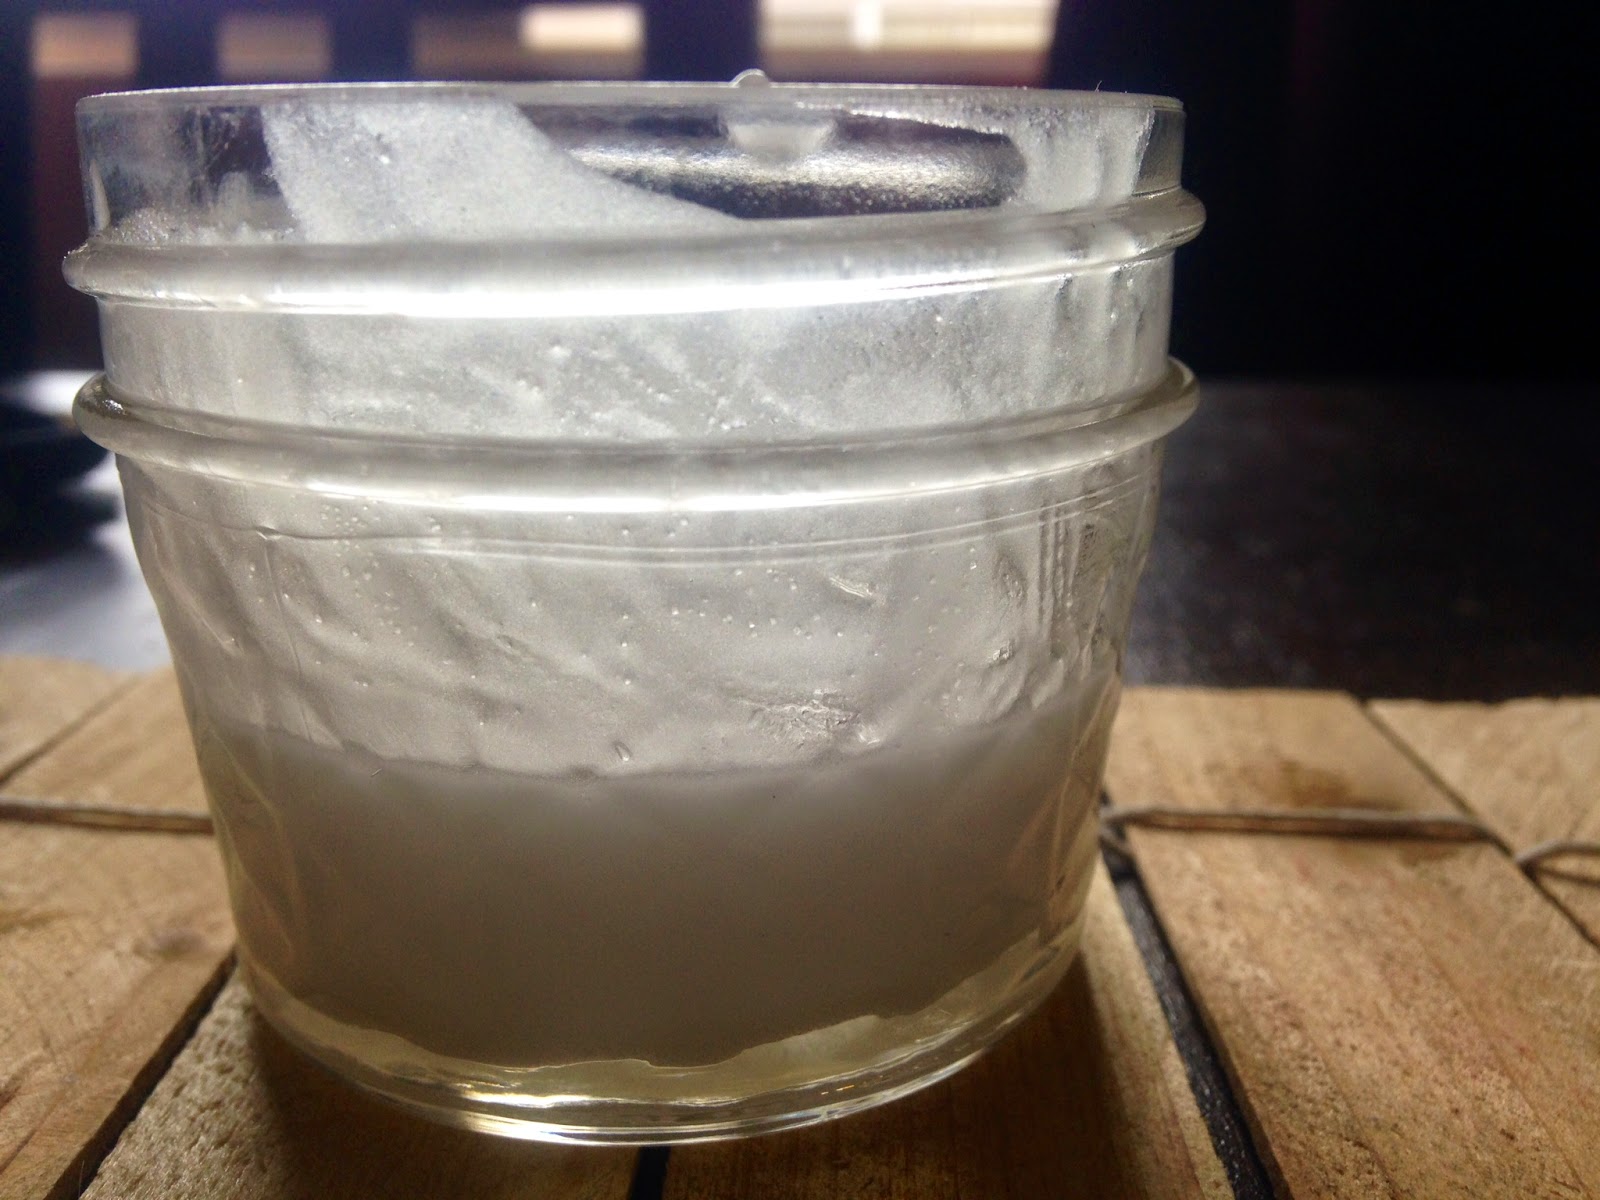
As you can see, it barely filled up half of the jar. So hey, if you don't like it, it's not like you wasted too much!
To put it on the toothbrush, I had to dip my toothbrush into the jar (which probably isn't very sanitary but it was so runny, I had no choice! Makes sense, now, as to why people use bentonite clay).
And the results? Well, I felt like I ran out of toothpaste halfway through the brushing but even worse, it felt like I licked a salt cube. I couldn't get the taste of salt out of my mouth so I had to brush my teeth again, this time with my commercial toothpaste. While salt is a great antibacterial (remember when your doctor told you to gargle with warm salt water when you had a sore throat?), it can also be very abrasive if you have sensitive gums. That, along with the taste, makes me recommend not adding salt.
However, if you don't want to use a toothpaste with fluoride in it, this might be a good alternative for you. Just... don't use salt. Or if you do, use very little. Your taste buds will thank you.
TOTAL COSTS: About $18 to make as much as you want!
$1.59 for baking soda from Vons
$5.99 for coconut oil from Whole Foods
$7.99 for peppermint oil from Whole Foods
$1.99 for sea salt from Vons
TOTAL AMOUNT OF TIME: Less than 5 minutes
EASY-PEASY SCALE (1 super easy - 5 very difficult): 1 out of 5
This is so simple because it's only 4 ingredients (or 3, if you leave out the salt), mixed into a container, and put right onto your toothbrush. It's supposed to last up to six months, if stored properly. I doubt, though, it would last you that long if you brushed twice daily.
Taking your Pinterest, Etsy, and Instructable ideas and giving you the low down on the cost, the time, and the skills it takes to make these at home!
Showing posts with label toothpaste. Show all posts
Tuesday, September 9, 2014
Sunday, November 24, 2013
How to Make Toothpaste Cookies (no... it's not really toothpaste...)
Every time I head to a holiday party, I bring a batch of Forbes' Family Toothpaste Cookies and every time, I come back from the party with an empty plate. Why? Because they're ridiculously good. Imagine a Peppermint Patty on top of a thin brownie. Really. Freaking. Good. However, it does take a bit of time to make so roll up your sleeves, make sure you have a few hours free, and get ready to gain 10 pounds because you might just eat the entire batch by yourself. Ok, maybe that's just me...
Layer 1 Ingredients:
2 squares of Baker's Unsweetened Baking Chocolate Squares
1/2 C butter (8 T)
2 eggs
1/2 t peppermint extract
1 C sugar
Dash of salt
1/2 C flour
Layer 2 Ingredients:
1/2 C butter (8 T)
4 C confectioner's sugar (powdered sugar)
4 T heavy whipping cream
3 t peppermint extract
Layer 3 Ingredients:
4 squares of Baker's Unsweetened Baking Chocolate Squares
1/4 C butter (4 T)
Layer 1 Instructions:
Preheat the oven to 325 degrees and grease a cookie sheet (including the sides). Melt the chocolate and butter together - I did this in a microwave in a glass Pyrex measuring cup in 30 second intervals and found the chocolate completely melted after 1 1/2 minutes. I recommend using a knife to stir the chocolate and butter. You'll want the mixture to cool down so I put mine in the fridge for 10 minutes while I worked on the other ingredients.
In a mixer, beat together the eggs until frothy.
Add in the sugar, chocolate mixture (once it has cooled down), and peppermint extract.
Finally, add in the flour and salt.
Once it's all mixed together, pour it into the cookie sheet and put in the oven for 10-15 minutes (or until it's slightly pulling away from the edges of the pan.
After baking, put the cookie sheet on a rack in your fridge and let it cool completely (about 30 minutes).
Layer 2 Instructions:
While the first layer is cooling, cream together the butter and confectioner's sugar with the heavy whipping cream and peppermint extract. It's going to be pretty thick by the time it's all mixed together.
Once mixed, use a spatula to frost the first layer. Here's a trick my aunt taught me: once all the icing is down, get a glass of really hot water, dip a knife in the glass, wipe it off, and smooth out the layer as much as you can. I'm not very skilled at this, but it beats using a spatula to try and spread it out evenly! Put this tray back in the fridge until it has completely hardened (45 minutes to an hour should do you).
Layer 3 Instructions:
Melt the baking chocolate and butter just like you did in the first step. Now of course I had to make a mistake somewhere and this is where it was. I put it in the microwave for too long (2 minutes) and it became really thick. Essentially, it should be melted enough that you can pour the chocolate over the white icing in an "S" pattern while the pan is on an angle. That way, you don't have to have a knife to spread the chocolate all over. However, because mine was too thick, I ended up using a spatula to cover the chocolate.
Once you've completely covered the tray in chocolate, cut the tray into long narrow strips (2"x1" or so) and stick it back in the fridge to harden. And voila! Your cookies and good to go!
TOTAL COSTS: About $22 (if you don't have any ingredients - all prices from Vons)
Baking chocolate - $2.99
Butter - $.79
Eggs - $2.99
Sugar - $2.49
Peppermint extract - $4.79
Flour - $2.49
Confectioner's sugar (powdered sugar) - $1.99
Heavy whipping cream - $3.49
TOTAL AMOUNT OF TIME: About 3 hours, 15 minutes
Layer 1 prepare: 45 minutes
Layer 1 bake: 15 minutes
Layer 1 cool in fridge: 30 minutes
Layer 2 prepare: 15 minutes
Layer 2 cool in fridge: 1 hour
Layer 3 prepare: 15 minutes
Layer 3 cool in fridge: 15 minutes
EASY-PEASY SCALE (1 super easy - 5 very difficult) - 2 out of 5
The only hard thing is getting layer 3 on right but as you can see, I didn't and it still turned out great! Enjoy!
There are three layers to these cookies:
Layer 1 Ingredients:
2 squares of Baker's Unsweetened Baking Chocolate Squares
2 eggs
1/2 t peppermint extract
1 C sugar
Dash of salt
1/2 C flour
Layer 2 Ingredients:
1/2 C butter (8 T)
4 C confectioner's sugar (powdered sugar)
4 T heavy whipping cream
3 t peppermint extract
Layer 3 Ingredients:
4 squares of Baker's Unsweetened Baking Chocolate Squares
1/4 C butter (4 T)
Layer 1 Instructions:
Preheat the oven to 325 degrees and grease a cookie sheet (including the sides). Melt the chocolate and butter together - I did this in a microwave in a glass Pyrex measuring cup in 30 second intervals and found the chocolate completely melted after 1 1/2 minutes. I recommend using a knife to stir the chocolate and butter. You'll want the mixture to cool down so I put mine in the fridge for 10 minutes while I worked on the other ingredients.
Add in the sugar, chocolate mixture (once it has cooled down), and peppermint extract.
Finally, add in the flour and salt.
Once it's all mixed together, pour it into the cookie sheet and put in the oven for 10-15 minutes (or until it's slightly pulling away from the edges of the pan.
After baking, put the cookie sheet on a rack in your fridge and let it cool completely (about 30 minutes).
While the first layer is cooling, cream together the butter and confectioner's sugar with the heavy whipping cream and peppermint extract. It's going to be pretty thick by the time it's all mixed together.
Layer 3 Instructions:
Once you've completely covered the tray in chocolate, cut the tray into long narrow strips (2"x1" or so) and stick it back in the fridge to harden. And voila! Your cookies and good to go!
TOTAL COSTS: About $22 (if you don't have any ingredients - all prices from Vons)
Baking chocolate - $2.99
Butter - $.79
Eggs - $2.99
Sugar - $2.49
Peppermint extract - $4.79
Flour - $2.49
Confectioner's sugar (powdered sugar) - $1.99
Heavy whipping cream - $3.49
TOTAL AMOUNT OF TIME: About 3 hours, 15 minutes
Layer 1 prepare: 45 minutes
Layer 1 bake: 15 minutes
Layer 1 cool in fridge: 30 minutes
Layer 2 prepare: 15 minutes
Layer 2 cool in fridge: 1 hour
Layer 3 prepare: 15 minutes
Layer 3 cool in fridge: 15 minutes
EASY-PEASY SCALE (1 super easy - 5 very difficult) - 2 out of 5
The only hard thing is getting layer 3 on right but as you can see, I didn't and it still turned out great! Enjoy!
Subscribe to:
Posts (Atom)