Showing posts with label empty bottle. Show all posts

Wednesday, July 16, 2014

DIY Bleach T-shirts

A few months back I attempted to make a bleach pen and the results were... disastrous, to say the least. I veered away from any projects that involved bleach and t-shirts because I was sure I was just going to screw them up. Well, I came across this post from PracticallyFunctional and this post from Brit.co and thought, "You know what? One Pinterest fail isn't going to stop me!" so I tried these two and you know what? They actually turned out ok! So if you think you're just going to screw it up... trust me, coming from a master failer, you'll be fine.


Bleach Striped T-shirt:

To get started you'll need the following:

1. A t-shirt
2. Some bleach
3. Some water
4. Masking or painter's tape
5. A spray bottle (I just recycled an old one I had on hand)

To begin, start by laying out your shirt and placing your masking or painters tape across the shirt. If you want to use a ruler to get perfect stripes, you can, but I just eye-balled it. Make sure the strips of tape are long enough to wrap around the other side.

Once the shirt is covered in tape stripes, flip it over and continue the lines on the other side with tape.


Try to overlap the tape perfectly, otherwise your lines won't look at seamless.


Next, pour 1 part water and 1 part bleach into a bottle (I did half and half) and place your shirt in a place where you're not afraid to get bleach on it. I opted for the bathtub... figured bleach could only make things better in there! Spray the front, flip it over, and spray the back.


How long you want the bleach to sit is entirely up to you. I opted for 10 minutes but should have done 5 minutes because I got blurred lines (::insert Robin Thicke reference::).


Once your 5-10 minutes are up, remove the tape and rinse the shirt under cold water.
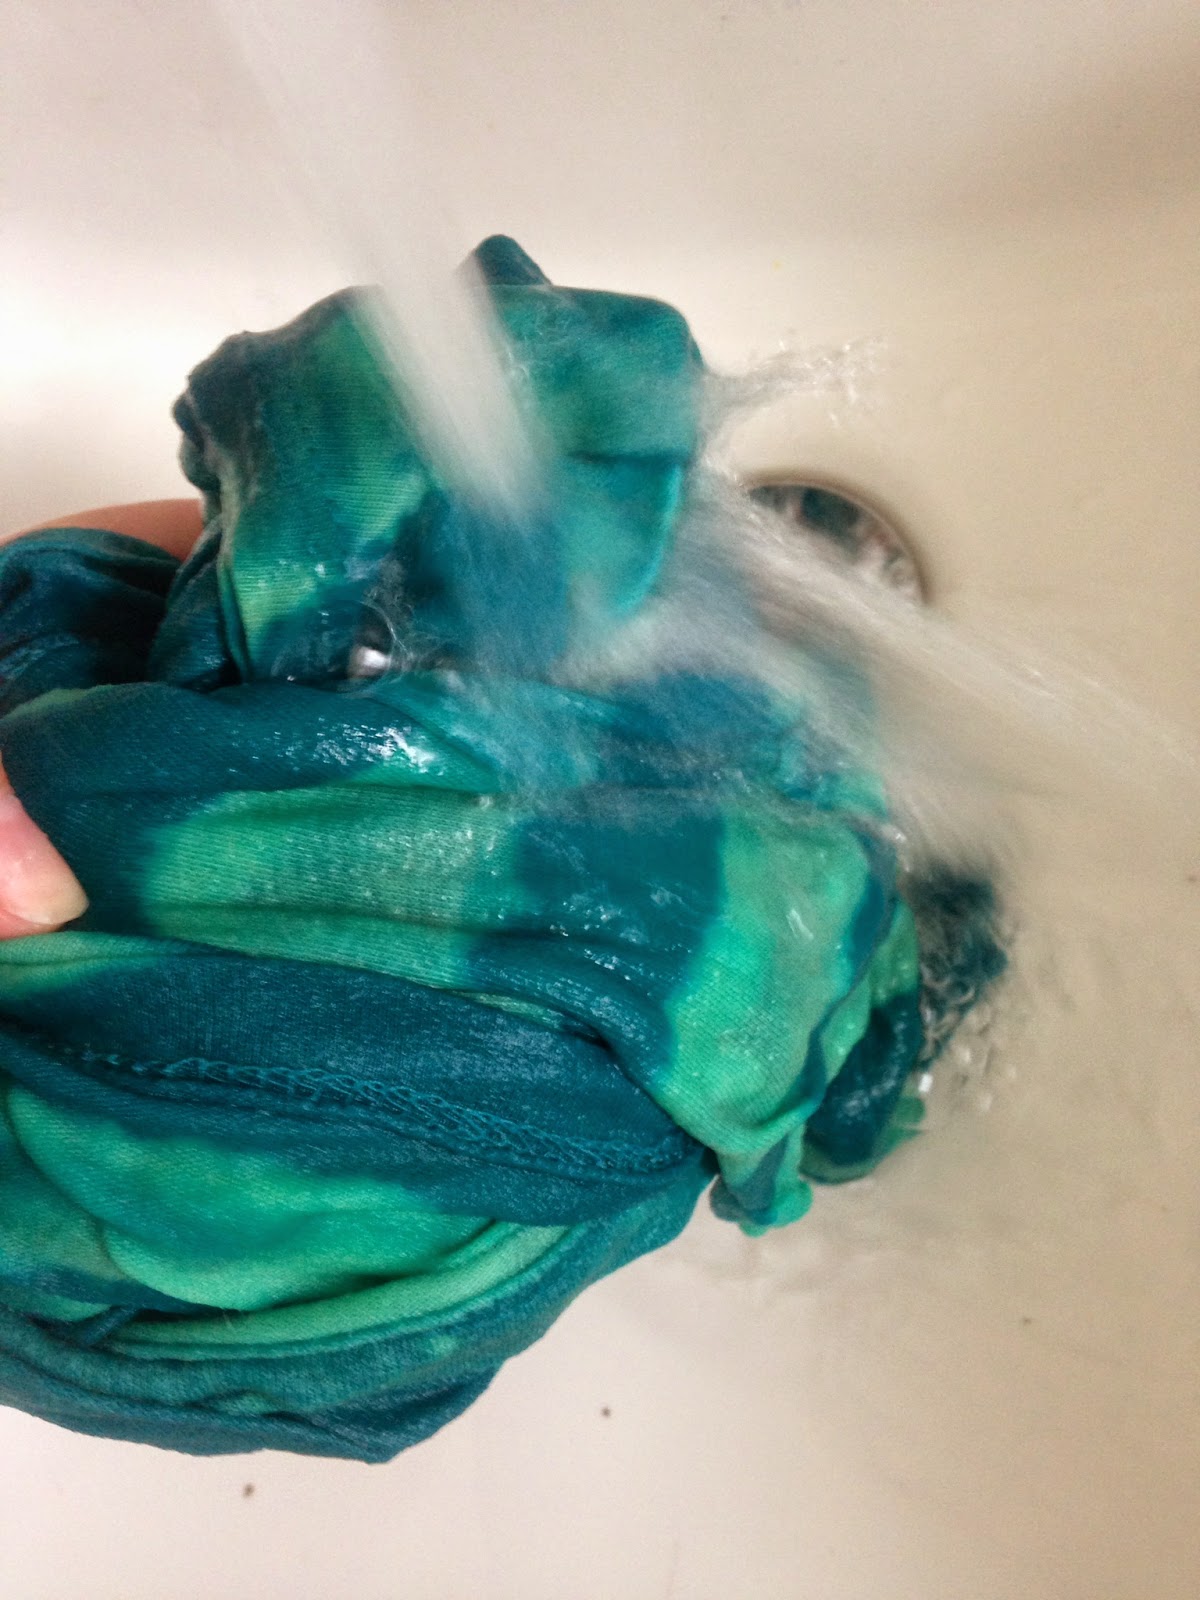

Hang dry for 24 hours before showing off your work! Now aren't you glad you didn't spend $25 on something you could just as easily make yourself? I know it's not perfect but I kinda like it better this way!


Bleach Stencil T-shirt

Now I used this stencil of a cute little owl, cut out all the white parts with an x-acto knife, and taped it to a tank top (if you print out your stencil on transfer paper with spray adhesive, that works too, but I just used card stock and Scotch tape).


Just like before, spray with your 50/50 bleach/water mixture and let it sit for 5-10 minutes.


Rinse it out with cold water and let it air dry for 24 hours before wearing.


Because my owl wasn't completely flush with the shirt, there are some areas around the eyes that didn't turn out as well but overall, I think he's adorable!


A couple things to keep in mind:

#1 - Wherever the bleach water touches, it will stain, even if it's not part of your design (make sure your bottle doesn't leak).

#2 - The longer you wait for the bleach to set, the lighter the color.

#3 - This is a smelly project - wherever you are, you'll smell bleach so please be in a well ventilated room! And yes, the shirts will have a faint smell of bleach when dry so don't be surprised.

Have fun making your shirts your own! Or better yet, make some as gifts for family, for Halloween, for your company softball team... the possibilities are endless!

TOTAL COSTS: About $10
$3 for t-shirt from Goodwill (tank top already on hand)
$5.87 for Frog Tape from Home Depot
$1.79 for bleach from Vons
Bottle already on hand (recycled)

TOTAL AMOUNT OF TIME: 20-30 minutes + overnight
15 minutes to make the stripes/cut out the owl
5-10 minutes to spray bleach and let sit
Overnight to dry

EASY-PEASY SCALE (1 super easy - 5 very difficult): 3 out of 5
To get perfectly straight lines without any bleeding takes practice and you might not get it on the first try (like me) but keep at it and you'll get into a rhythm. If you're using a stencil, make sure it's centered exactly where you want it, otherwise it might look a bit... off.

Friday, July 11, 2014

Homemade Glass Cleaner vs. Windex

Nowadays it seems like everyone is much more aware of what chemicals are used in cleaning products than, say, 50 years ago. Many are resorting to making their own cleaning products but does that really make them "better"? Do they do the same job as the store-bought name brand cleaners? I decided to try this recipe from Instructables for homemade glass cleaner to see if it was worth the switch.

To make your own you'll need:

* An empty spray bottle (I used an old Lysol bottle)
* 1/2 cup of white vinegar
* 1/2 cup of rubbing alcohol
* 2 Tablespoons of corn starch
* 3-4 cups of warm water (I used about 3 1/2 cups until the bottle started to overflow!)

And to be fair, I tested against original Windex.


Start by adding all the ingredients to your bottle, leaving the water for last. If you don't have a funnel, you can easily make one out of paper (or Post-It notes!)


Once the water has been added, screw on the nozzle and shake it for a few seconds. Now you're ready to clean those windows! It's really hard to show the results in photos but I did make an attempt.

I covered two pieces of glass with chocolate and sprayed the left with the homemade solution and the right with Windex.


So both solutions worked just fine but I might add some bullet points the original post doesn't mention...


Homemade solution: 
   * Smells bad (if you're cleaning all of your windows, get used to the smell of vinegar!)
   * Leaves streaks

Windex solution:
   * Full of chemicals
   * Paper towel leaves lint (though that might be the fault of the paper towel, not the Windex)

In the end, it's really up to you. I didn't like the streaks, nor did I like the smell of vinegar, but at least I knew what was in the solution. If I had kids and was concerned for their health, perhaps I'd stick with the homemade glass cleaner. For now, though, I think I'll stick with the Windex.

TOTAL COSTS: About $6
$3.29 for white vinegar
$.99 for rubbing alcohol
$1.80 for corn starch
Empty Lysol bottle already on hand
Cost of Windex is $2.79 at Vons

TOTAL AMOUNT OF TIME: Less than 5 minutes

EASY-PEASY SCALE (1 super easy - 5 very difficult): 1 out of 5
There's nothing difficult about pouring all the ingredients into an empty bottle, it's just up to you whether you prefer this method over buying some over the counter!

Thursday, December 5, 2013

How to Make a Lava Lamp in 5 Minutes

When I saw this post by Stuff Parents Need, I had my doubts... but coming from someone who doesn't have kids and who is easily entertained, I thought this was pretty darn cool!

All you need is:

An empty bottle (I used an old water bottle)

Canola oil (original post says any oil will do but I decided to stick with what she used)

Food coloring

Alka-Seltzer


Pour in two-thirds of oil and one-third of water into the empty bottle, leaving an inch at the top.


Next, pour in 10 drops of food coloring:


And finally, crush up an Alka-Seltzer and drop pieces in. And voila! You're done!


...still don't believe this works? Watch the video below - after 1 minute, I drop in a bigger piece and it really starts to go! Note: no cats were harmed in the making of this video:


TOTAL COST: Free!
Assuming you have an empty bottle, oil, food coloring and Alka-Seltzer at home

TOTAL AMOUNT OF TIME: 5 minutes or less

EASY-PEASY SCALE (1 super easy - 5 very difficult): 1 out of 5
This would be a great experiment for kids or for the kid at heart!