 After Batman (my cat) was forced to be on bed rest for two weeks after emergency surgery, I wanted to make him something special, a place he could go and hide from the world if he wanted to. Something... comfy, but inexpensive. When I saw this on Instructables, I thought it was perfect! A cat tent made from an old t-shirt was something I knew I could make at no cost. Boy oh boy was I wrong...
If you want to attempt this, you'll need:
* A piece of cardboard
* Two wire hangers
* An old t-shirt
* Tape
* A pillow (optional)
I started by bending and morphing the two wire hangers to be approximately the same shape and have the same curvature. This wasn't easy, but it got Batman's attention.

I then poked a hole in each corner of the cardboard and stuck the wire hangers through, making sure to tape the center where the two hangers crossed. So far, so good!


Batman was not impressed but he looked on with much curiosity.

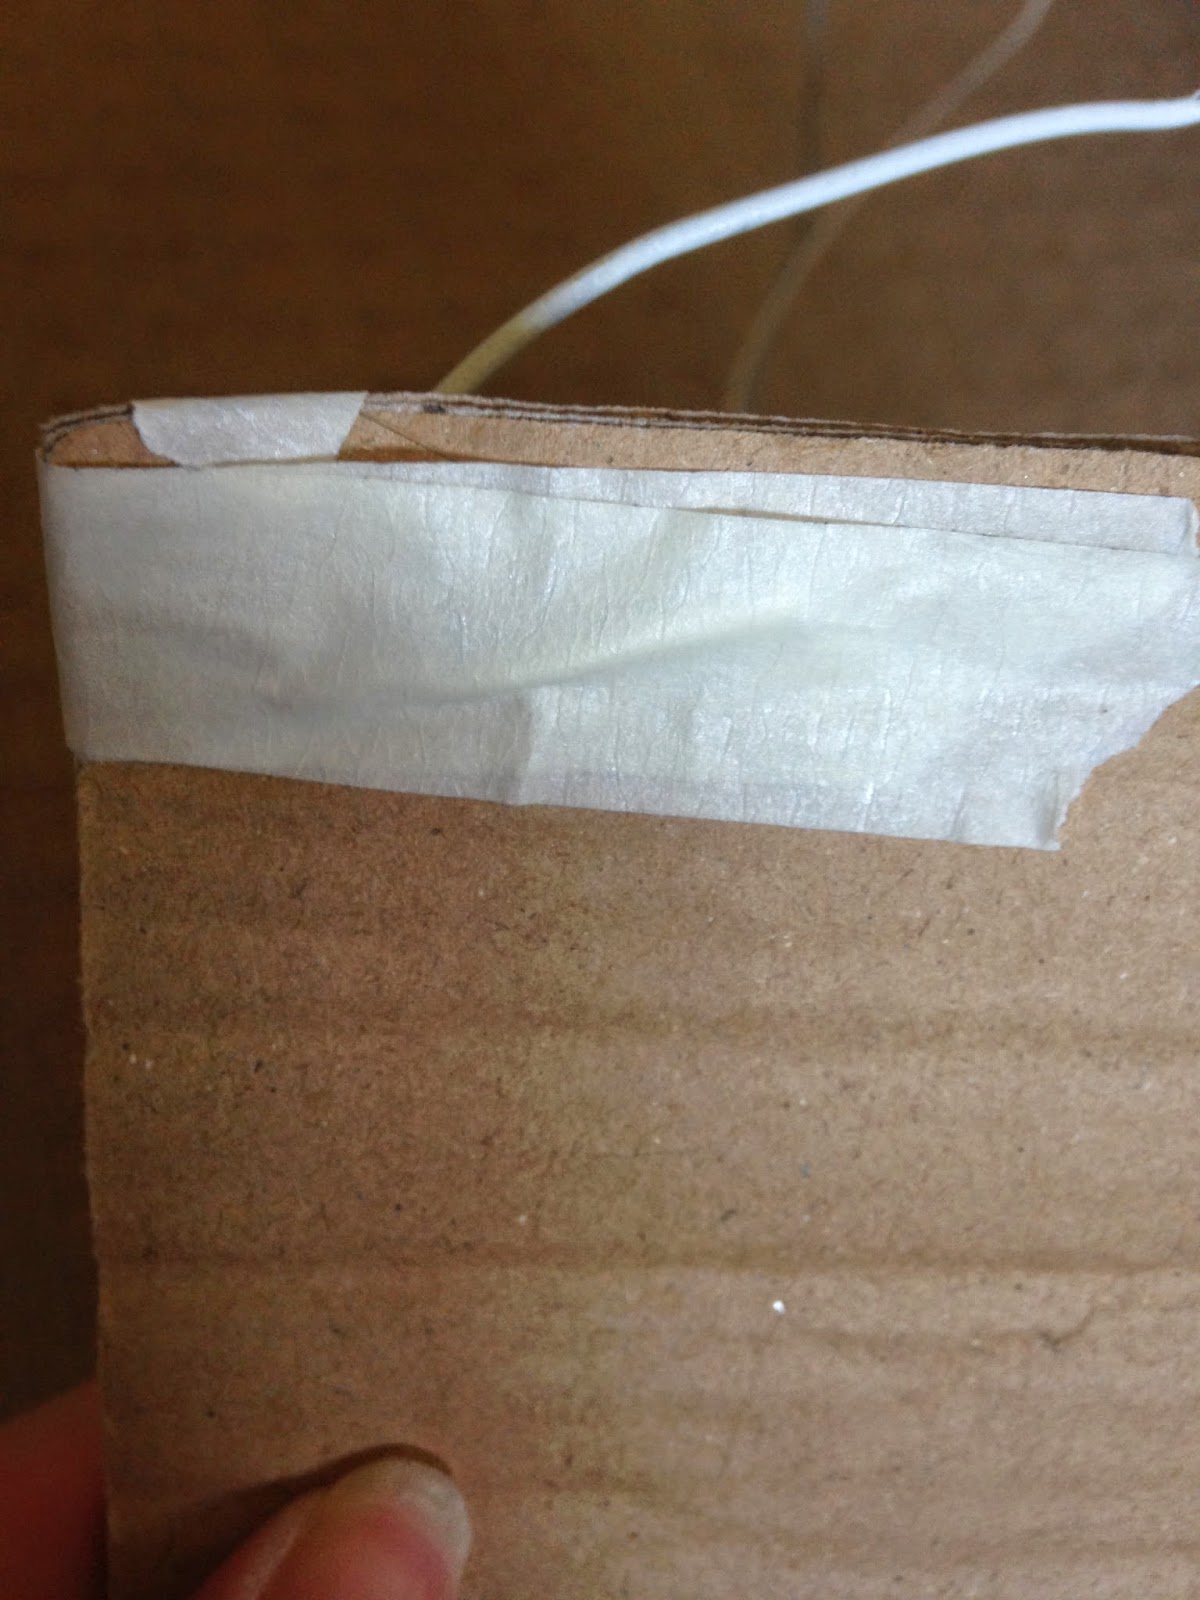
I secured the wire with tape around the holes both on top of the cardboard...

...and underneath. You have to bend the wire in order for it to lay flat.
Here is what the frame of the tent looked like. I should have kept it like this, as it only went downhill from here...

I attempted to put the pillow on the cardboard but the pillow was too thick because once the t-shirt went on, there was hardly any room for him to sit!


And then there were structural issues... the t-shirt decided to pull the frame whichever way it chose and it wasn't pretty. It was as if Slimer from "Ghostbusters" had a humpback.

You're supposed to be able to tie the sleeves together underneath the cardboard but if your shirt isn't big enough, that ain't happenin'.

Batman attempted to make the most of his owner's shoddy work, but it was for naught. He looked on with the deepest sympathy in his eyes for my pathetic attempt.


So here are 3 tips I recommend, should you choose to try this yourself:
1. Make sure your cardboard bottom can't be bent. The thicker, the better. If that means reinforcing with tape, so be it.
2. Use pliers to bend the wire, not your bare hands. It'll be less painful and less time-consuming, I assure you.
3. The flatter the pillow and the bigger the t-shirt, the better!
 |
| "It's no Bat Cave, but it'll have to do." - Batman |
TOTAL COSTS: Free
The t-shirt, cardboard, masking tape, and wire hangers were all readily available
TOTAL AMOUNT OF TIME: 45 minutes
I didn't use pliers and fiddled around a lot with the frame, which took more time than I care to mention.
EASY-PEASY SCALE (1 super easy - 5 very difficult): 3 out of 5
So I made a lot of mistakes which hopefully you'll learn from if you attempt this project. Try not to get too frustrated if it doesn't come out perfectly. As long as the frame is immovable, you should be fine when you put on the t-shirt!


